JANOME Embroidery Software Instruction Book
Chapter 26 Outputting to Machine
214
2
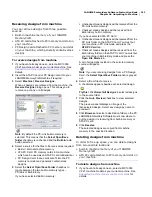
Insert the ATA PC card into the external ‘Flash
Memory’ (ATA PC) reader/writer.
3
Select
External Media > Write Designs, Read and
Erase
.
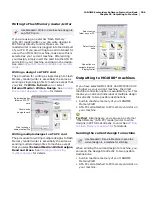
The
Write Designs, Read and Erase
dialog opens.
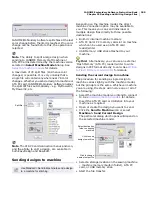
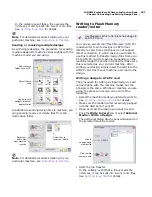
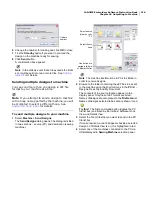
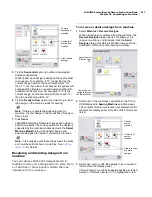
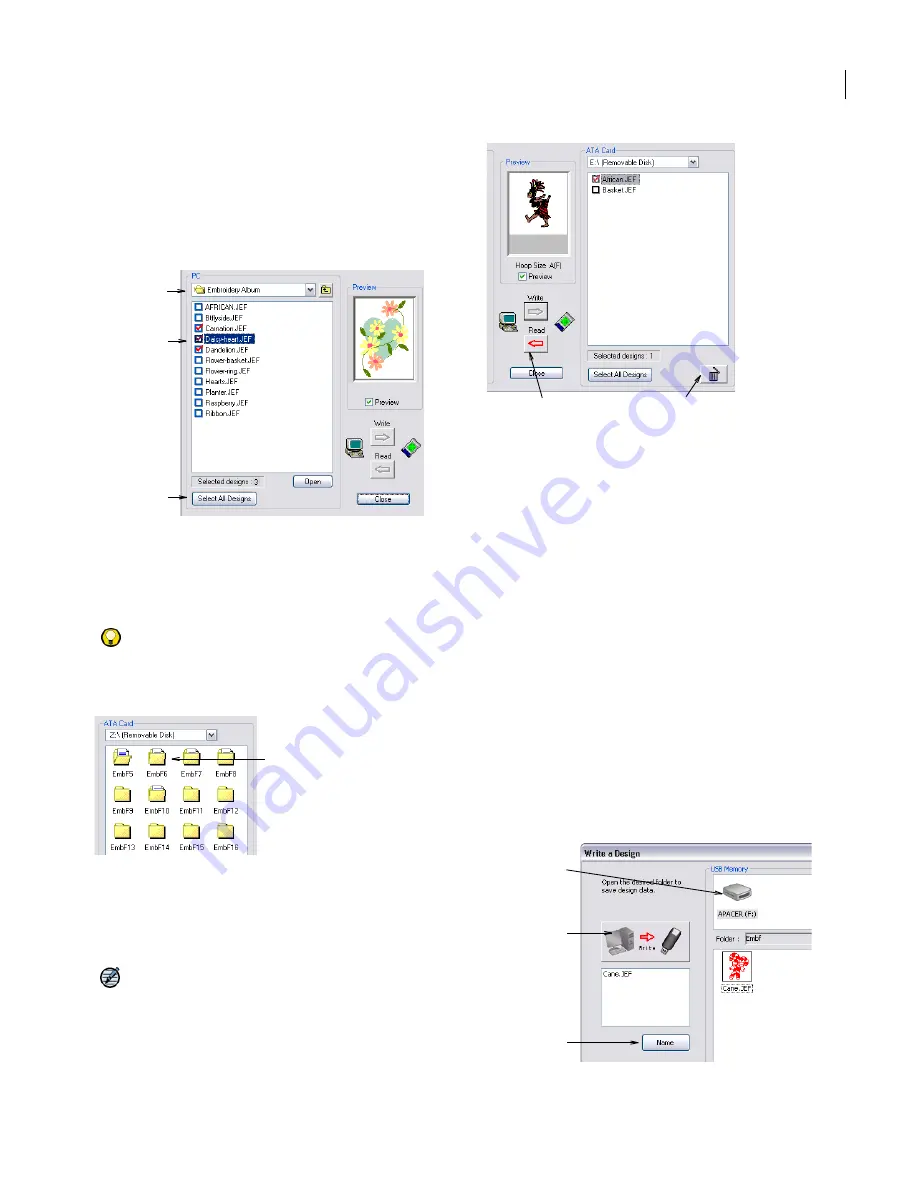
The dialog is divided in two sections – source (PC) and
destination (ATA PC card).
4
Select a source folder from the
PC
list.
Only JEF files are displayed.
5
Select the file or files that you want to write.
The preview panel displays an image of the last
selected design.
Try this!
Click
Select All Designs
to select all designs
in the source folder.
6
Select a destination folder on the ATA PC card.
7
Click
Write
.
A confirmation box appears.
8
Click
Start
.
File transfer begins and selected designs are copied to
the selected location.
Note
In the unlikely event that a file exceeds the limits
set, it will be split into two or more files. See
Splitting
large files
for details.
9
Select any files you want to read or erase from the
ATA PC card.
10
Choose from the available options as required:
Click
Read
to copy files from the machine to the
current location folder on your PC.
Click
Erase
button to remove selected files from your
machine storage location.
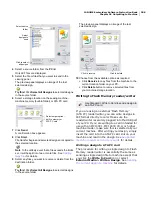
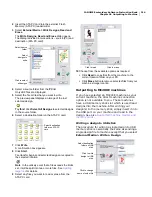
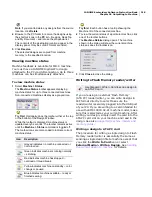
Outputting to MC200E machines
If you have selected an MC200E machine as your
current machine, the direct machine connection
option is not available to you. These machines
have a USB memory stick slot which is used read
designs into the machine. After writing your
design(s) to the memory stick, simply insert it into
the USB port on your machine and read in the
design. See also
Supported machine models and
memory cards
.
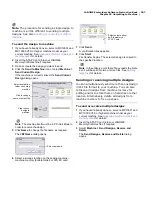
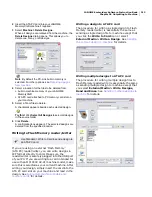
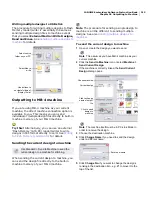
Writing a design to USB stick
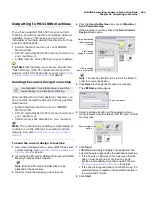
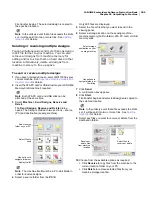
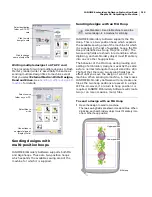
The procedure for writing a single design to USB
memory stick is essentially the same as sending a
single design file to machine except that you select
External Media > Write a Design.
Select source
folder
Select
designs to
write
Click to select
all designs
Select destination
folder on ATA PC
card
Click to read
Click to erase
Click to write
design to USB
stick
Click to change
name of output file
Select destination
folder on USB
stick
Summary of Contents for Digitizer MB
Page 236: ...234 Part IX Software Feature Table...

