JANOME Embroidery Software Instruction Book
Chapter 14 Automatic Digitizing
106
8
Select a stitching style for details from the list:
9
Click
OK
.
Click-to-Design converts the artwork to embroidery
objects and generates stitches.
Try this!
The software matches colors from the
existing palette. If the design does not seem to convert
colors properly, check that your monitor is set for 16 Bit
Colors.
Creating automatic outlines and borders
with Click-to-Design Advanced
The Click-to-Design Advanced tool allows you to
automatically generate outlines during image
conversion. These may be in the form of outlines
between objects and/or borders around the design
itself. You can select the outline colors to use at the
time of converting the image. Colors and
object
details
of generated objects can be changed at any
time.
To create embroidery designs with
Click-to-Design Advanced
1
Scan or load an image. See
Scanning artwork into
EasyDesign
for details.
2
Select the image and process it. See
Preparing Images
for Automatic Digitizing
for details.
3
Select the image and click the
Click-to-Design Advanced
icon.
The
Click-to-Design
dialog opens.
Option
Purpose
Satin
Most suited for use with thicker lines
or small shapes of varying width.
Satin Line
Suited for use with thicker lines.
Use Digitize > Click-to-Design Advanced to
create automatic outlines and borders from
imported images.
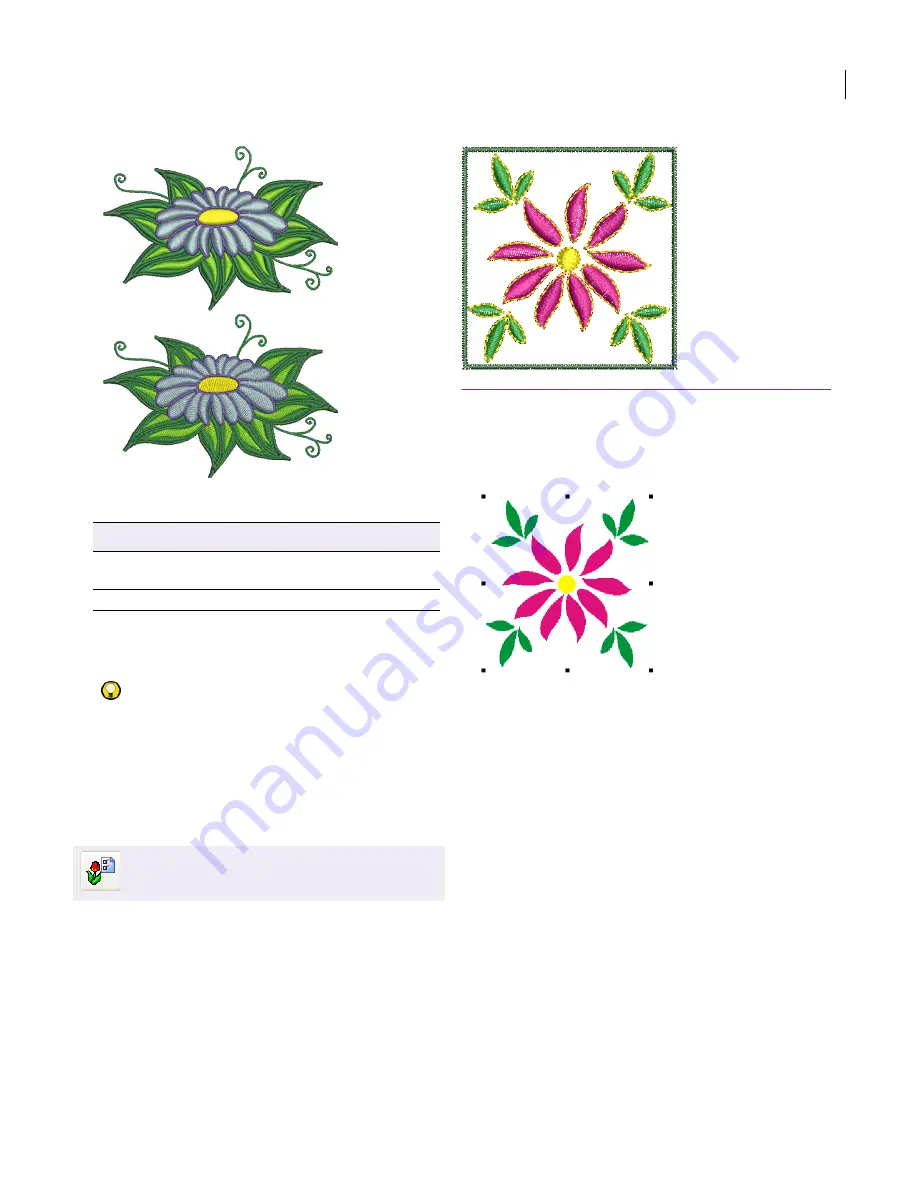
Fills: Weave
Details: Satin
Fills: Satin
Details: Satin
Summary of Contents for DigitizerPro
Page 236: ...234 Part IX Software Feature Table ...


