JANOME Embroidery Software Instruction Book
Chapter 21 Creating Embroidery Lettering
161
5
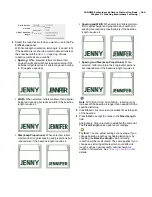
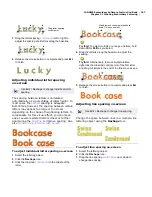
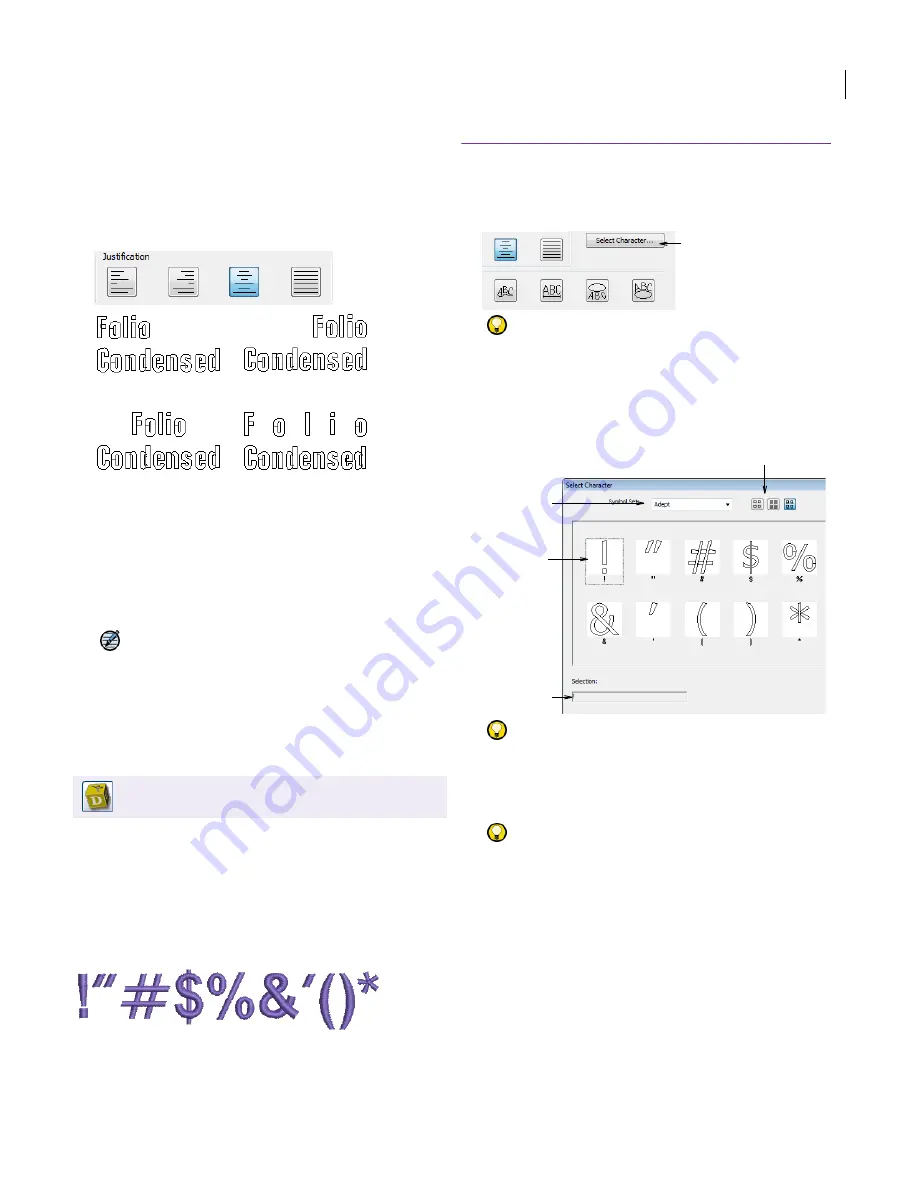
Select a justification setting as required –
Left
,
Centered
,
Right
or
Full
.
Justification governs the way lettering aligns itself
along a
baseline
– e.g. to left, right, or center. Full
justification spreads letters out to fill the length of the
baseline.
6
Select a lettering orientation. See
Setting lettering
orientations
for details.
7
Click
OK
.
8
Click where you want to place the lettering, or mark
reference points for the selected baseline.
9
Press
Enter
.
Note
Letters are filled with stitches according to
current settings in the
Fill Stitch
tab of the
Object
Details
dialog. You can change these at any time. See
also
Changing lettering stitch types
.
Selecting special characters
Embroidery and TrueType fonts generally contain
many more characters than are available via your
keyboard. In EasyDesign, you can add special
characters and symbols directly through the
Select Character dialog or by means of the
MS Windows® Character Map. See also
Using the
Character Map
.
To select special characters
1
Click the
Lettering
icon.
The
Object Details > Lettering
dialog opens.
Try this!
If you know the
Alt
key code for the special
character you require, you can key it directly into the
text entry field. The Character Map gives you codes for
all characters. See
Using the Character Map
for details.
2
Click
Select Character
.
The
Select Character
dialog opens.
Try this!
Select a viewing mode – you can list
alphabets by picture, character, or both.
3
Select an alphabet from the
Alphabet Set
list.
4
Select the character(s) you want to use.
Try this!
When you select a character, a keystroke
appears in the
Selection
field. This indicates the key
combination required to type the character directly
on-screen. For example, ‘
m
’ means press the
m
key
while ‘
M
’ means press
Shift + M
.
5
Click
OK
to close the dialog.
The selected characters are displayed in the text entry
panel.
6
Click
OK
.
Click Lettering > Lettering to add lettering directly
on-screen.
Left
Right
Centered
Fully Justified
Click to select special
characters
Select
alphabet
Select
character
Corresponding
keystrokes
Select viewing mode
Summary of Contents for DigitizerPro
Page 236: ...234 Part IX Software Feature Table ...


