JANOME Embroidery Software Instruction Book
Chapter 23 Special Lettering Features
183
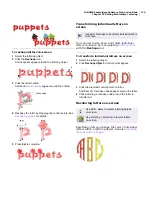
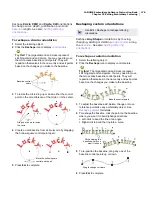
Adding monogram lettering
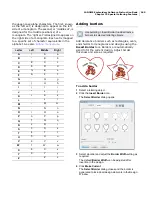
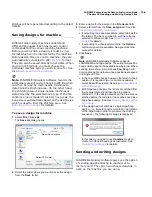
Monogramming fonts provide three sets of the
upper-case alpha characters. The first, known as
the ‘left set’, is designed to appear on the left side
of a monogram. The second, or ‘middle set’, is
designed for the middle position(s). And then there
is a ‘right set’. Each set is mapped to a specific set
of character equivalents in the alphabet. See
Monogram font mappings
for details.
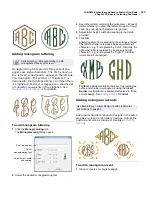
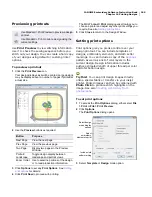
To add monogram lettering
1
Click the
Monogramming
icon.
The
Monogramming
dialog opens.
2
Select the desired monogramming font.
3
Key in the letters comprising the monogram – it doesn’t
matter whether you enter characters in upper or lower
case. Any non-alpha characters are ignored.
4
Adjust letter height, width and spacing in the fields
provided.
5
Click
OK
.
A lettering object is created using the settings entered.
The left-most letter is replaced by its equivalent left
character – e.g. F is replaced by ‘Left F’. Similarly, the
right-most letter is replaced by its equivalent right
character – e.g. F is replaced by ‘Right F’. All other
letters are left unchanged.
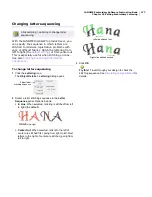
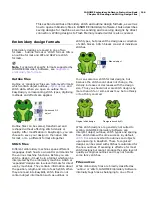
Try this!
Add decorative borders such as rectangles,
ovals, and shields to monograms using the
Insert
Border
tool. Borders are automatically sized to fit the
current design. See
Adding borders
for details.
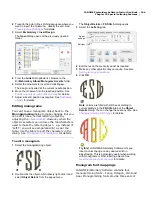
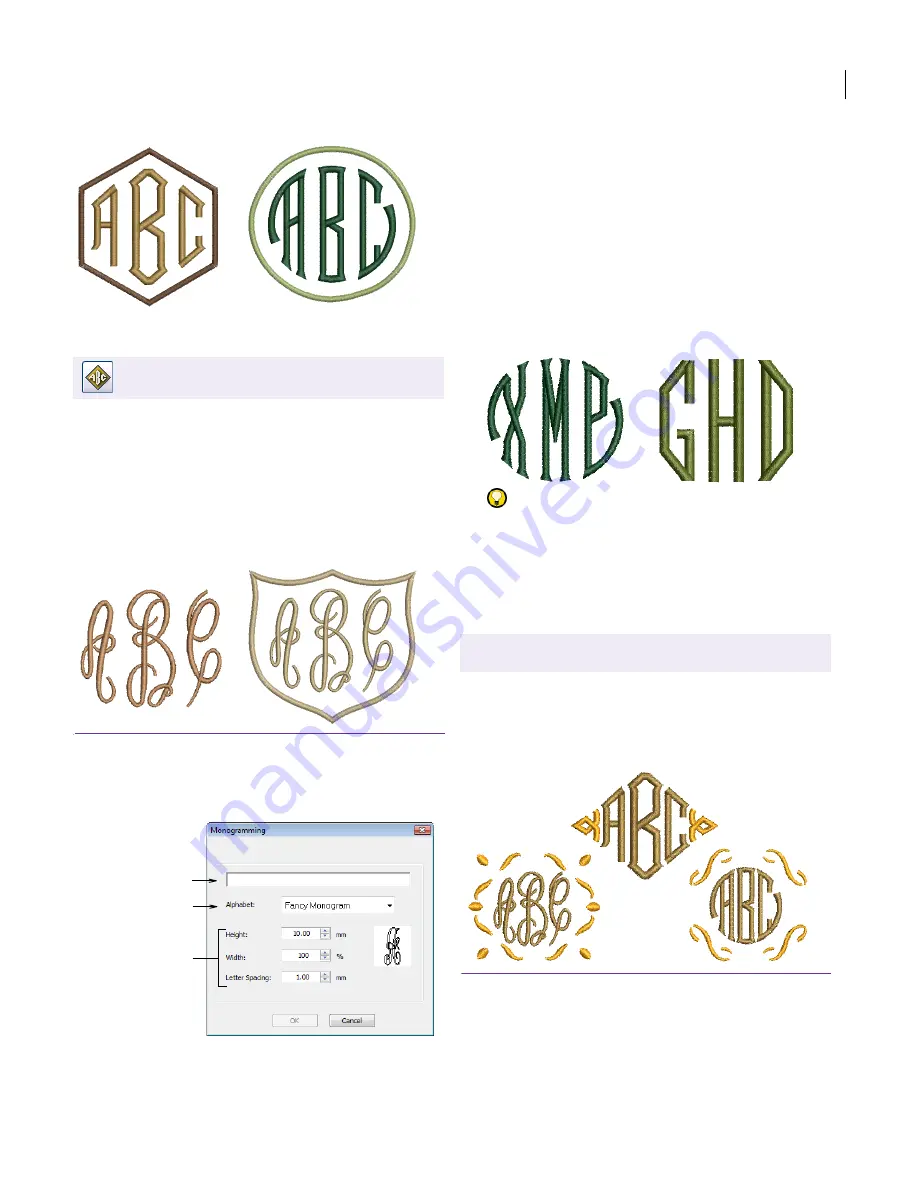
Adding monogram accents
Add ornamental decorations to designs in the same
way as you insert embroidery designs. Adjust the
position and size as required. See also
Inserting
designs
.
To add a monogram accent
1
Open or create a monogram design.
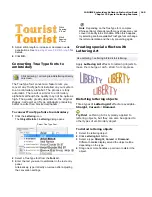
Click Lettering > Monogramming to add
monograms directly on-screen.
Select
monogramming font
Enter monogram
Adjust height, width
and spacing
Use Embroidery > Insert Design to add ornamental
decorations to designs.
Summary of Contents for DigitizerPro
Page 236: ...234 Part IX Software Feature Table ...

