JANOME Embroidery Software Instruction Book
Chapter 24 Printing Designs
189
Previewing printouts
Use Print Preview to view stitching information.
Use it to check the sewing sequence before you
stitch out your design. You can create a hard copy
of your designs using default or custom printer
options.
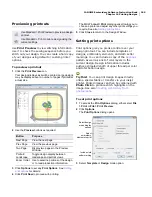
To preview a printout
1
Click the
Print Preview
icon.
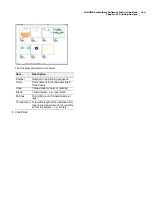
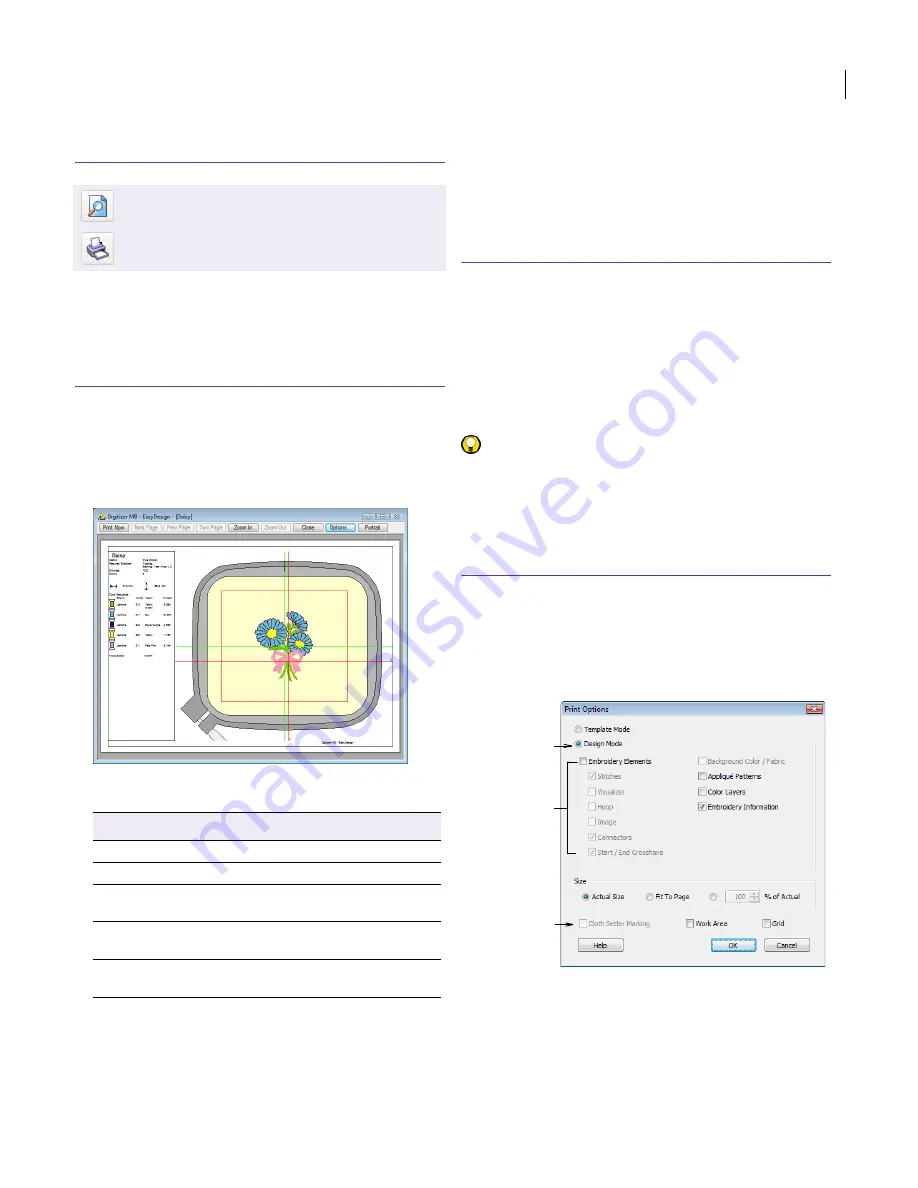
Your design displays as it will be printed. Large designs
may be displayed over a number of pages if printed at
actual size.
2
Use the
Preview
buttons as required:
3
Click
Options
to set any
Print Options
. See
Setting
print options
for details.
4
Click
Print Now
to proceed with printing.
The MS Windows®
dialog opens allowing you to
choose a printer and adjust any other print settings you
require. See also
Setting print options
.
5
Click
Close
to return to the Design Window.
Setting print options
Print options give you precise control over your
design printout. You can include templates or
designs, embroidery elements, and cloth setter
markings. You can include a copy of the
appliqué
pattern as well as a list of color layers in the
current design. Design information includes
author, estimated length of upper thread per color
and total bobbin usage.
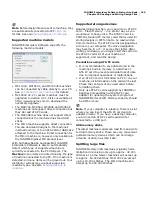
Try this! You can print design images directly
onto a special fabric or transfer via your inkjet
printer. Printed images can then be combined with
Photo Click to produce stitch highlights on the
image. See also
Creating embroidery from
photographs
.
To set print options
1
To access the
Print Options
dialog, either select
File
or
File > Print Preview
.
2
Click
Options
.
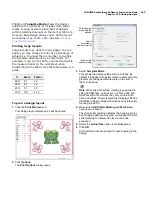
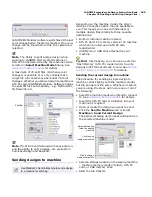
The
Print Options
dialog opens.
3
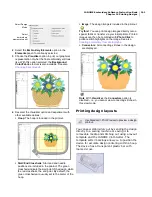
Select
Template
or
Design
mode option:
Use Standard > Print Preview to preview a design
printout.
Use Standard > Print to print a design using the
current settings.
Button
Purpose
Next Page
View the next page.
Prev Page
View the previous page.
Two Page
Display two pages in the Preview
Window.
Portrait /
Landscape
Toggle design display between
landscape and portrait views.
Zoom In/Out
Use to examine portions of the design
or to read production information.
Select
embroidery
elements to print
Select design
mode display
options
Include cloth
setter marking
Summary of Contents for DigitizerPro
Page 236: ...234 Part IX Software Feature Table ...


