


137
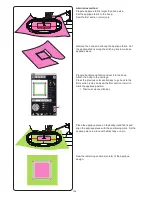
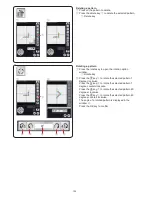
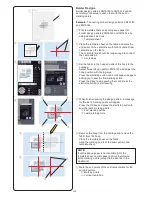
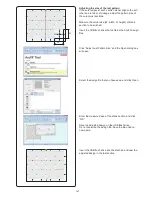
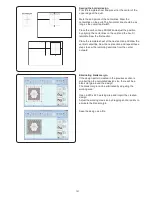
Grouping patterns
z
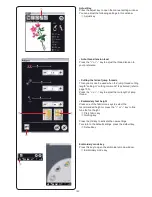
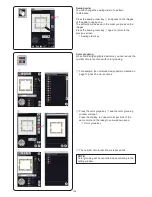
You can group patterns together.
Press the down arrow key
q
to show the next set of
editing tools.
Press the group key
w
and the grouping option
window will open.
q
Down arrow key
w
Group key
z
q
w
x
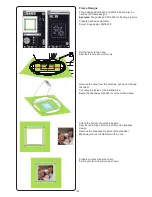
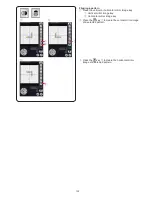
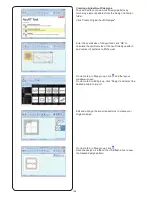
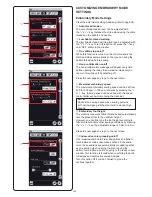
Press the group all key
e
and press the OK key to
group all the patterns in the editing window.
e
Group all key
x
e
r
c
c
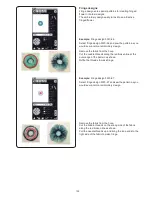
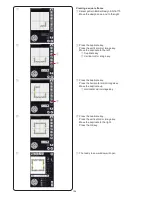
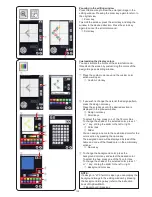
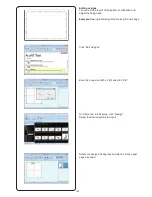
If you wish to group the selected patterns only, press
the group select key
r
.
Select the desired patterns by pressing on the pattern
images.
Press the selected pattern again to unselect the
pattern.
Press the OK key to group the selected patterns.
r
Group select key
v
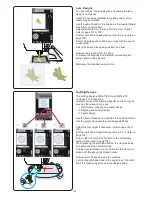
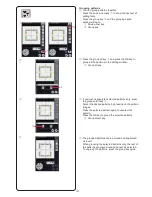
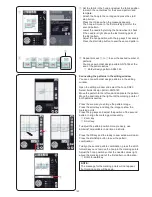
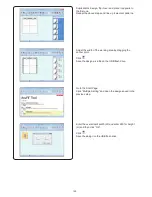
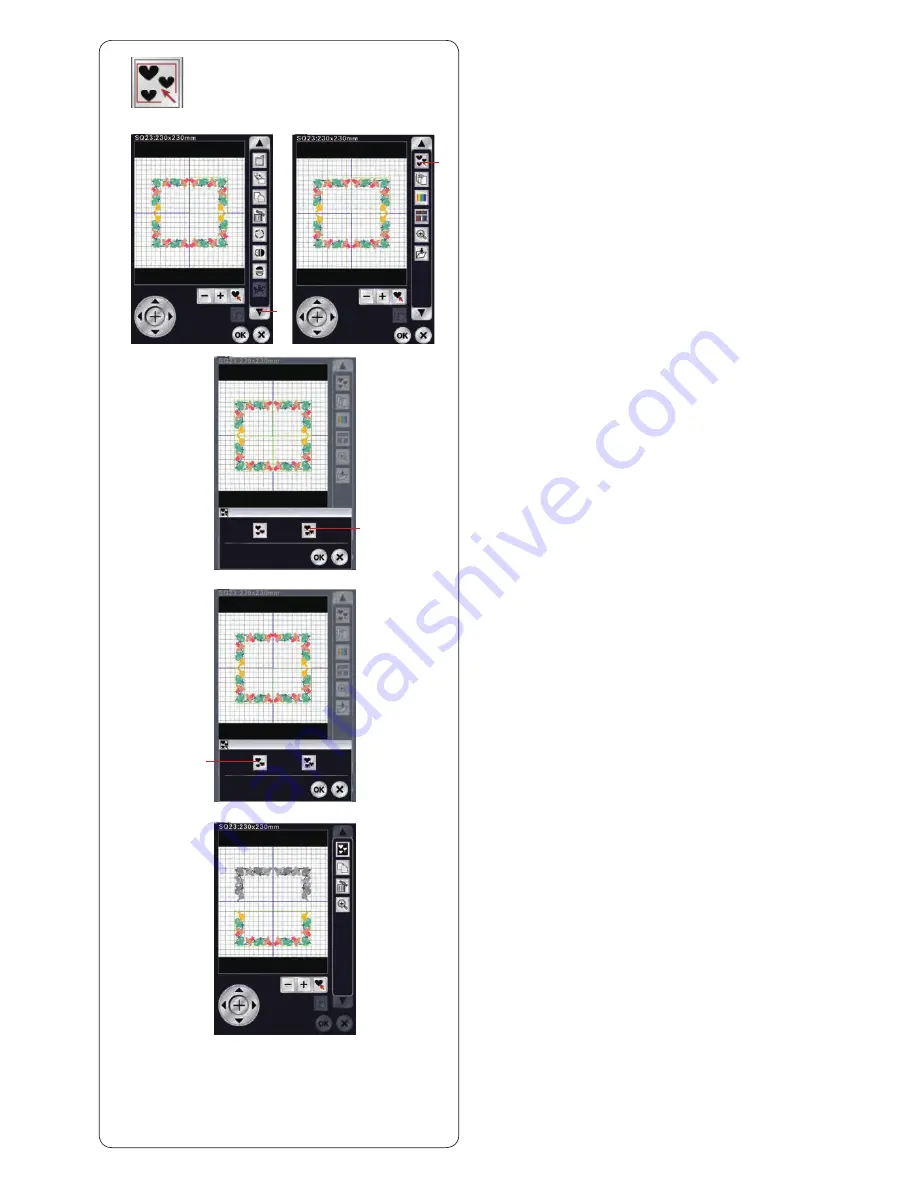
The grouped patterns can be moved and duplicated
as a unit.
When grouping the selected patterns only, the rest of
the patterns are grayed out and cannot be selected.
To ungroup the patterns, press the group key again.
v
Summary of Contents for Horizon Memory Craft 15000
Page 1: ...Memory Craft 15000 Instruction Manual ...
Page 170: ...165 STITCH CHART Ordinary Sewing Block Script Symbol Broadway Block 9 mm ...
Page 178: ...173 DESIGN CHART Embroidery Gothic Script Cheltenham Bauhaus Galant Typist ...
Page 180: ...175 DESIGN CHART Embroidery Micro Gothic ...
Page 184: ...862 801 005 EN ...


