


98
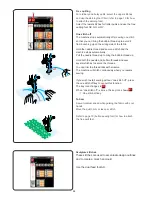
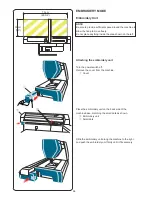
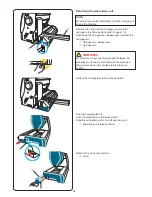
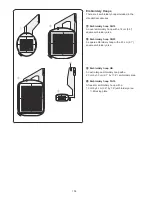
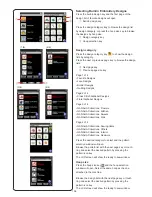
Detaching the embroidery unit
NOTE:
Be sure to remove the embroidery unit when carrying or
storing the machine.
Remove the hoop from the carriage and return the
carriage to the home position (refer to page 113).
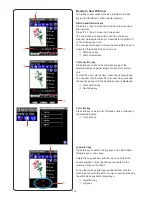
Push down the carriage arm release lever to retract the
carriage arm.
q
Carriage arm release lever
w
Carriage arm
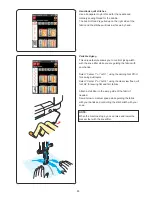
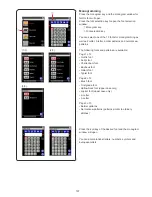
WARNING:
Be careful not to get your finger caught between the
embroidery unit and machine bed with the extension
table removed when the carriage returns to home
position.
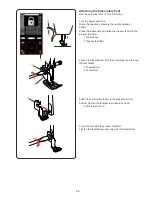
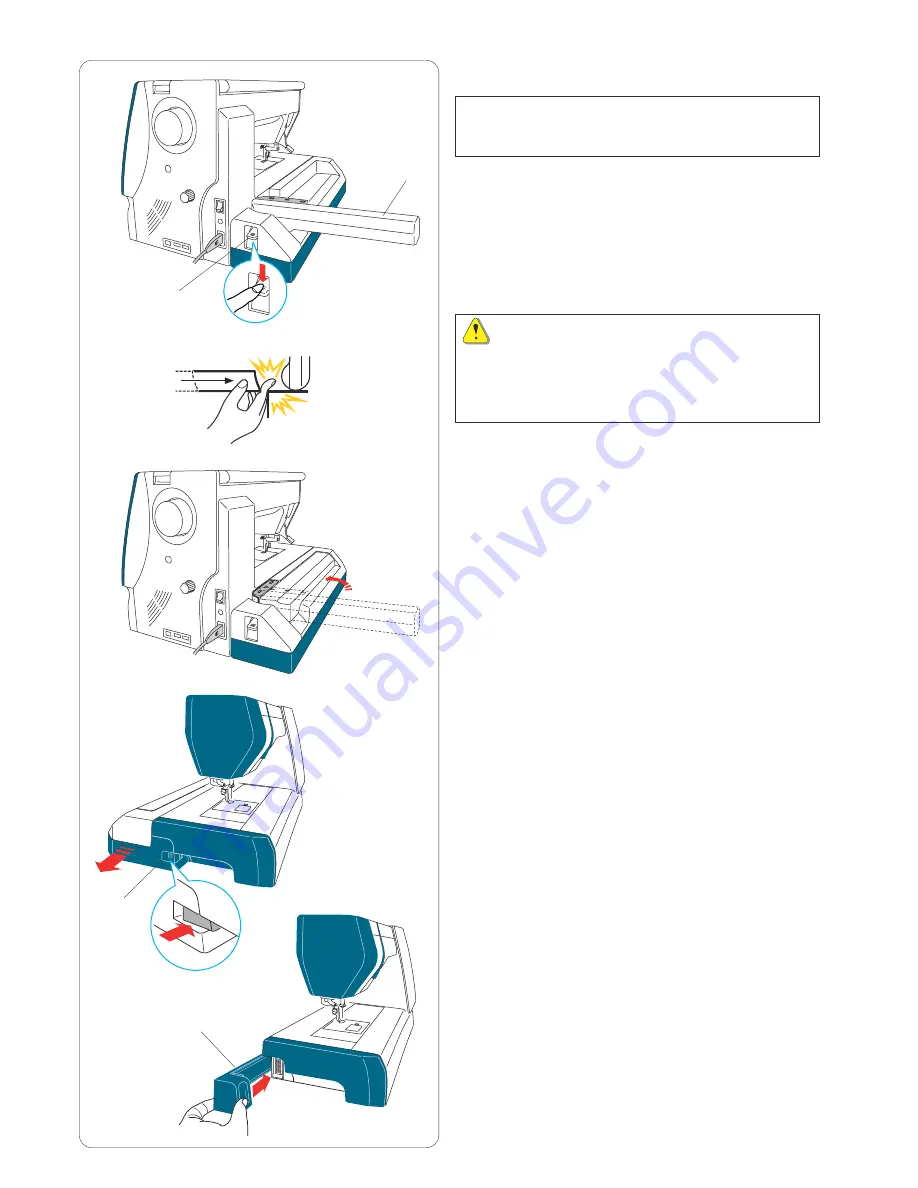
Retract the carriage arm to the stored position.
Turn the power switch off.
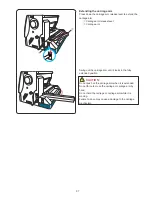
Push the embroidery unit release button.
Slide the embroidery unit to the left and remove it.
e
Embroidery unit release button
Attach the cover to the machine.
r
Cover
q
e
w
r
Summary of Contents for Horizon
Page 1: ......
Page 41: ...38 This page is intentionally left blank...
Page 50: ...47 This page is intentionally left blank...
Page 56: ...53 This page is intentionally left blank...
Page 98: ...95 This page is intentionally left blank...
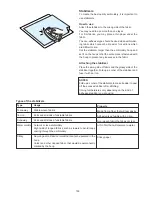
Page 141: ...138 STITCH CHART Ordinary Sewing Utility U Buttonhole B Applique A Heirloom H Quilt Q...
Page 142: ...139 STITCH CHART Ordinary Sewing Satin S Bridge BR Decorative D Long L Pictograph P Play PL...
Page 143: ...140 STITCH CHART Ordinary Sewing...
Page 144: ...141 DESIGN CHART Embroidery Favorite Designs SQ14 SQ23 GR FA10 Pattern images are not to scale...
Page 149: ...146 Script Cheltenham Bauhaus Galant Gothic Typist DESIGN CHART Embroidery...
Page 151: ...859 800 107 EN...


