


7
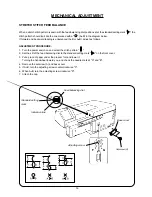
SERVICE ACCESS (5)
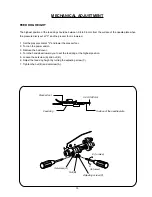
FRONT COVER
TO REMOVE:
1. Remove the top cover and belt cover (see pages 3 and 6).
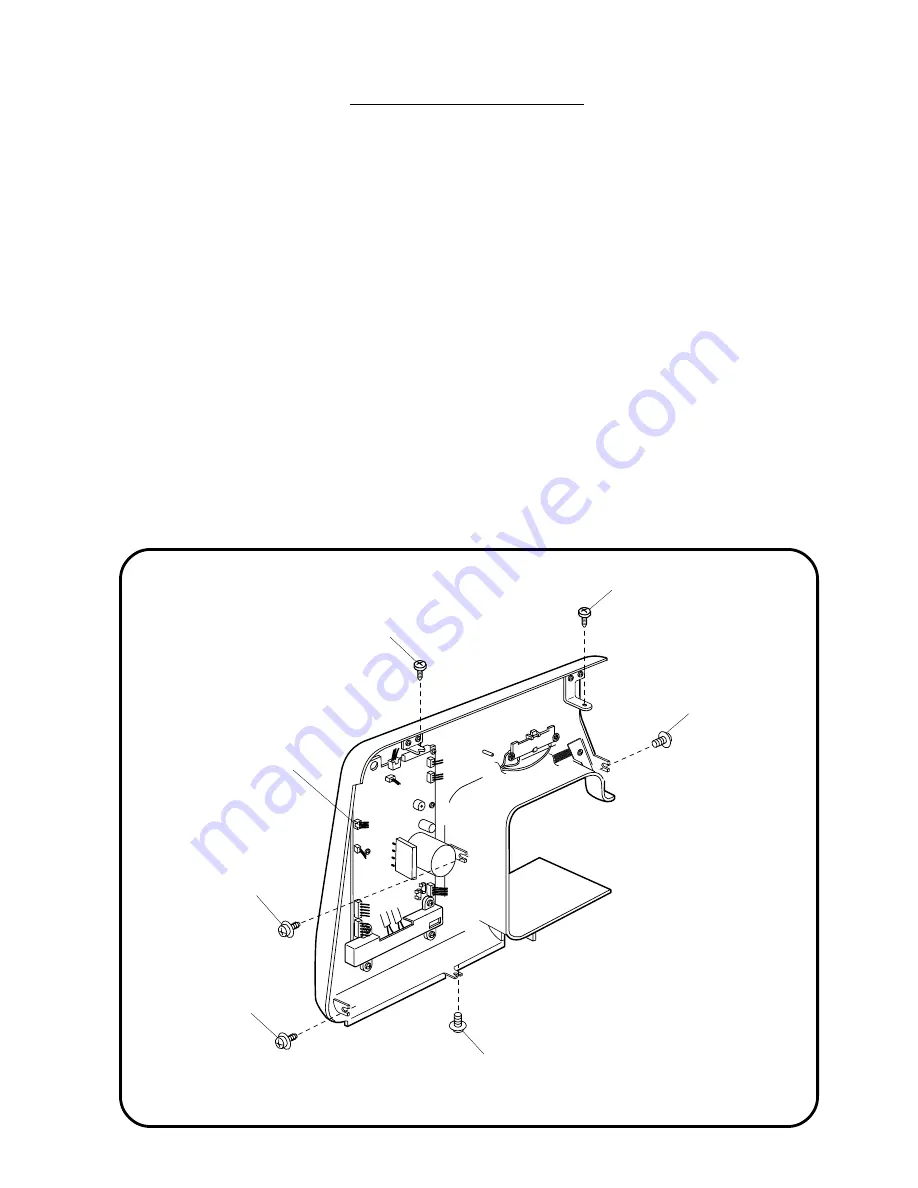
2. Loosen the setscrews (A), (B), (C), (D) and (E), then remove the setscrew (F).
3. Disconnect connectors from printed circuit board "A".
NOTES: TO DISCONNECT THE CONNECTORS:
Grasp the connector directly with your fingers and pull. Do not pull on the lead wire, as this may damage the
contact sleeve inside the connector.
TO INSTALL:
4. To install the front cover, follow the above procedure in reverse.
NOTES:
TO CONNECT THE CONNECTORS:
1. Be sure that the color of each connector corresponds to the color of the connector post on the printed
circuit board (PCB) to which it is connected.
2. Insert the connector at the right angle. Then push it straight down until it locks in place.
Setscrew (F)
Setscrew (A)
Setscrew (E)
Setscrew (D)
Setscrew (C)
Setscrew (B)
Printed circui board
“A” connector


