

10
q
w
e
r
t
y
z
x
c
v
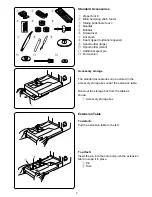
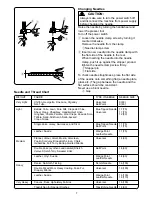
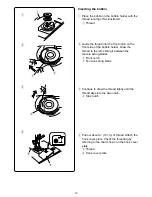
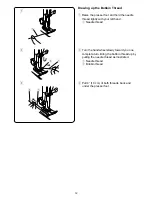
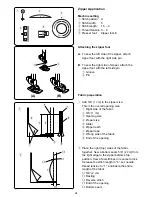
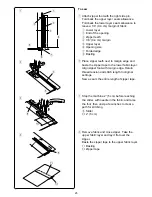
Inserting the bobbin
z
Place the bobbin in the bobbin holder with the
thread running off as illustrated.
q
Thread
x
Guide the thread into the front notch on the
front side of the bobbin holder. Draw the
thread to the left, sliding it between the
tension spring blades.
w
Front notch
e
Tension spring blade
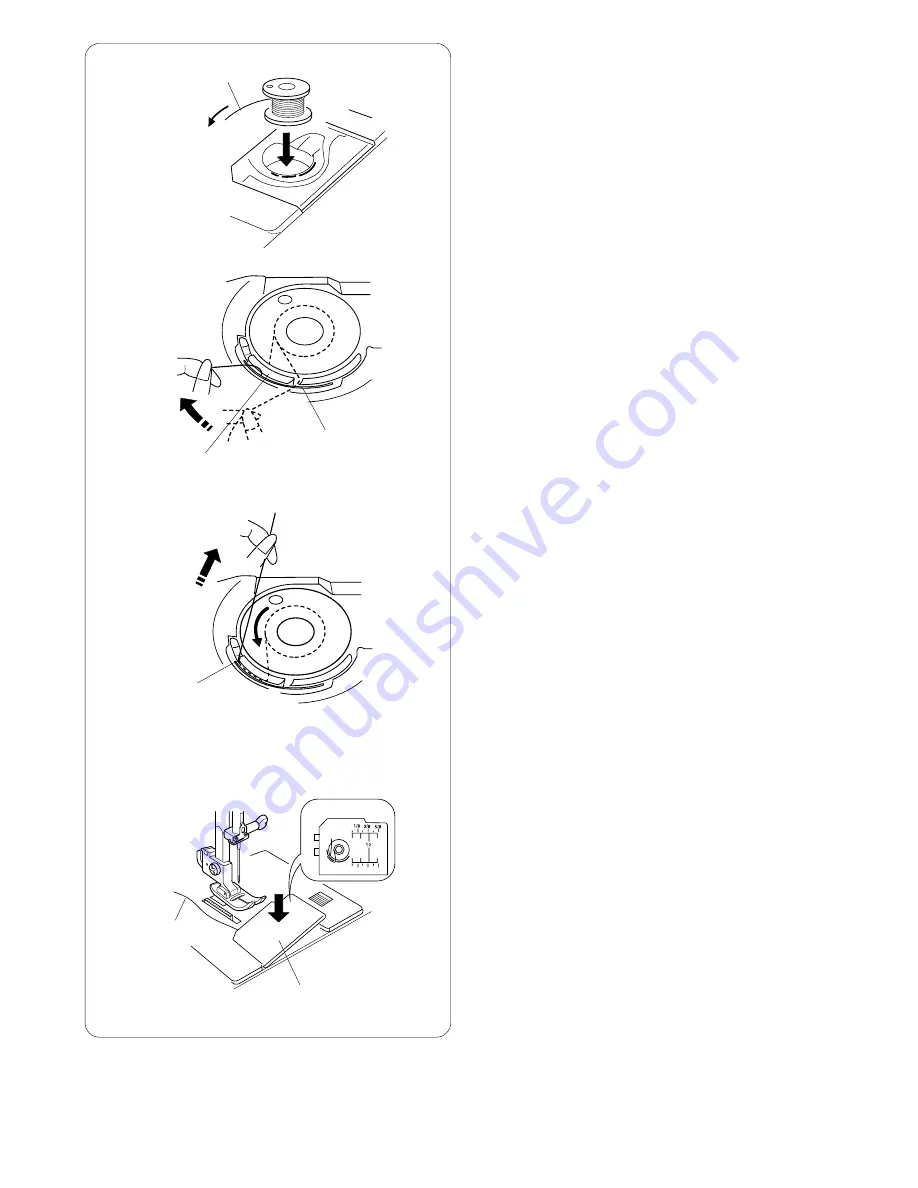
c
Continue to draw the thread lightly until the
thread slips into the side notch.
r
Side notch
v
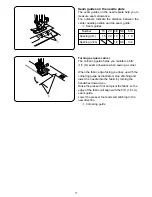
Pull out about 4˝ (10 cm) of thread. Attach the
hook cover plate. Check the threading by
referring to the chart shown on the hook cover
plate.
t
Thread
y
Hook cover plate
Summary of Contents for Magnolia 7318
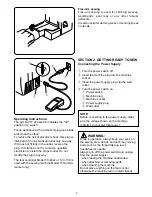
Page 1: ...INSTRUCTION MANUAL...


