45
Mechanical adjustment
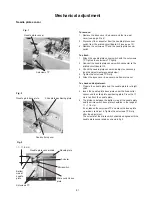
Presser bar height
To adjust:
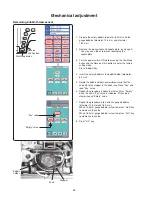
1. Turn the power switch ON while pressing the Start/Stop
button and the Reverse stitch button to enter the factory
setting mode.
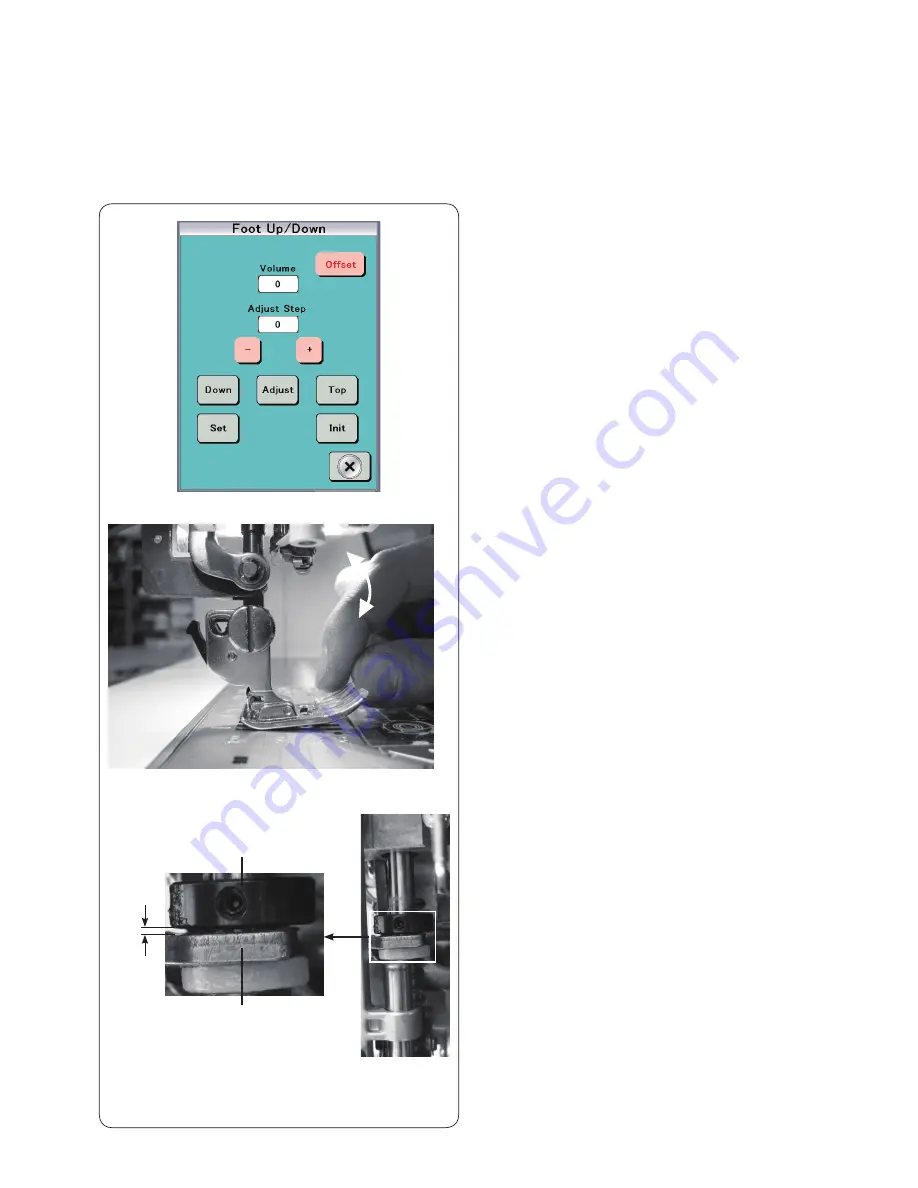
Press "Foot Up/Down" key.
2. Attach the foot holder lightly (Do not tighten the
thumbscrew.).
3. Press "Down" key. The presser bar will be lowered.
Tighten the thumbscrew firmly.
4. Press "Init" key to initialize the settings. Press "Adjust" key
to lower the foot.
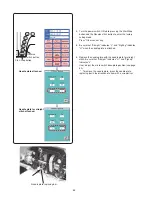
Check if there is a space between the foot and needle plate
by tapping the foot tip with fingers as shown.
If there is not enough space to tap the foot tip, press "–"
few times to raise the presser bar, giving a
enough space between the needle plate and the presser
foot.
5. Press "+" once and tap the foot to check the space.
Repeat this step until the tapping sound is gone.
6. Press "+" again to apply foot pressure, then press "set" to
register the presser bar height.
* Adjust the presser bar height always by pressing "+" key.
Do not press "–" at the end of this adjustment.
In case "+" button pressed too many times, press "–" few
times and return the pr
o
cedure 4 above.
* The value of "Adjust Step" should be within the range of
970 to 1030. If the value is far out of the range, check
Automatic Presser Foot Lifter Sensor adjustment.
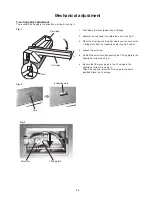
* Turn the power switch ON again to enter the ordinary
sewing mode, and set the presser foot pressure to
"Auto-5". Press the presser foot button to lower the presser
foot. Be sure that there is a clearance between the presser
foot lifter stopper and the automatic presser foot lifter lever
as shown in the picture.
If there is no clearance between the presser foot lifter
stopper and the automatic presser foot lifter lever, adjust
the presser bar height again.
Tap
Clearance
Presser foot lifter stopper
Automatic presser foot lifter lever


