46
⇒
⇒
⇒
Mechanical adjustment
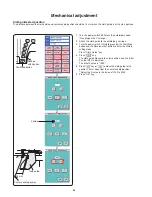
Embroidery foot height
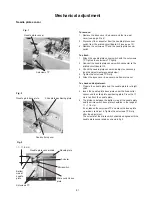
The distance between the embroidery foot and the surface of the needle plate should be in the range of 1.7 mm to 1.9 mm when
the presser bar is lowered.
To adjust:
1. Attach the embroidery foot (P).
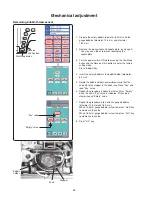
2. Turn the power switch ON while pressing the Start/Stop
button and the Reverse stitch button to enter the factory
setting mode.
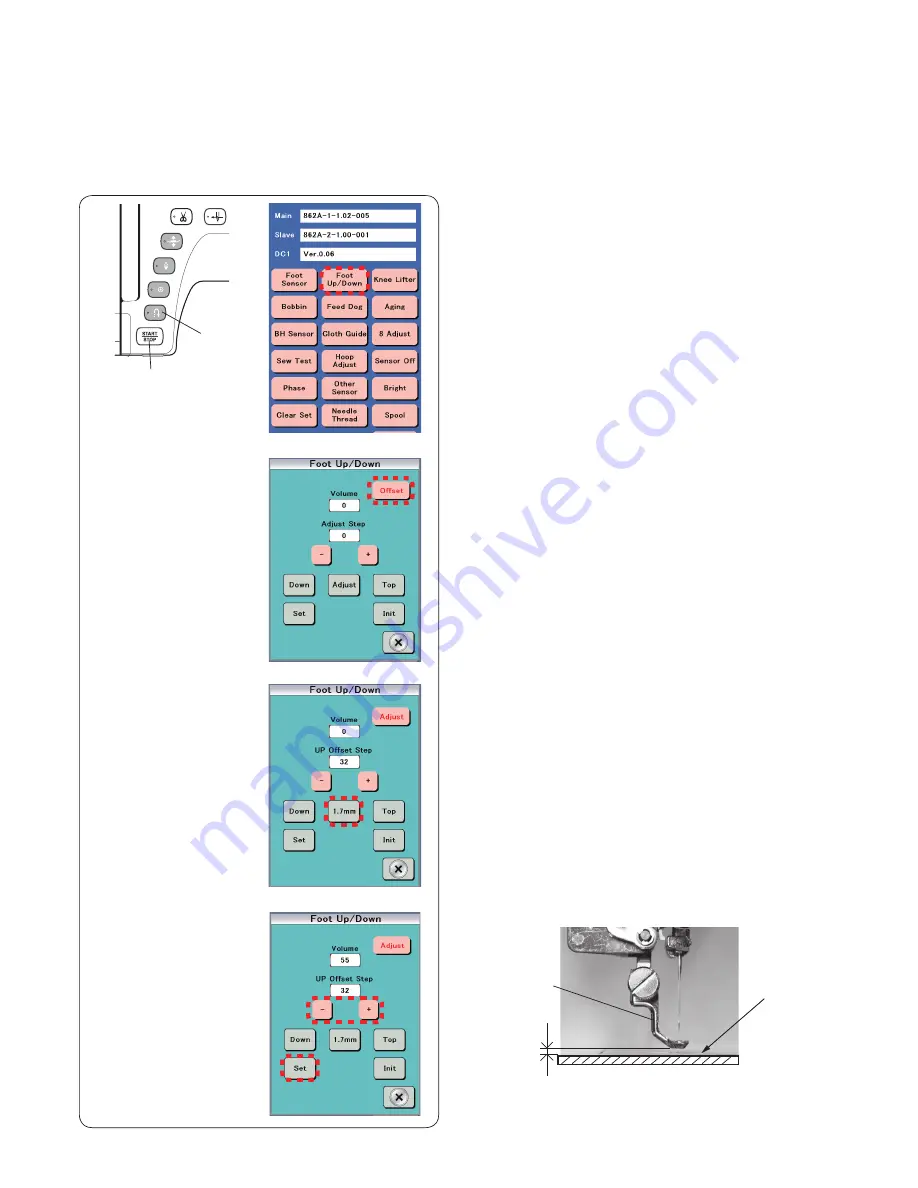
Press "Foot Up/Down" key.
* The presser foot will rise when it is lowered.
3. Press "Offset" key. The "Offset" key changes to "Adjust".
4. Press "1.7 mm"
* The embroidery foot will be lowered.
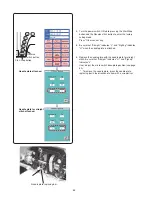
5. Press "+" or "–" to adjust the distance between the lower
edge of the embroidery foot and the surface of the needle
plate to 1.8 mm. Adjust the embroidery foot height slightly
higher than 1.8 mm so the adjustment can be finished by
pressing "–" key at the end.
* This adjustment must be completed by pressing "–".
* Press "–" to raise the presser foot bar.
* Press "+" to lower the presser foot bar.
5. Press "Set" key.
The embroidery foot height will be memorized.
Press "X" key to exit the adjusting mode.
Embroidery foot
1.8 mm
Surface of
needle plate
Start/Stop button
Reverse
stitch button


