29
⇒
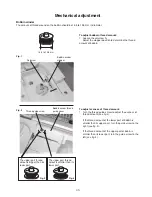
Presser foot lifter detecting switch adjustment
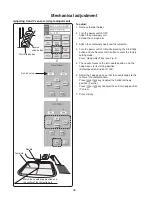
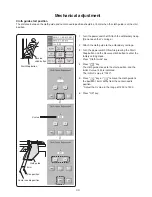
Mechanical adjustment
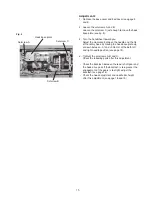
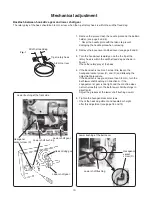
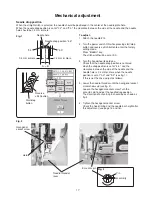
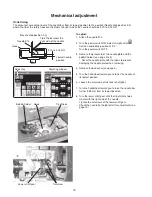
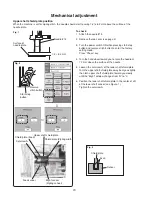
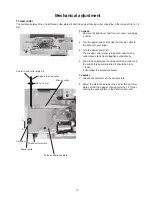
To adjust:
1. Remove the top cover (see page 2).
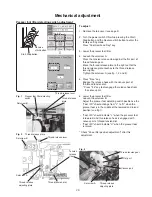
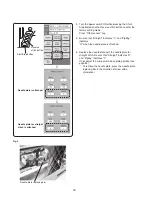
2. Turn the power switch ON while pressing the Start/
Stop button and the Reverse stitch button to enter the
factory setting mode.
Press "Foot Sen/Feed Dog" key.
3. Lower the presser foot lifter.
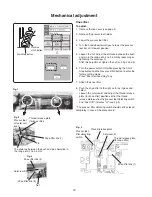
4. Loosen the setscrew A.
Press the tension release claw against the flat part of
thread tension gear.
Move the thread release plate to the right so that the
thread release plate touches to the thread release
lever lightly.
Tighten the setscrew A (see fig. 1, 2 and 3).
5. Press "Free" key.
Engage the release hook with the convex part of
the thread tension dial.
* Press "3.4" key to disengage the release hook from
the convex part.
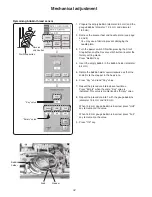
6. Lower the presser foot lifter.
Loosen the setscrew B.
Adjust the presser foot detecting switch position so the
"Foot U/D" should change from "L" to "H" when the
presser foot is in the middle of the lowered and raised
position (see fig. 1).
• "Foot U/D" should indicate "L" when the pressser foot
is lowered, and thre release hook is engaged with
convex part of thread tension dial.
• "Foot U/D" should indicate "H" when the presser foot
is raised.
* Check "Knee lifter position adjustment" after this
adjustment.
Start/Stop button
Reverse
stitch button
Fig. 1
Fig. 2
Fig. 3
Setscrew B
Presser foot lifter detecting
switch
Thread release lever
Thread release
plate
Thread release plate
Setscrew B
Thread release lever
Setscrew A
Thread release
adjusting plate
Thread tension dial
Tension
release
claw
Setscrew A
Thread release
adjusting plate
Convex part
Flat part
Thread tension gear

