JanomeFlyer.com
14
q
w
e
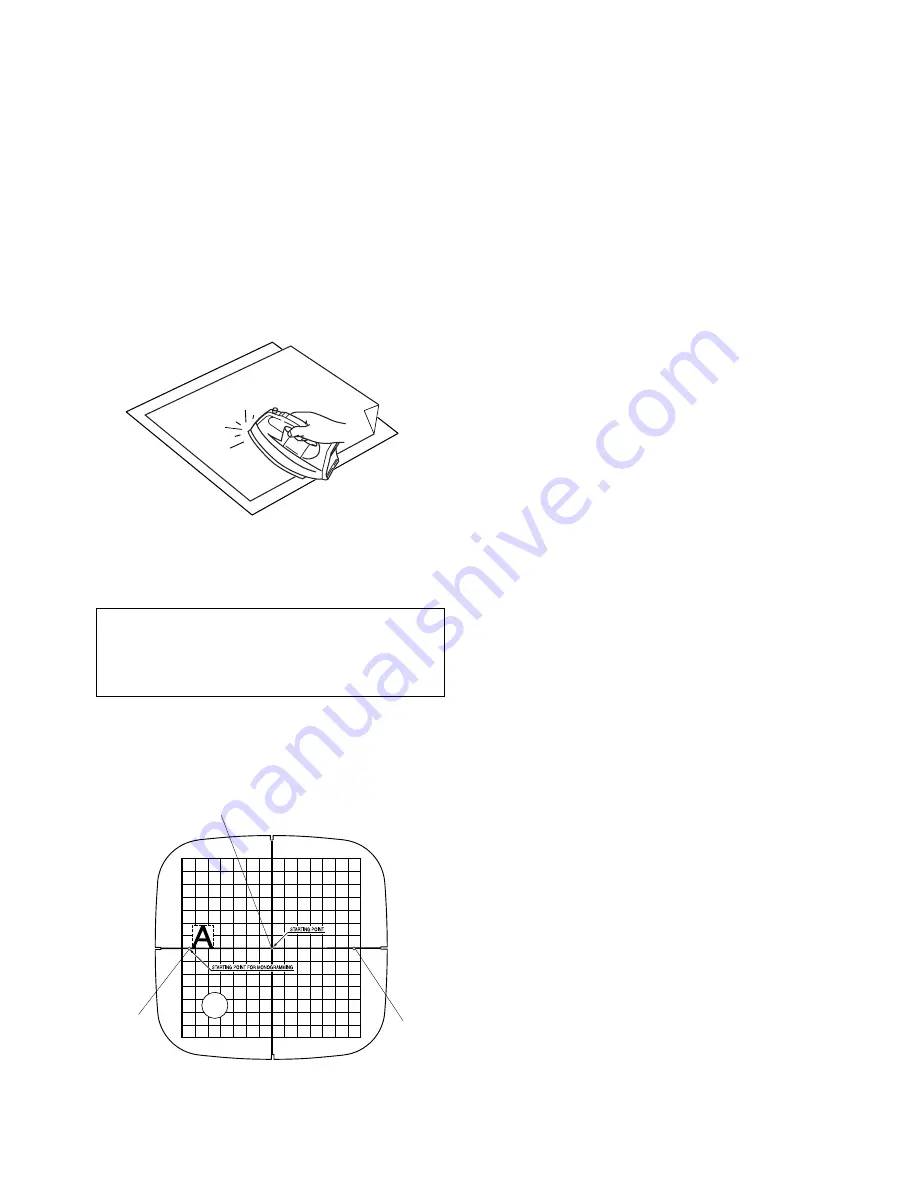
Adhesive (Iron-on) stabilizer
Place the wrong side of fabric and the glossy side of
the stabilizer together. Fold up a corner of the stabi-
lizer and fuse it with an iron.
NOTES:
Fold up a corner of the stabilizer, to make it easier to
peel off the excess stabilizer after stitching.
Ironing temperatures vary depending on the type of
adhesive type stabilizer being used.
Stabilizers
To obtain the best quality embroidery, it is important to
use stabilizers.
Types of stabilizer
Tear-away Stabilizer is made from a fiber that will tear
easily. Use tear-away stabilizers for stable woven
fabrics. After stitching, tear away the stabilizer so that
the small portion left in the back of the stitching will not
affect the wear.
Iron-on Stabilizer is an adhesive type stabilizer for knits
and all kinds of unstable fabrics. Fuse it to the wrong
side of fabric with an iron.
Cut-away Stabilizer is a non-woven fabric that does not
tear. Cut the excess portion after stitching. Use cutaway
stabilizers for knits and all kinds of unstable fabrics.
Water Soluble Stabilizer will dissolve in water. Use this
stabilizer for cutwork or lace embroidery, and also for
the right side of looped fabrics such as toweling to avoid
loops coming through the embroidery.
Sticky Stabilizer is a sticky paper used for securing a
small fabric or work that cannot be secured in the hoop.
It is also used for velvet and other napped fabric that
would be permanently marked by the hoop.
Usage
The stabilizer should be attached to the wrong side of
fabric. More than one layer may be required.
Felt or stable fabrics do not need to be stabilized and you
may embroider directly on them.
For firm fabrics, you may place a thin paper under the
fabric.
The non-adhesive type should be used when
embroidering fabric, which cannot be ironed or for
sections, which are difficult to iron.
Cut the stabilizer larger than the embroidery hoop and
set it on the hoop so that the entire piece is fastened
within the hoop to prevent looseness of the fabric.
Template
When positioning the fabric into the hoop, use the
template to align the centerlines on the fabric with the
center of the hoop. First mark the centerlines on the
fabric and place the fabric on the outer hoop. Place the
inner hoop and template over the fabric and adjust the
fabric placement.
q
Center point for embroidery and center justified
lettering embroidery
w
Leftmost point for left justified lettering embroidery
e
Rightmost point for right justified lettering embroidery
Janome 200E Embroidery Machine Instruction Manual
www.janomeflyer.com
200E Owners Manual/ User Guide


