


44
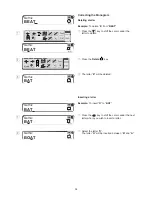
Short of memory space,
the file cannot be saved.
Mode
USB Memory Stick
A Z
A-001
B-002
C-003
Cancel
A-001
B-002
C-003
Cancel
OK
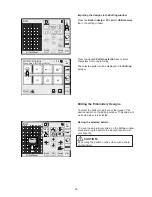
Are you sure you want
to delete this file?
w
q
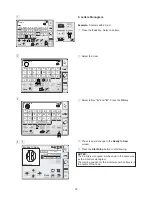
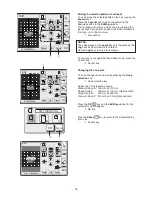
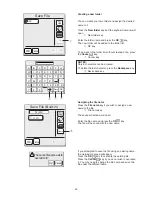
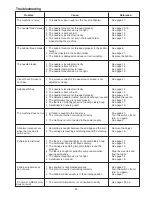
Deleting the file
When the memory is full, a warning message will
appear. Press the
OK
key and go to the open file
window then delete the file that you do not need.
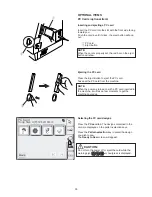
Press the
Built-in design
,
PC card
or
USB memory
tab to select the location of the file to delete.
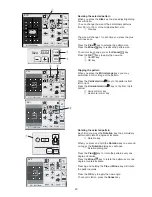
Press the
Delete
key and the
File delete
dialog box will
open.
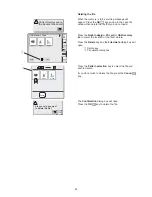
q
Delete key
w
File delete dialog box
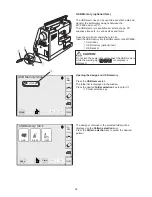
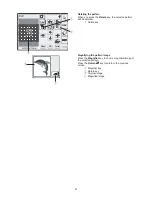
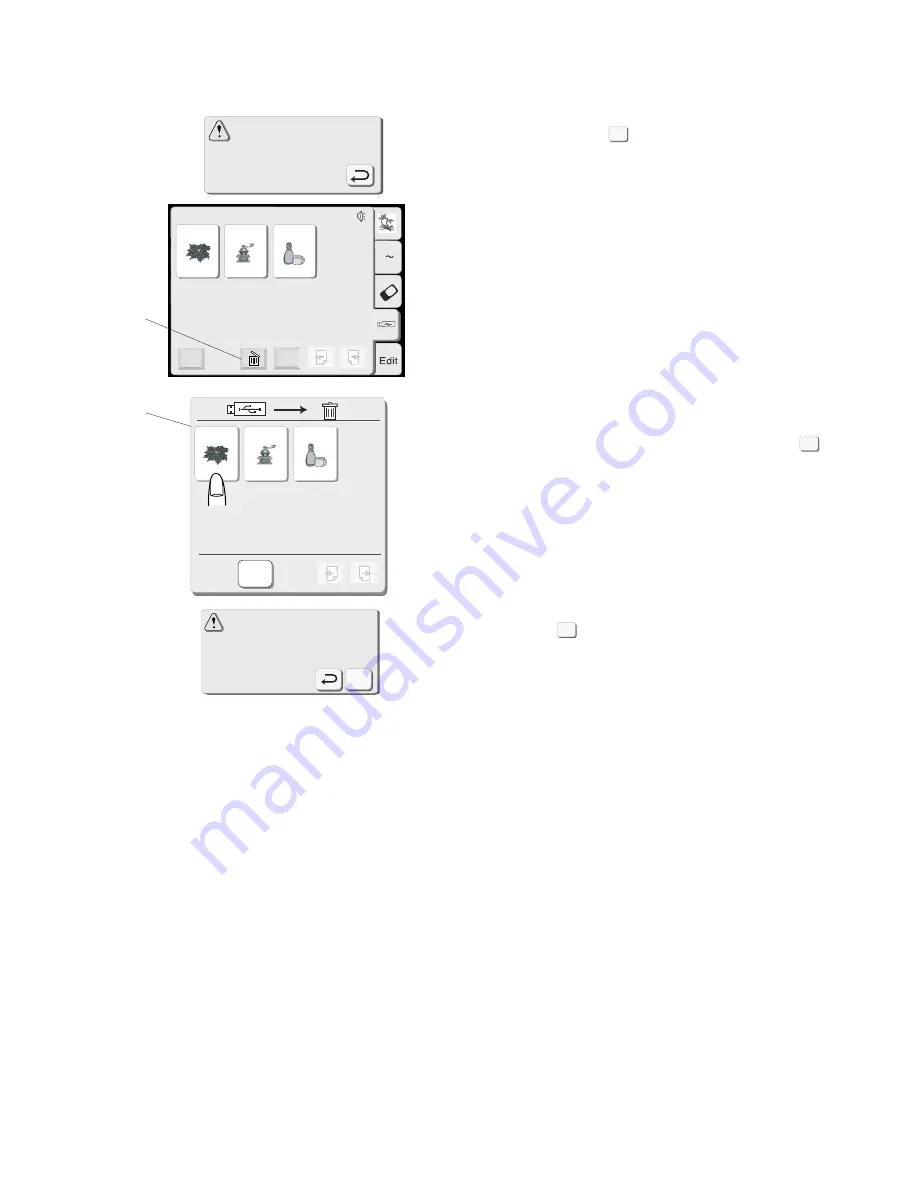
Press the
Pattern selection
key to select the file you
wish to delete.
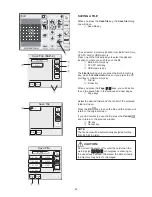
If you do not wish to delete the file, press the
Cance
l
key.
The
Confirmation
dialog box will open.
Press the
OK
key to delete the file.
Cancel
OK
OK


