


AAASewing.com
14
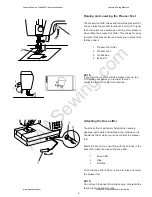
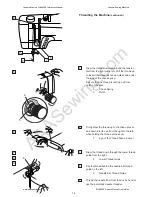
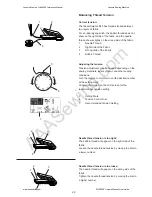
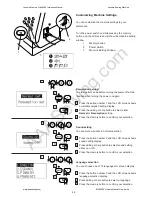
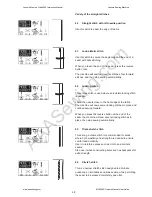
Inserting the bobbin
1
Place the bobbin in the bobbin holder with the
thread running off counterclockwise.
1
Thread
2
Bobbin Holder
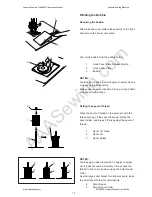
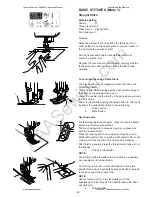
2
Guide the thread into notch (A) on the front
of the bobbin holder.
3
Draw the thread to the left, sliding it between the
tension spring blades.
4
Continue to draw the thread lightly until the
thread slips into side notch (B). The bobbin
should turn counterclockwise when pulling the
bobbin thread. If not, reverse the bobbin and
re-thread.
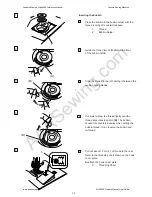
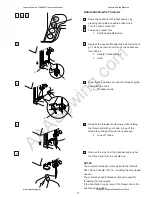
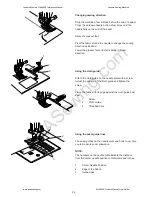
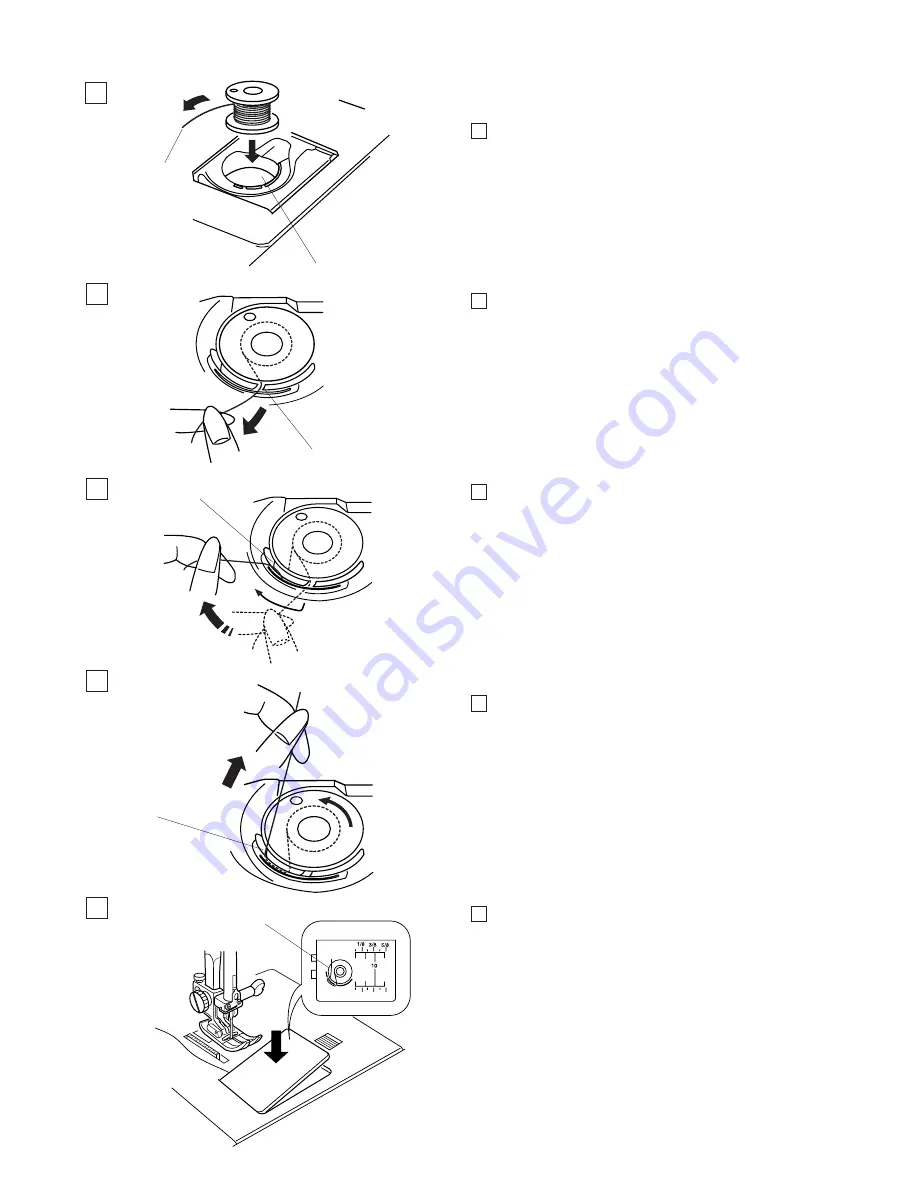
5
Pull out about 10 cm (4") of thread to the rear.
Refer to the threading chart shown on the hook
cover plate.
Reattach the hook cover plate.
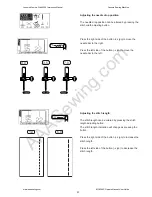
3
Threading Chart
5
3
1
2
(A)
2
3
(B)
4
(B)
1
Janome Memory Craft 6500 Instruction Manual
Janome Sewing Machine
www.aaasewing.com
MC6500P Owners Manual/ User Guide


