background image

Summary of Contents for New Home 580

Page 1: ...Hi u jii Ili UHL MANUAL OF INSTRUCTION SEWING MACHINE MODE L E 80...

Page 2: ...ured BROWN must be connected to the terminal marked L or coloured RED The wire coloured BLUE must be connected to the terminal marked N or coloured BLACK If a 13 amp plug is used fit a 3 amp fuse For...

Page 3: ...ions varieties of automatic decorative patterns are multiplied when sewn at different needle positions TRIPLE LOCK STRETCH STITCH especially effective when sewing stretch materials like jersey or when...

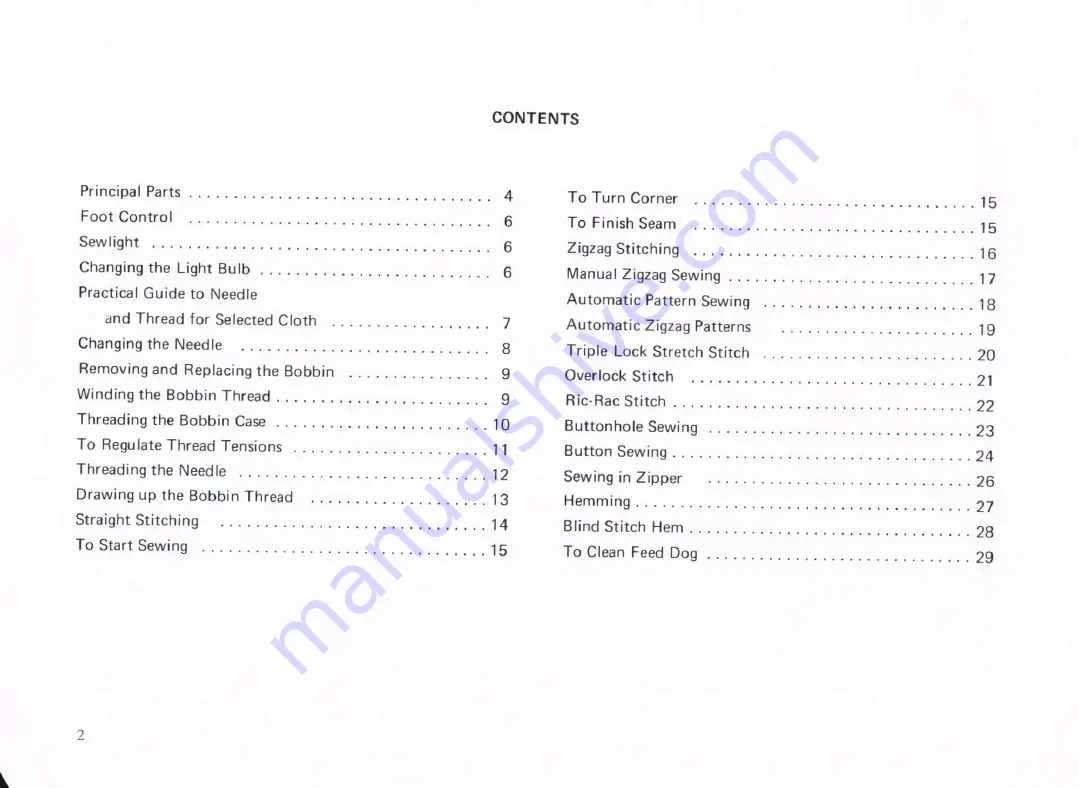
Page 4: ...matic Zigzag Patterns 19 Changing the Needle 8 Triple Lock Stretch Stitch 20 Removing and Replacing the Bobbin 9 Overlock Stitch 21 Winding the Bobbin Thread 9 Ric Rac Stitch 22 Threading the Bobbin C...

Page 5: ...To Clean Shuttle Race 30 To Oil Machine 31 To Regulate Belt Tension on Motor 32 Unsatisfactory Conditions Causes and Remedies 33 3...

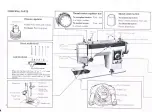
Page 6: ...release Push ring down in id Spool p R fbin wirnder spindle Bobt vvinqdor Pitch Stitch width knob T hd re ui 4 l 3 V t II I Slid L late CAM RL AE 1 Face nOle 5 43 210 When moving the knob from 0 to 1...

Page 7: ...nd move to position will be selected at the left the center or the right respectively STTC Stitch length dial regulates stitch length 0 Reverse push button controls reverse sewing Reverse sewing will...

Page 8: ...ligth acting as a warning when the machine is connected to the electricity supply To change the bulb remove same by slightly pushing it upward and turning it anti clockwise Insert a new bulb by fittin...

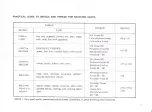
Page 9: ...d cotton thread 50 60 Silk thread 50 LIG HT or P l e t r t r a 0 1 o 1 MEDIUM cotton poplin taffera linen satin Polyester thread 50 11 ort14 thread 50 60 MEDIUM dress wool shirtings crimplene gingham...

Page 10: ...needle to the right and push it upat I 0 all the way until it hits pin 4 Tighten needle clamp screw firmly TO CHOOSE CORRECT NEEDLE The needle should be straight and the point of needle should not be...

Page 11: ...your left hand and turn the slide plate stop motion screw toward you Fig 1 REMOVING THE BOBBIN continued Remove bobbin case by holding the latch open Then release latch and turn bobbin case downward T...

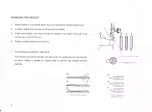
Page 12: ...n from inside Fig 2 to outside and slip the bobbin on the bobbin winder 3 Pull it through under tension spring and then into spindle delivery eye Fig 3 5 Hold the end of thread and run the machine Cut...

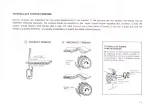
Page 13: ...few inches of thread if you feel a slight pull and the thread is supplied smoothly it is usually unnecessary to adjust the bobbin thread tension 0 CORRECT TENSION X INCORRECT TENSION TO REGULATE BOBB...

Page 14: ...ver thread guides C f 3 Lead thread between tension discs Q from right to left while restraining thread from L drawing out freely from spool Then pull it up through check spring A and over tension thr...

Page 15: ...le thread with your left hand and turn balance wheel toward you until needle moves down and up again then stop balance wheel 2 Pull needle thread to bring up bobbin thread in a loop 3 Draw the threads...

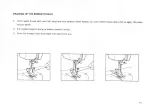
Page 16: ...to use straight foot When moving the optional extra knobs press down knobs and then move NOTE It is recommended to try test piece Remove pattern cam it to the direction stitching before sewing your g...

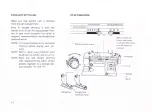
Page 17: ...edle in your material while holding the thread ends TO TURN CORNER 1 Stop sewing with needle in the fabric and raise presser foot 2 Pivot the fabric on needle TO FINISH SEAM _ STITCH W107H KEF E POSIT...

Page 18: ...cam Released THREAD TENSION FOR ZIGZAG STITCHING 0 5 4 To obtain better zigzag stitches the needle thread tension should be slightly weaker than in the case of straight sew NORM ing or SILK 2 5 43 21...

Page 19: ...ches Patterns Stitch Length Width Needle Needle _ _ _ _ _ _ _ Position Patterns Stitch Length W idth P sto PositionPosition any length 0 any posihorl any length 5 2 5 M short 5 P NMVNAMv any length 1...

Page 20: ...chine follow the following instructions 1 Open lid with your finger 2 Turn zigzag width knob to 5 CAM RELEASE 3 Insert pattern cam into machine Turn pattern cam until the pin on the machine fits into...

Page 21: ...n No L 10t L WW WL MNW W1 WN L T Y 1 NI 5 NI AA Ai 9 I M AW M 13 M 44 4 R R R R AA AA A L WA N w 11A L M r L 1 L W A 2 M 6 M 0 A 10 M 14 N 41 M RR R R L L L e I f L M M MA 3 M 7 M 1 11R R A 15 M k A w...

Page 22: ...t of Remove pattern cam 4 strain 27 NOTE In order to maintain the shape when sewing light weight materials S use of lining isadvisable NOTE Bring thread take up lever to its rsdown and away highest po...

Page 23: ...the button pattern cam until the pin on the 4 ou machine fits into the groove in the cam NOR 3 Close lid and move zigzag width knob to 0 NOTE When you join bulky knit or heavy weight stretch fabrics...

Page 24: ...tterncam i I J Stitch width Extremely durable and very elastic between 3and 3 5 NOTE Stitch width should be between 3 and 3 5 4Press the button NOTE Bring thread take up lever to its 4 down and away h...

Page 25: ...T BUTTON OPENING Set the needle position selector at L and release the stretch Place a marking needle stitch button across the cutting space 2 Set the zigzag width knob between 1 and 2 to protect the...

Page 26: ...7 Set the zigzag width control knob at 4 and sew three or four stitches to make bar tack 2 8 Raise needle from fabric also raise feed teeth by setting the drop feed knob at NORM 9 Now to sew the other...

Page 27: ...ct position Remove pattern cam 3 Place button under button foot and lower the needle into the center of left hole Released 4 Lower the foot The space between the y holes in the button determines zigza...

Page 28: ...place presser foot with zipper foot 2 Set the other controls as shown Releas 3 Place the zipper and fabric under needle as shown below A To sew the left side of the zipper set the zipper foot on the l...

Page 29: ...t 2 inches along the edge of material to be hemmed Fig 1 Released 4 Place folded edge under foot at an angle and position needle Then lower the hemmer foot and pull both thread ends backward until a f...

Page 30: ...plate 4 Lower presser foot then loosen thumb screw to insert the blind stitch hem guide A between the screw and NORM presser foot or 5 Make sure that the guide is placed in SILK the middle of the toes...

Page 31: ...hat the feed dog be cleaned from time to time 1 Loosen thumb screw and remove the presser foot 2 Remove needle plate 3 Clean lint and loose threads in the feed dog with a brush Also clean the reverse...

Page 32: ...dog with a small brush Remove lint and thread lever lever from all parts of shuttle and wipe with a lightly oiled cloth TO REASSEMBLE o Hold shuttle by center pin and fit carefully back into shuttle...

Page 33: ...by the arrows in the figures In constant use oil two or three times aweek In case the machine does not work smoothly due to standing idle for some time apply a few drops of paraffin at the oiling poin...

Page 34: ...screw about one turn with a screw driver This will allow the motor to move downward or upward Then firmly tighten the screw and the belt should have the correct tension CAUTION Do not tighten the belt...

Page 35: ...1 When the lower thread is not wound correctly it gets entangled Wind it properly 2 The lower thread is off the tension spring of the bobbin case Put it in its proper position SKIPPED STITCHES 1 The n...

Page 36: ...er thread tensions 2 The pressure of the presser foot is too strong See instructions for adjustment of the pressure of the presser foot 3 Stitches are too small for the weight of the material Adjust t...

Reviews: