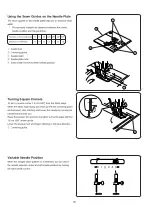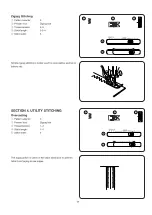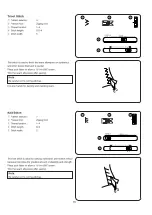
21
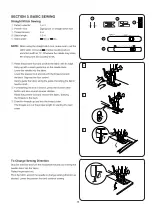
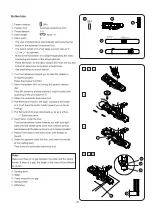
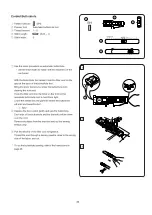
Buttonhole
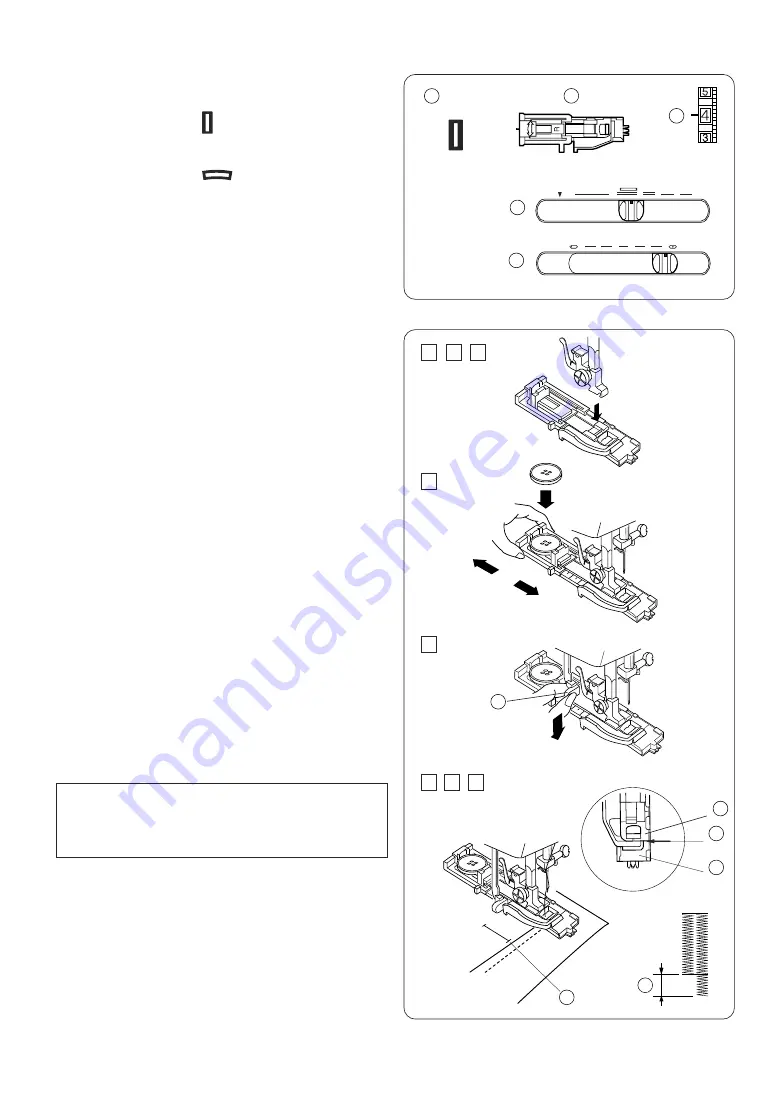
q
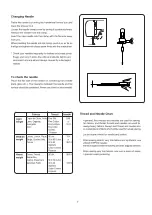
Pattern selector:
(BH)
w
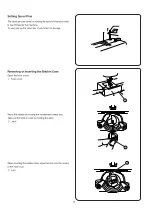
Presser foot:
Automatic buttonhole foot
e
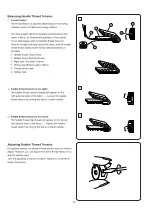
Thread tension:
1–5
r
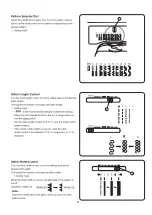
Stitch length:
(0.25–1)
t
Stitch width:
5
* The size of buttonhole is automatically set by placing the
button in the automatic buttonhole foot.
* The button holder of the foot takes a button size up to
2.5 cm (1") in diameter.
* Make a test buttonhole on a sample duplicating the fabric,
interfacing and seams of the actual garment.
* Place the button on the fabric sample and mark the top and
bottom to determine the position of buttonhole.
* Use interfacing on stretch fabrics.
z
Turn the handwheel toward you to raise the needle to
its highest position.
Raise the presser foot lifter.
x
Select the pattern “BH” by turning the pattern selector
dial.
If the BH pattern is already selected, reset the dial once
according to the procedure in
⁄2
.
c
Attach the automatic buttonhole foot.
v
Pull the button holder to the back, and place the button
in it. Push back the button holder toward you as far as
it will go.
b
Pull the buttonhole lever downward as far as it will go.
q
Buttonhole lever
n
Insert fabric under the foot.
Turn the handwheel slowly towards you with your right
hand until the needle goes down and continue turning
handwheel until the take-up lever is at its highest position.
m
Remove the fabric to the left to draw both threads to
the left.
,
Insert the garment under the foot, and lower the needle
at the starting point.
Then lower the automatic buttonhole foot.
w
Starting point
e
Slider
r
There should be no gap
t
Spring holder
y
Difference
Note:
Make sure there is no gap between the slider and the spring
holder. If there is a gap, the length of the rows will be different,
as shown.
1
2
3
4
5
6
7
4
1
2
3
5
8
1
2
3
4
5
6
BH
4
3
2
1
0
STRETCH
L
S
0
5
1
2
3
4

