


18
q
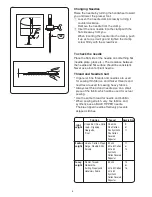
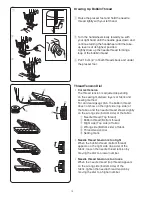
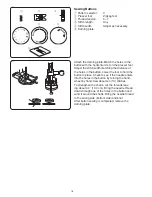
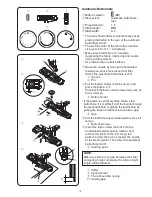
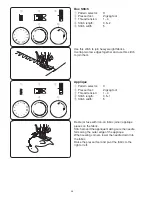
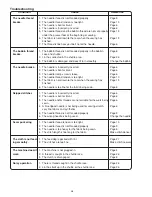
Pattern selector:
C
w
Presser foot:
Zigzag foot
e
Thread tension:
3–7
r
Stitch length:
Any
t
Stitch width:
Adjust as necessary
y
Darning plate
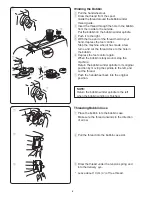
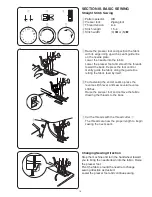
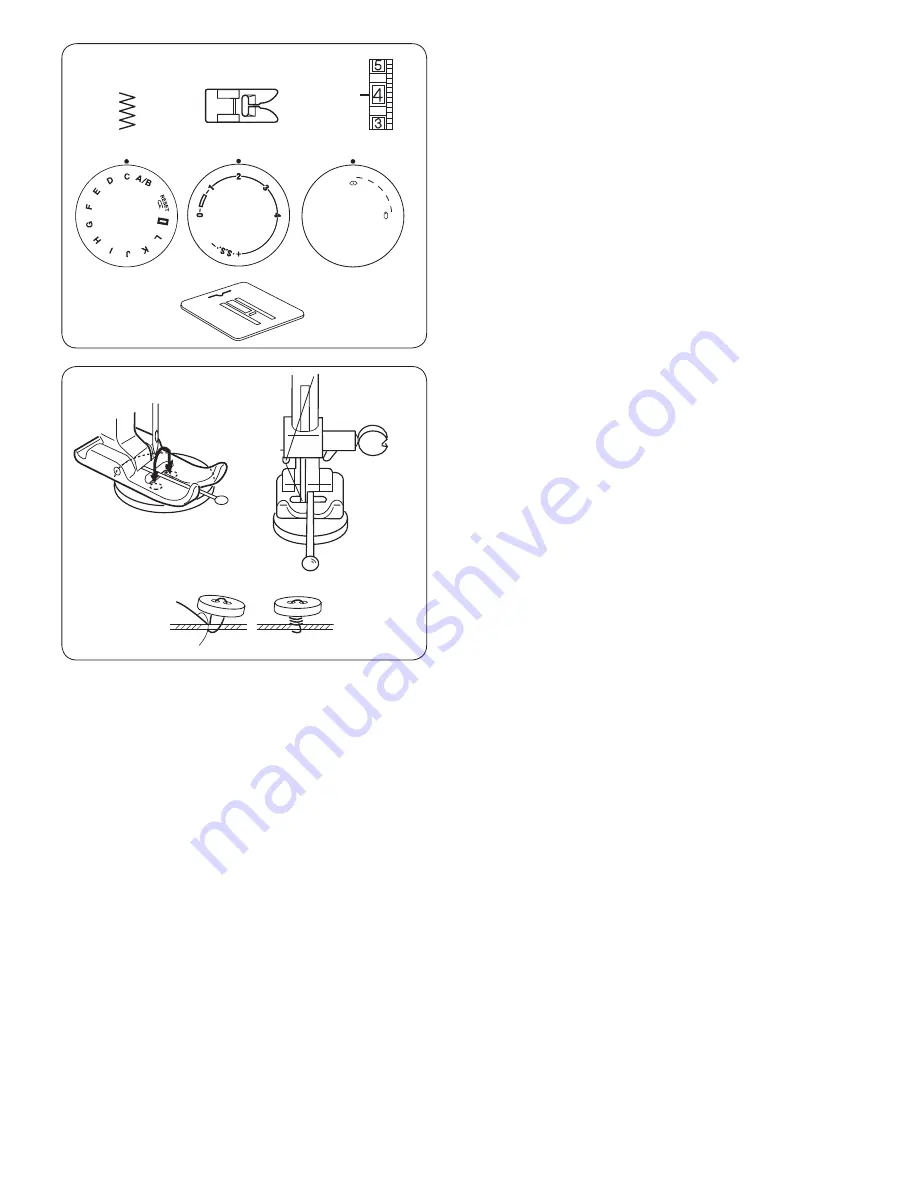
Sewing Buttons
Attach the darning plate. Match the holes in the
button with the horizontal slot on the presser foot.
Adjust the stitch width matching the distance of
the holes in the button. Lower the foot to hold the
button in place. Check to see if the needle enters
into the holes in the button by turning the hand-
wheel by hand. Sew about ten (10) stitches.
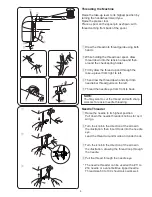
To strengthen the shank, cut the threads leav-
ing about 4.0˝ (10.0 cm). Bring the needle thread
down through one of the holes in the button and
wind it around the shank. Bring the needle thread
to the wrong side (bottom side) and knot.
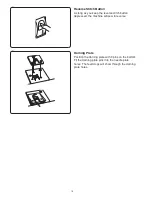
After button sewing is completed, remove the
darning plate.
y
w
e
q
r
t
1
2
4 3
5
0