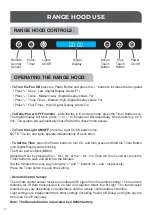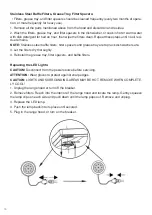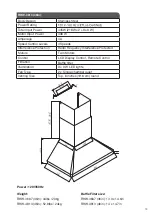
INSTALLATION INSTRUCTIONS
• It is recommended for the vent system to be installed before hood is installed.
• Before making cutouts, make sure there is proper clearance within the ceiling or walls for the
exhaust vent.
• Disconnect the power.
• A minimum of 6” (RHW-3687 model) and 8” (RHW-4813 model) round or 3-1/4 x 10” rectangular
duct (both purchased separately) must be used to maintain maximum airflow efficiency.
• Always use rigid type metal/aluminum ducts if available to maximize airflow when connecting to
provided duct.
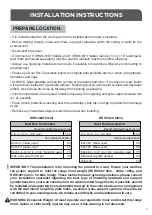
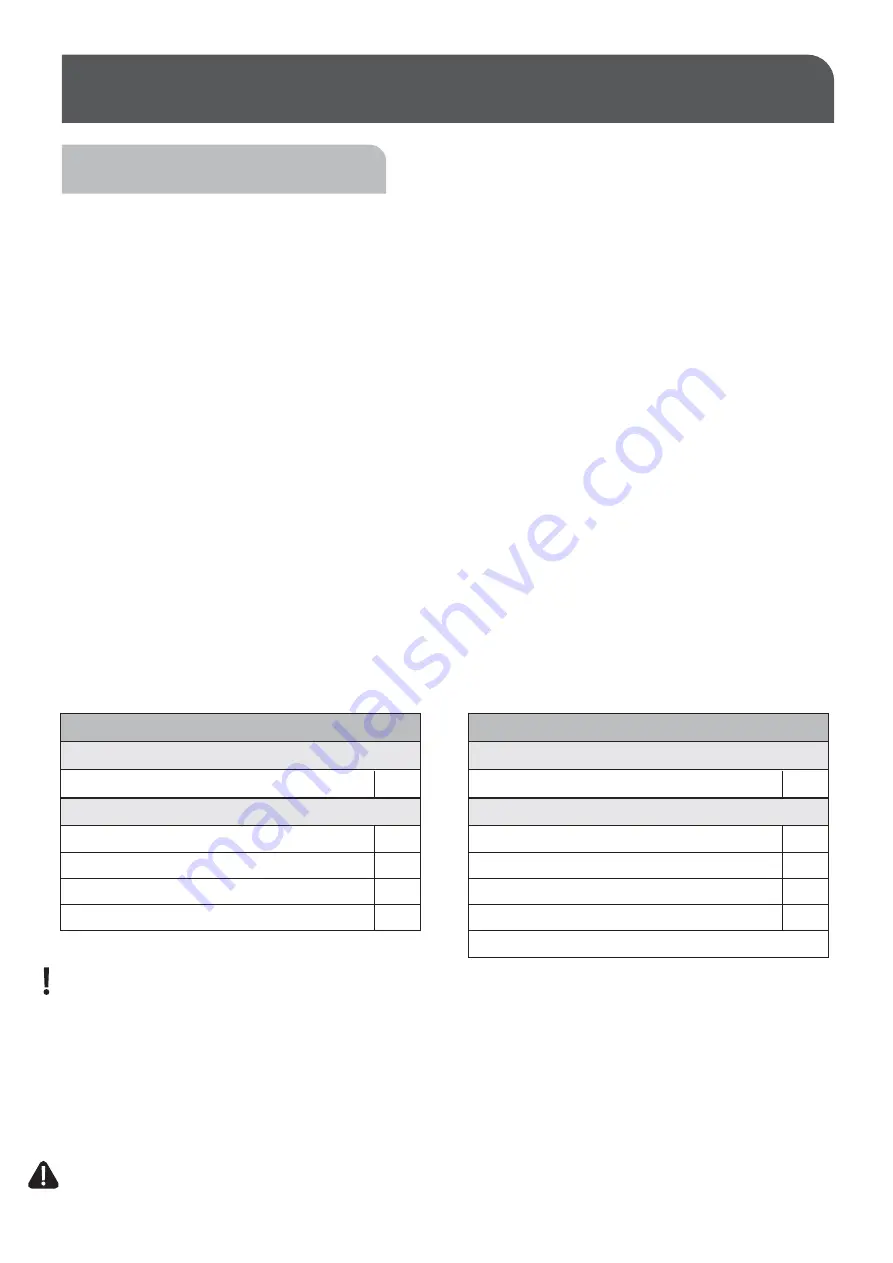
• Please use Duct Run Calculation below to compute total available duct run when using elbows,
transitions and caps.
• ALWAYS, when possible, reduce the number or transitions and turns. If a reducer is used, install
a long reducer instead of a pancake reducer. Reducing duct size will restrict airflow and decrease
airflow, thus reduce duct size as far away from opening as possible.
• If turns or transitions are required, install as far away from opening and as far apart, between two
(2), as possible.
• Place a thick, protective covering over the countertop, cook top or range to protect from damage
or dirt.
• Remove any hazardous objects around the area when installing.
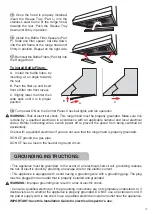
IMPORTANT: This installation is for mounting the product to a wall. Ensure your wall has
the proper support to hold the range hood weight (RHW-3687 36in - 44lbs / 20kg, and
RHW-4813 48in - 52.8lbs / 24kg). These instructions are general guidelines; please consult
your installation specialist regarding the best type of mounting hardware and support
system based on your wall construction. All wall-mounted range hoods, if possible, should
be installed and supported by studs behind the wall. In the event studs are not in alignment
with the wall mount mounting plate holes, a wooden cross support system will need to be
retrofitted to your existing studs. All homes are different, and installations will vary.
WARNING: Excessive Weight. At least 2 people are required to move and install this range
hood. Spinal or other bodily injuries may occur if this warning is not observed.
PREPARE LOCATION:
Duct Run Calculation:
RHW-3687 (36in)
Recommended maximum run
6 in. or 3 1/4 x 10in. duct
Each 90
˚ elbow used
Each 45
˚ elbow used
Each 6 in. to 3-1/4 x 10in. transition used
Side wall cap with damper
30 ft
9 ft
5 ft
7 ft
0 ft
Vent piece deduction
Duct Run Calculation:
RHW-4813 (48in)
Recommended maximum run
8 in. or 3 1/4 x 10in. duct
Each 90
˚ elbow used
Each 45
˚ elbow used
Each 8 in. to 3-1/4 x 10in. transition used
Side wall cap with damper
Roof cap
50 ft
9 ft
5 ft
7 ft
0 ft
0 ft
Vent piece deduction
8

