Zivo
Smart Terminal
TM
37
UM.ZV.1012.01
www.jaotech.com
Commercial in Confidence
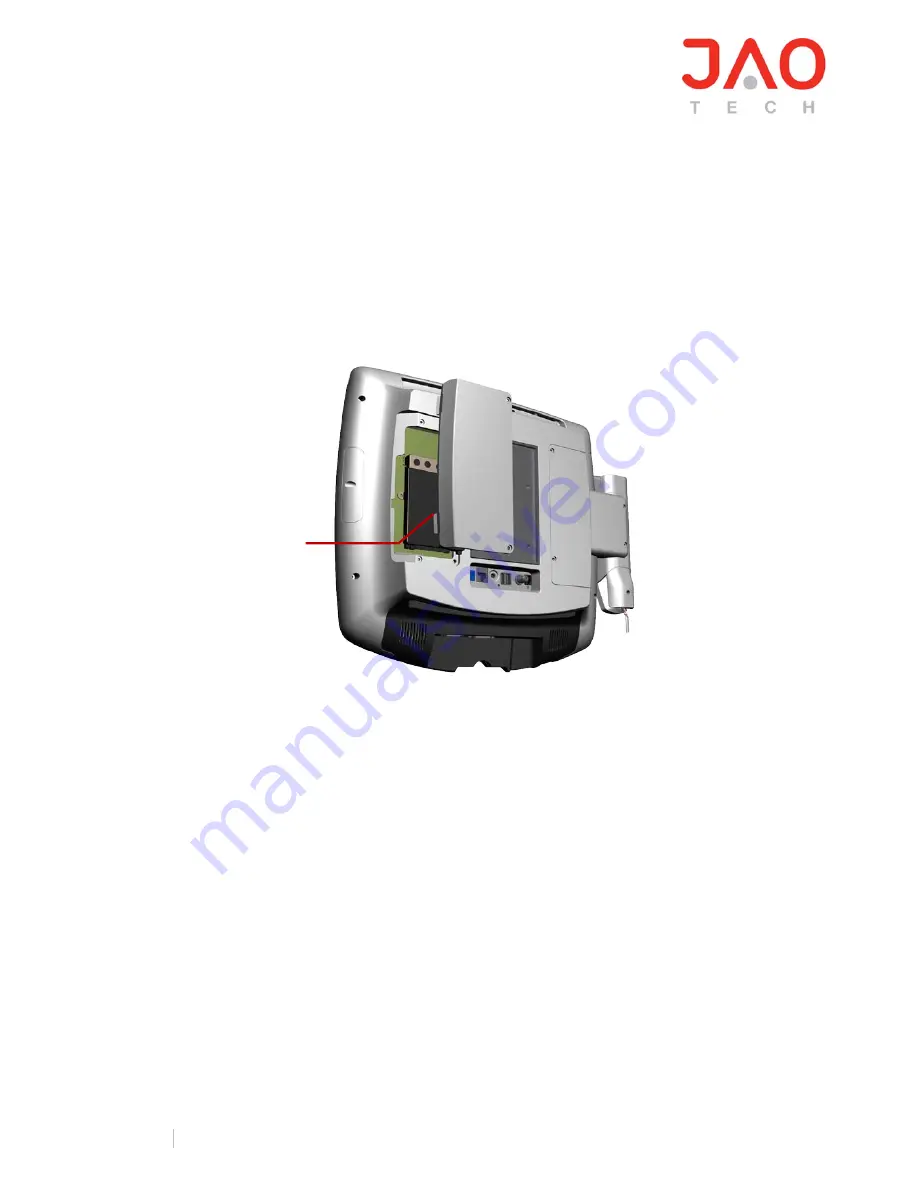
C.3 Installing the 2.5" Hard Disk Drive (HDD)
You can attach one SATA Hard Disk Drive to the Zivo Smart Terminal
TM
. The following are
instructions for installation:
1.
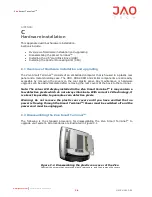
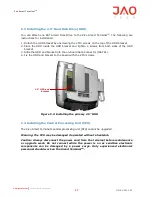
Detach the HDD bracket by unscrewing the 2 M3 screws on the top of the HDD bracket.
2.
Place the HDD inside the HDD bracket and tighten 4 screws from both sides of the HDD
bracket.
3.
Slide the HDD and bracket into the on-board Sata Connector (JSATA1).
4.
Fix the HDD and bracket to the board with the 2 M3 screws.
Figure C.2: Installing the primary 2.5" HDD
C.4 Installing the Central Processing Unit (CPU)
The Zivo Smart Terminal’s central processing unit (CPU) cannot be upgraded.
Warning: The CPU may be damaged if operated without a heatsink.
Caution: Always disconnect the power cord from the terminal before maintenance
or upgrade work. Do not connect while the power is on as sensitive electronic
components can be damaged by a power surge. Only experienced electronics
personnel should work on the Smart Terminal
TM
.
2.5” HDD and
Bracket

