3.6 DISPLAY USER MAP
y
yy
3-29
3
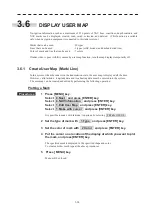
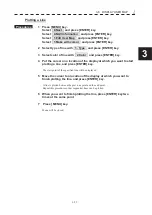
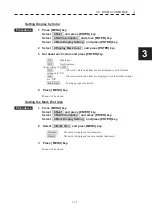
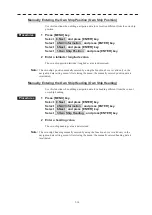
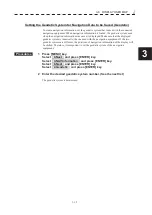
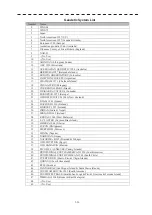
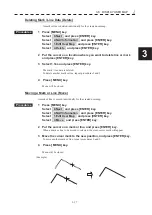
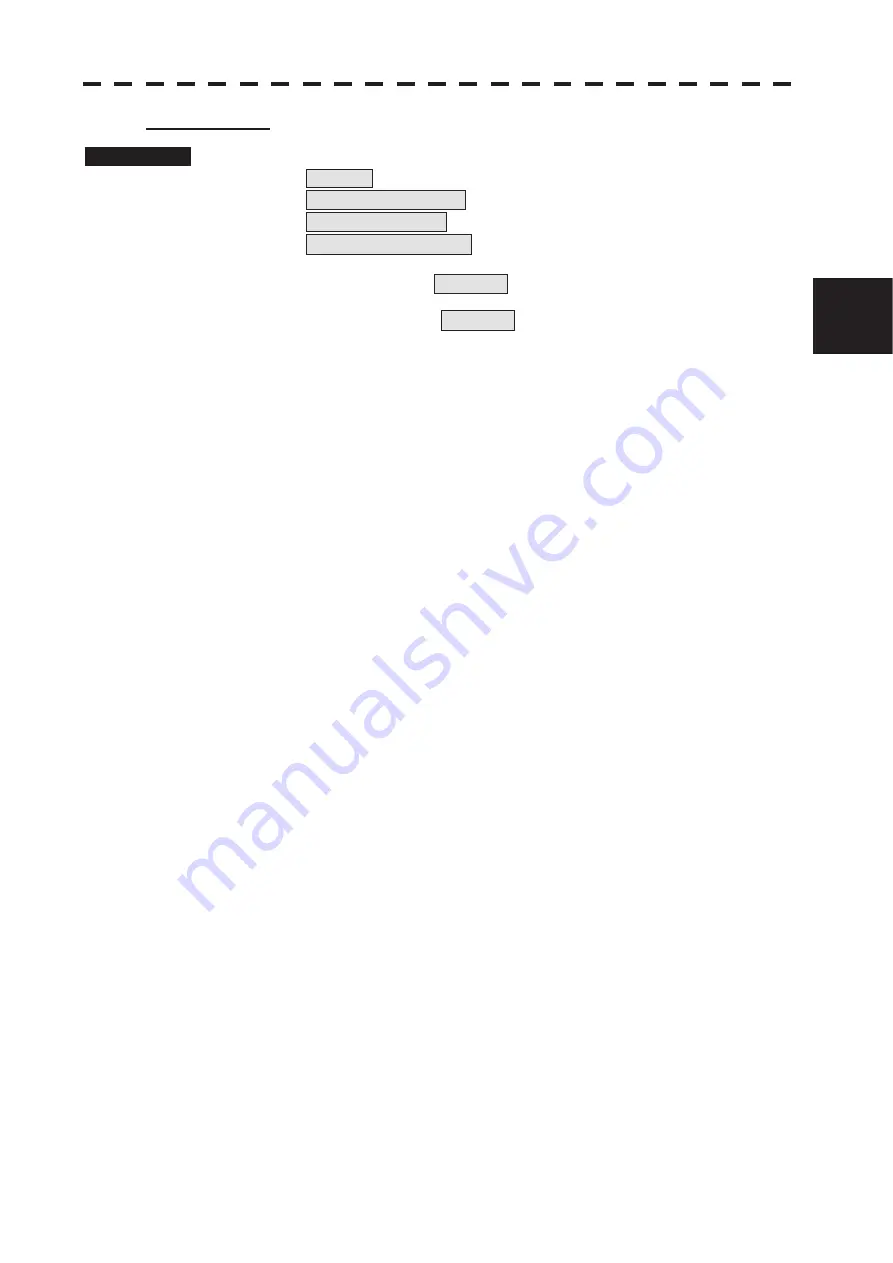
Plotting a Line
Procedures
1
Press
[MENU]
key
.
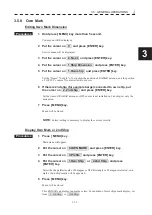
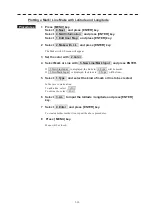
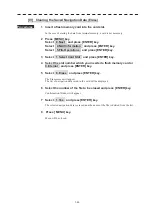
Select 8.Next and press [ENTER] key.
Select 4.NAV Information and press [ENTER] key.
Select 1.Edit User Map and press [ENTER] key.
Select 1.Make with cursor and press [ENTER] key.
2 Select type of line with 1. Type and press [ENTER] key.
3 Select color of line with 2.Color and press [ENTER] key.
4 Put the cursor on a location of the display at which you want to start
plotting a line, and press [ENTER] key.
The start point of the specified line will be displayed.
5 Move the cursor to a location of the display at which you want to
finish plotting the line, and press [ENTER] key.
A line is plotted between the previous point and the end point.
Repeat this procedure so that sequential lines can be plotted.
6 When you want to finish plotting the line, press [ENTER] key two
times at the same point.
7 Press [ MENU] key.
Menu will be closed.
Summary of Contents for JMR-611
Page 2: ......
Page 24: ......
Page 26: ......
Page 28: ......
Page 33: ...1 5 1 1 4 EXTERIOR DRAWINGS y Fig 1 1 Exterior Drawing of Scanner Unit Type NKE 387 Unit mm...
Page 34: ...1 6 Fig 1 2 Exterior Drawing of Processing Unit Type NDC 1774 Unit mm...
Page 35: ...1 7 1 1 4 EXTERIOR DRAWINGS y Fig 1 3 Exterior Drawing of Operating Unit Type NCE 5923 Unit mm...
Page 38: ......
Page 54: ......
Page 116: ......
Page 118: ......
Page 124: ......
Page 134: ......
Page 136: ......
Page 142: ......
Page 144: ......
Page 154: ......
Page 156: ......
Page 160: ......
Page 164: ......
Page 166: ......
Page 172: ......
Page 174: ......
Page 177: ...APPENDIX Fig 1 Block Diagram of JMR 611...
Page 181: ...APPENDIX Fig 5 Internal Connection Diagram of Control Unit NCM 994...
Page 182: ......
Page 184: ......
Page 186: ......
Page 187: ......

