background image


`       


Assembly instruction


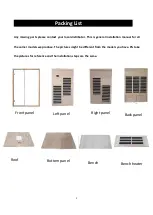
Assembly of the sauna requires at least 2 adults to complete. Please read the instructions thoroughly 
before and during assembly to ensure proper installation of the sauna.   

<1> Location of Sauna                                                                                                     

When you find a good location for your sauna, please notice the following.   

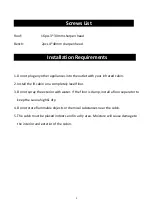
1. The main power cord on the sauna must be easily accessible.   

2. The location must be dry and leveled.   

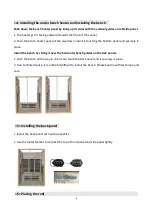
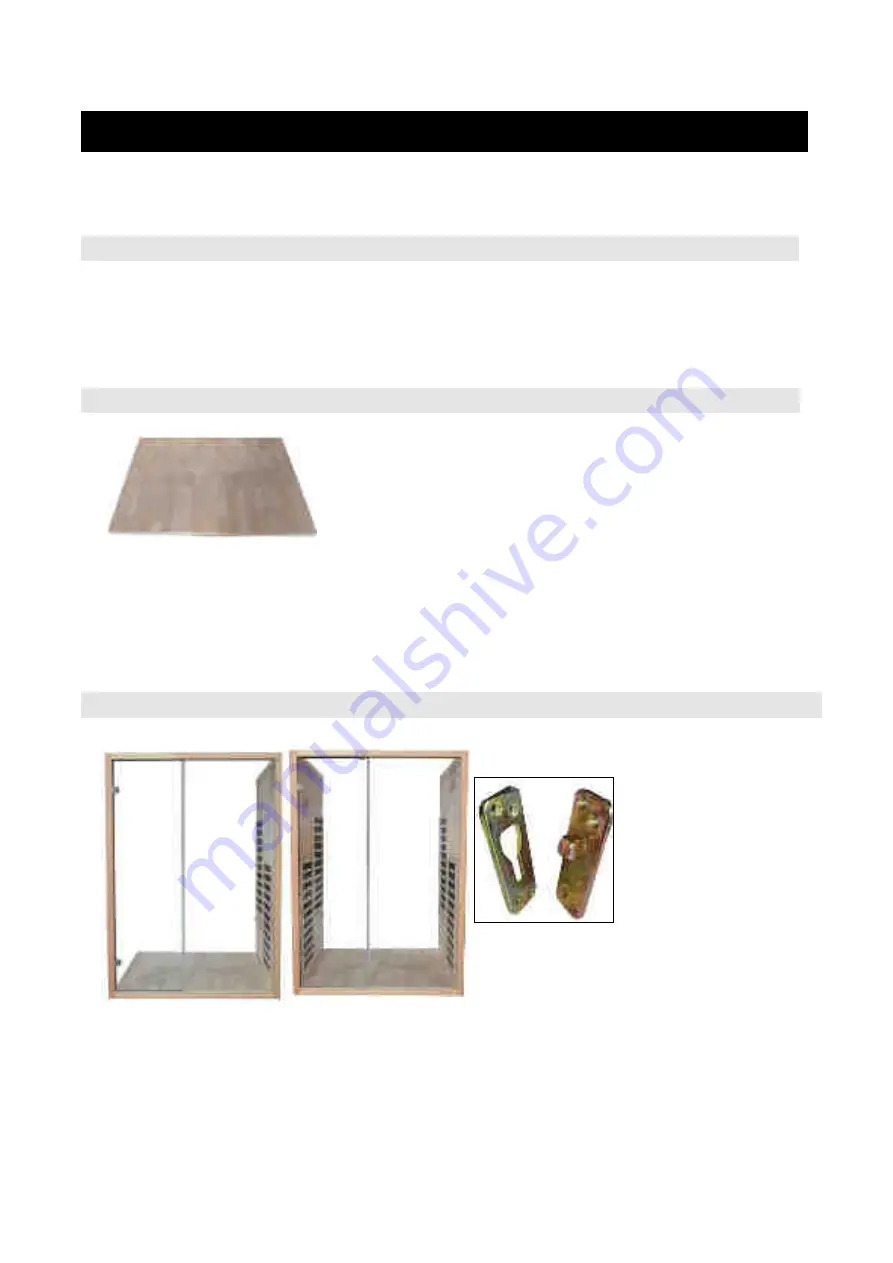
<2> Placing the bottom panel                                                                                         


Make sure that Front direction of you sauna. 


<3> Install the front panel and connect it to the side panels with inner clips                                 


Align the side panels with front panels’ corresponding inside

-buckles.   

Please take care of the glass door to avoid damage. 

Make sure the inside-buckles on both side panels and fixed in place.   

Use the metal bracket to connect the top of front panel and side panel sightly. 

Summary of Contents for JSA-NAW-MD3150IH

Page 1: ...INFRARED SAUNA USER MANUAL MODEL JSA NAW MD3150IH...

Page 2: ...ed cabin for the first time We recommend for you to keep this manual for future reference Benefits Superior Detoxification Removes Heavy Metals Fat stored Toxins Increased Cardiovascular Conditioning...

Page 3: ...eneral installation manual for all the corner models we produce The pictures might be different from the models you have Pls take the pictures for reference and the installation steps are the same Fro...

Page 4: ...ared cabin 2 Install the IR cabin on a completely level floor 3 Do not spray the exterior with water If the floor is damp install a floor separator to keep the sauna high dry 4 Do not store flammable...

Page 5: ...4 Model information Model name JSA NAW MD3150IH Model size 1500 1100 2100mm Rated power 2720W Rated voltage 220V 240V Rated frequency 50 60Hz...

Page 6: ...er cord on the sauna must be easily accessible 2 The location must be dry and leveled 2 Placing the bottom panel Make sure that Front direction of you sauna 3 Install the front panel and connect it to...

Page 7: ...the bottom panel and securely in place Install the bench by sliding it over the horizontal bench guides on the side panels 1 Push the bench all the way in until it can touch the back panel and is secu...

Page 8: ...A plugs to A sockets B plugs to B sockets C plugs to C sockets 2 Connect the control panel wire P S Check and make sure that all the connections to the control box are secure 8 Installing door handle...

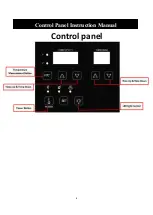
Page 9: ...8 Control panel Control Panel Instruction Manual...

Page 10: ...med time has elapsed Press every time to change the color of interior LED color therapy light Color changing start from white to green red blue green light green light blue after light blue press the...

Page 11: ...the body through perspiration 7 Take a hot shower or bath prior to the IR cabin session will further promote perspiration However dry off thoroughly before going into the cabin because excessive water...

Page 12: ...it the sauna and unconsciousness 7 The use of alcohol drugs or medications prior to or during the sauna session may lead to unconsciousness 8 Persons suffering from obesity or with a medical history o...

Page 13: ...l and the like 7 POWER CORD PROTECTION Power supply cord should be routed so it is not likely to be walked on or pinched by items placed upon or against it 8 LIGHTING For added protection for your cab...

Page 14: ...________ Phone ______________________________ Fax _________________ E mail Address _________________________ Purchase Date _____________________________________ Dealer Name ___________________________...

Reviews: