Jason International, Inc. •
501.771.4477
Page 13 of 20
Customer Service : 800.255.5766
Copyright © 2018 Jason International, Inc.
INSTALLATION INSTRUCTIONS (cont.)
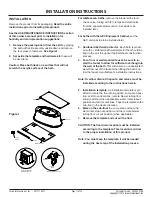
19. If there is no access below the floor,
use two 2x4
boards to raise the bath above the floor and align the
drain with the ‘P’ trap. Apply construction adhesive to
the level form base and sealant to the ‘P’ trap. Care-
fully remove the 2x4 boards and lower the bath so the
drain fits into the ‘P’ trap.
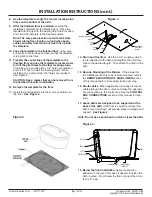
20. Test all connections for leaks
and allow (24) hours
before use.
21. Drain and Overflow.
Complete the installation of the
drain and overflow per the instructions included with
the drain and overflow.
22. Test bath controls.
Before finishing the installation, it
is recommended that the bath controls be tested with-
out filling the bath with water to assure that all electric
connections are properly working.
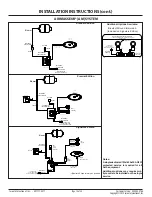
Note: Refer to the Electrical section for correct
installation of electrical components.
Note: Refer to the Product Test Diagnostics in the
Operating, Features, and Controls section for test-
ing.
23. It is recommended that the bath be water tested (filled
and operated), and the bath be inspected for leaks.
Refer to the
FILLING AND DRAINING
Instructions
in the Features and Controls section of this owner’s
manual.
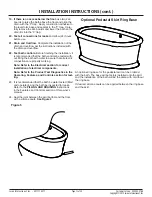
24. Seal the joint between the skirt bottom and the floor
with a silicone caulk.
See Figure 5
SILI ONE
Figure 5
Optional Pedestal Skirt Ring Base
An optional ring base for the pedestal skirt can be ordered
with the bath. The base will be factory installed onto the skirt
and the installation of the bath will be the same with or without
the ring base.
If desired, silicone caulk can be applied between the ring base
and the skirt.


