background image

09

08

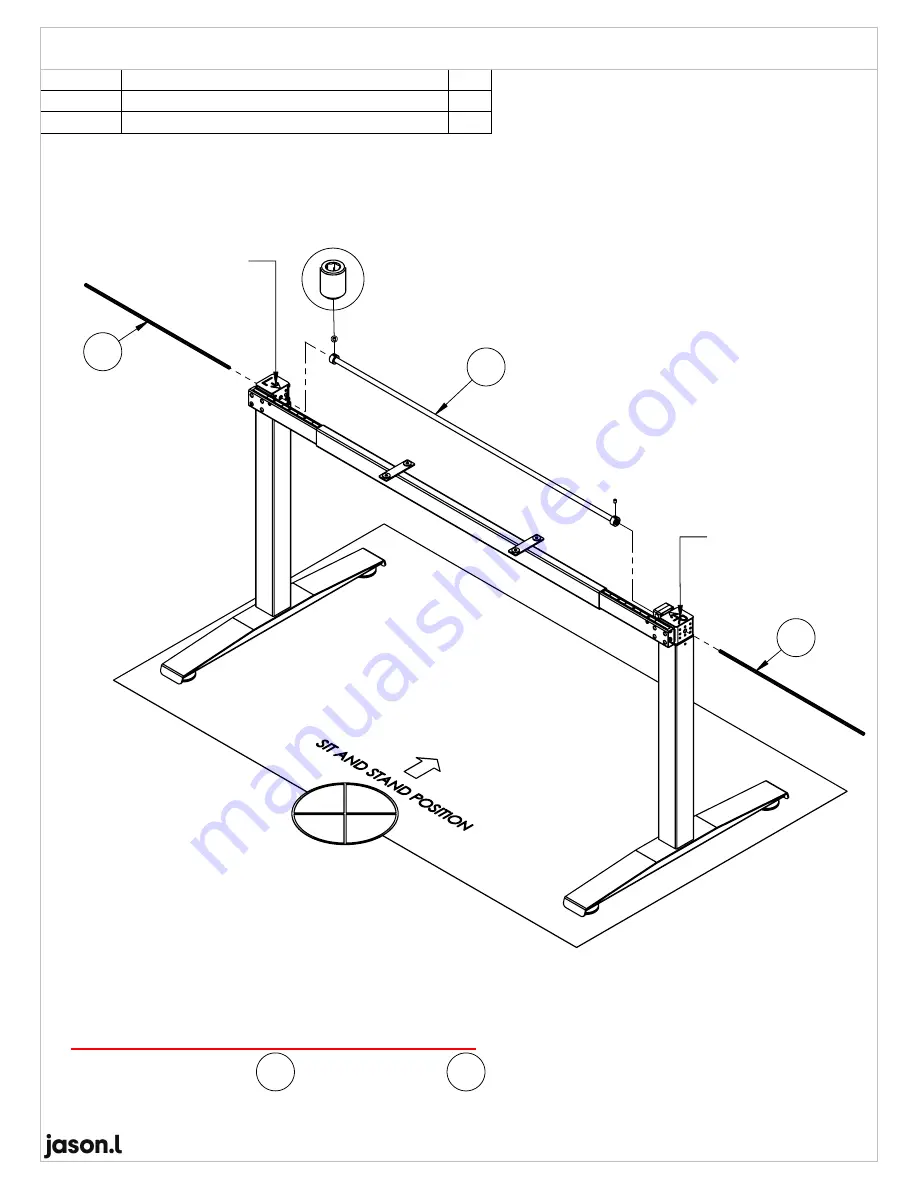
Press down

Press down

09

Set Screw M6(x2)

 Pg.4/7

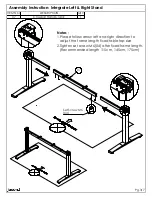
Notes:

1.Before Insert Hex Shaft, make sure Left Stand & Right Stand are at lowest position.


Please see attachment caution ! (Refer Pg.5/7)

2 .After insert Hex Shaft 08 , align Axle Drive  09  to the middle of Left & Right Stand.  
3. Locking Set Screw M6(x2)

ITEM NO.

DESCRIPTION

QTY.

08 

Hex Shaft L480mm 

2

09

Axle Drive L950mm 

1

Assembly Instruction: Axle Drive And Hex Shaft Assy.

Summary of Contents for ST SUPREME H24T

Page 1: ...ASSEMBLY INSTRUCTION MODEL ST SUPREME H24T Manual Straight Desk Frame 1200mm 1800mm Length...

Page 2: ...Screw M5 XL10 Qty 12 Left Column Qty 1 Side L Plate Qty 2 Right Column Qty 1 Foot Qty 2 Crossbar Assy Right Qty 1 Screw M6 X L16 Qty 8 Leveling Base Qty 4 Crossbar Hand Crank Qty 1 Hex Shaft L480mm Q...

Page 3: ...nstall Foot STEP 3 Install Crossbar Left Assy Step 1 Install Leveling Base ITEM NO DESCRIPTION QTY 03 Foot 1 13 Leveling Base 2 ITEM NO DESCRIPTION QTY 01 Left Column 1 12 Screw M6 XL16 4 ITEM NO DESC...

Page 4: ...tall Foot STEP 3 Install Crossbar Right Assy Step 1 Install Leveling Base ITEM NO DESCRIPTION QTY 03 Foot 1 13 Leveling Base 2 ITEM NO DESCRIPTION QTY 02 Right Column 1 12 Screw M6 XL16 4 ITEM NO DESC...

Page 5: ...adjust the frame length fixed table top size 2 Tighten set screw M6 X4 after fixed frame length Recommended length 115cm 145cm 175cm 07 Set Screw M6 X4 Pg 3 7 ITEM NO DESCRIPTION QTY 07 Crossbar Hand...

Page 6: ...tand are at lowest position Please see attachment caution Refer Pg 5 7 2 After insert Hex Shaft 08 align Axle Drive 09 to the middle of Left Right Stand 3 Locking Set Screw M6 x2 ITEM NO DESCRIPTION Q...

Page 7: ...ion The marking O not appear means it is at lowest position refer to below diagram Marking fully seen Marking partially seen Marking not seen Means at lowest position Press Press Pg 5 7 Caution Column...

Page 8: ...06 06 11 11 11 11 Pg 6 7 ITEM NO DESCRIPTION QTY 06 Side L Plate 2 11 Screw M5 XL10 4 Assembly Instruction Install Side L Plate...

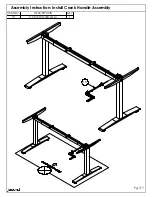
Page 9: ...10 Pg 7 7 ITEM NO DESCRIPTION QTY 10 Crank Handle Assy 1 Assembly Instruction Install Crank Handle Assembly...

Reviews: