15
MANUAL DE INSTRUCCIONES • INSTRUCTIONS MANUAL • MANUAL DE INSTRUÇÕES
15
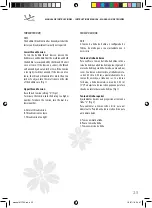
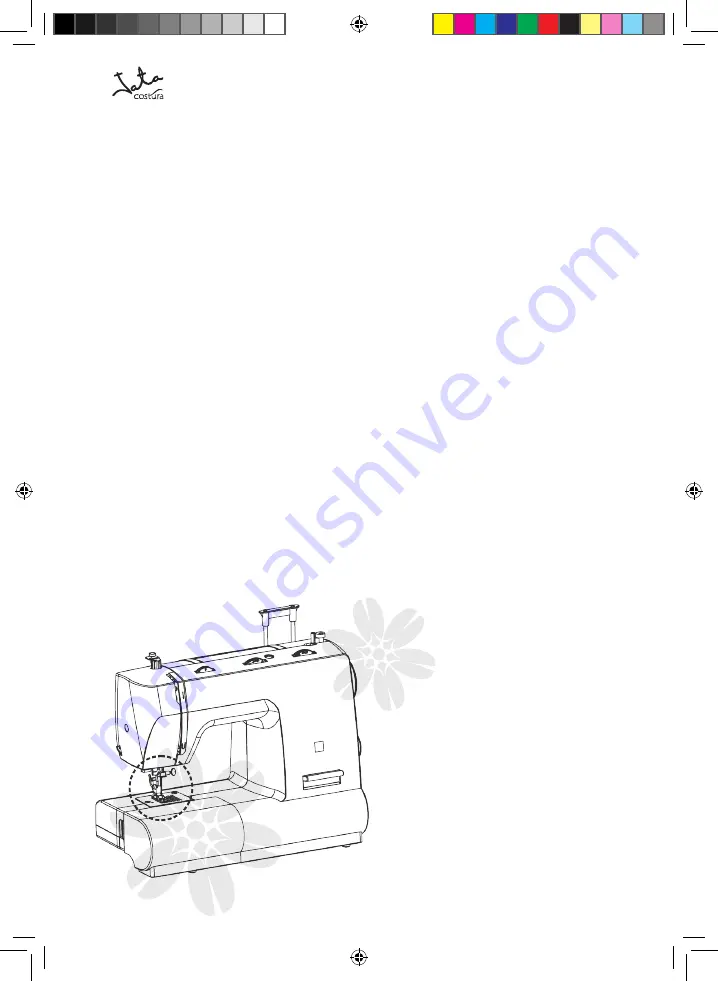
ATTACHING THE PRESSER fOOT HOLDER
COLOÇÃSAO
ATTENTION:
Turn power switch to “0” before carrying out any of
the operations below.
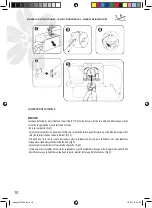
Raise the needle to its highest position and raise
the presser foot lever. Attach the presser foot
holder (b) to the presser foot bar (a). (Fig 1)
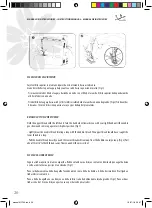
Attaching the presser foot:
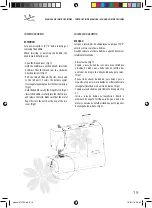
Lower the presser foot holder (b) until the cut-out
(c) is directly above the pin (d). (Fig 2)
Lower the presser foot holder (b) and the presser
foot (f ) will engage automatically.
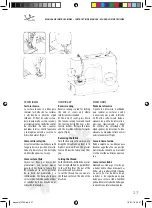
Removing the presser foot:
Raise the presser foot.
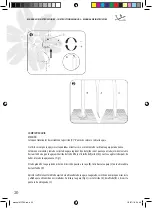
Release the pressure foot by raising lever (e)
located at the back of the foot holder. (Fig 3)
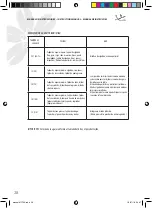
Attaching the seam guide:
Attach the seam guide (g) in the slot as illustrated.
Adjust the distance as required for hems, pleats,
etc.... (Fig 4)
ATENÇÃO:
Coloque o interruptor de corrente na posição “0”
antes de efetuar qualquer das operações que,
seguidamente, se descrevem.
Levante a agulha até à sua posição mais elevada e
rode a alavanca do pé calcador. Adapte o suporte
do pé calcador (b) à barra de fixação do mesmo
(a). (Fig 1)
Colocação do pé calcador:
Baixe o suporte do pé calcador (b) até que a
abertura (c) se encontre diretamente sobre a haste
de fixação (d). (Fig 2)
Baixe o suporte do pé calcador (b) e este (f)
engatar-se-á automaticamente.
Retirar o pé calcador:
Levante o pé calcador.
Liberte o pé calcador levantando a alavanca (e)
que se encontra na parte traseira do suporte do pé
calcador. (Fig 3)
Colocação da guia para coser orlas ou
retalhos de tecido:
Coloque a guia para coser orlas ou retalhos (g)
na ranhura, como se mostra na figura. Ajuste a
distância necessária para coser bainhas, pregas,
etc... (Fig 4)
manual MC744.indd 15
18/07/18 09:46


