9
1. Use socket wrench to lose the clamp fixed screw.
2. Pull out screw clamp and gag lever post.
3. Insert screw clamp and gag lever post to torch head. Make sure the diameter of the clamp is correct and the
length of the gag lever post is correct.
4. Use socket wrench to locking the clamp fixed screw.
Note:
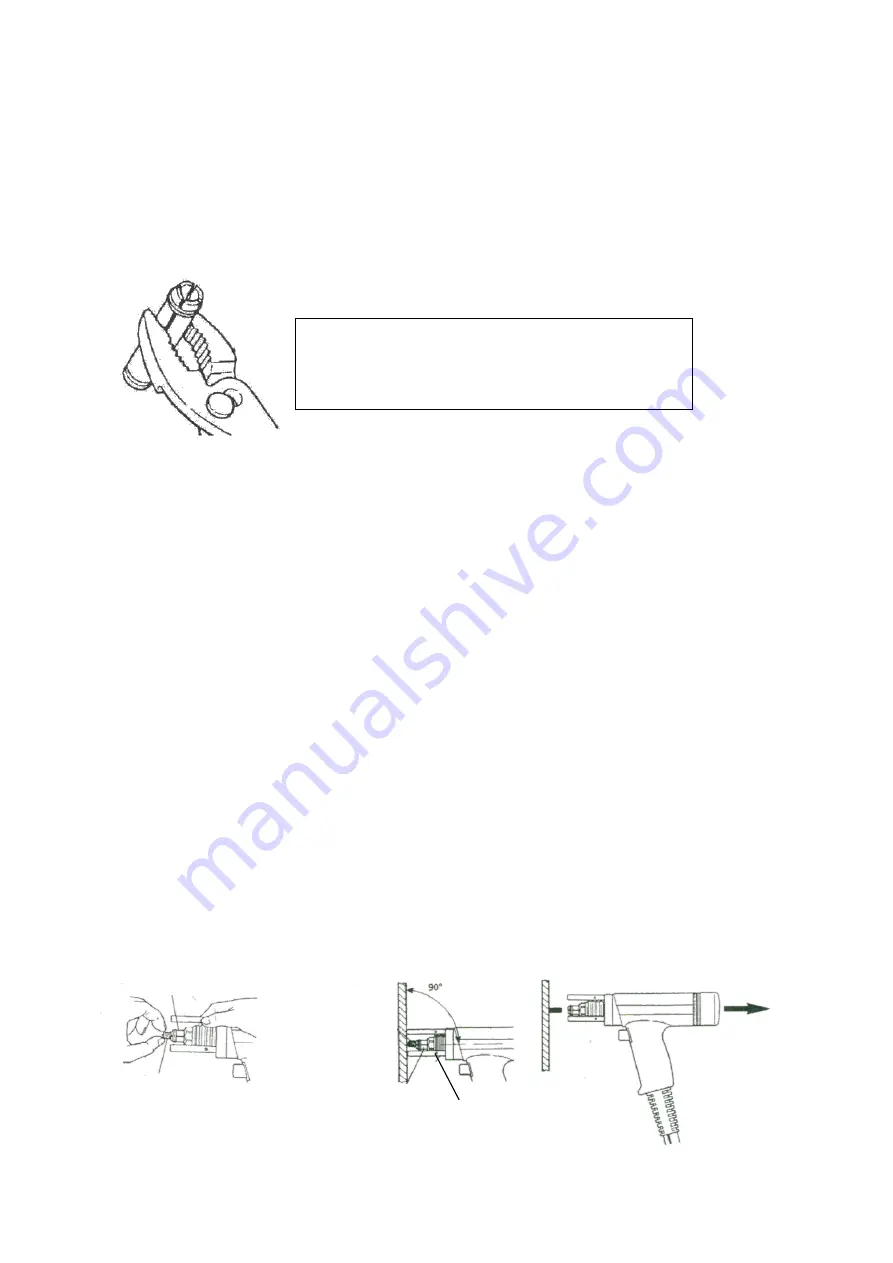
When Use new screw clamp, must use pliers to clamp the groove of the screw clamp.
That can make sure the screw camp and stud screw close contact.
2-9. Operating process for stud welding
Note: Protect your eyes and your body when stud welding. Please operate the machine as follow.
2-9-1 preparation for operation
(1)Keep the work piece free of dirt ,oil, paint and rust.
(2)If the base metal is thin, it will dent at pressure .It must add a base plate, when stud welding.
(3)Select suitable stud welding torch, according as material, diameter, length of the stud screw,
(4) Make sure the diameter of the clamp is correct and the length of the gag lever post is correct.
Install the screw clamp and gag lever post in the torch.
(5)Make sure all the cables connect to the machine and workpiece. Connect input cable and turn on.
2-9-2 operate stud welding
(1)Insert the stud screw to screw clamp.
Note: Make sure the stud screw insert to the end of the screw clamp and contact the gag lever post.
(2)Keep the 3 support feet contact the base metal. The torch presses on base metal vertically.
(
Diagram 25
) Note: Keep H-10torch contact the base metal, after insert the stud screw.
(3)Press torch trigger. Discharge→Stud welding complete.
(4) After stud welding complete, release the trigger, move back the torch vertically. (
Diagram 26
)
Please test stud welding and setting suitable the welding strength before formal production.
Diagram 24
Screw clamp
Stud screw
Diagram 25
Diagram 26
Stud screw
Screw
clamp
3 support feet
The groove expand in use, the stud screw will loose.
Use pliers to clamp it ,when meet the problem,
That can extend using life of the screw clamp.


