www.javad.com
JNSGyro-2T Operator’s Manual
27
C O N F I G U R A T I O N
Connecting the JNSGyro-2T and a Computer
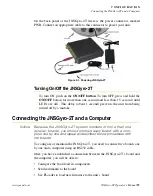
On the back panel of the JNSGyro-2T, there is the power connector, marked
PWR. Connect an appropriate cable to this connector to power your unit.
Figure 2-1. Powering JNSGyro-2T
Turning On/Off the JNSGyro-2T
To turn ON, push on the
ON/OFF button
. To turn OFF, press and hold the
ON/OFF
button for more than one second and less than 1.5 second (until
LEDs are off). This delay (about 1 second) prevents the unit from being
turned off by a mistake.
Connecting the JNSGyro-2T and a Computer
Notice:
Because the JNSGyro-2T system consists of more than one
receiver boards, you should connect every board with a com-
puter one by one and repeat all described below procedures with
two boards.
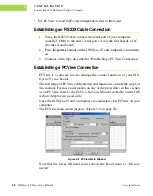
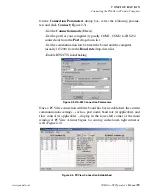
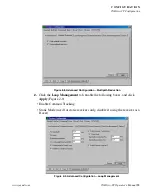
To configure or maintain the JNSGyro-2T, you need to connect two boards one
by one and a computer using an RS232 cable.
Once you have established a connection between the JNSGyro-2T’s board and
the computer, you will be able to:
• Configure the board and its components
• Send commands to the board
• Use FLoader to load new firmware to the unit’s board


