How to Clean
Note:
This cleaning procedure uses two cleaning cards. One cleaning card is the size of a
regular plastic card, and is referred to as the 'cleaning card'. The other is elongated, with a
wider section at one end; it is referred to as the ‘long cleaning card’.
1
Turn printer power on.
2
Initiate the cleaning process by either of the following methods:
At the printer, press and hold the panel button for several seconds, until the LCD panel
displays the message REMOVE RIBBON THEN CLOSE HEAD.
From the computer, enter the printer tools software, and click on the CLEAN button.
The LCD panel will display the message REMOVE RIBBON THEN CLOSE HEAD.
3
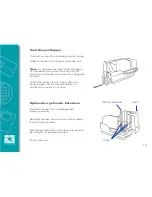
Open the main cover, release the printhead carriage, and remove the ribbon. Then close
the printhead carriage.
(For details, see chapter 2.) The LCD panel will display the message
EMPTY FEEDER & PRESS BUTTON.
4
Open the card feeder cover and remove cards from the card feeder. The last card is
difficult to remove; leave it in place.
Press the panel button on the front of the printer. The card remaining in the feeder will
be ejected. The LCD panel will then display the message LOAD CLEANING CARD IN
FEEDER.
5
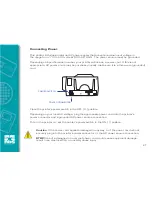
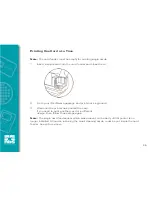
Place a pre-saturated cleaning card into the card feeder. The cleaning card will
automatically feed into the printer and the cleaning process will start (there is a several
second delay after the cleaning card feeds before the cleaning movement starts). While
the cleaning process is underway, the LCD panel will display the message CLEANING
PRINTER.
6
At the conclusion of this part of the cleaning process, the cleaning card will be ejected,
and the LCD panel will display the message PRESS BUTTON TO CONTINUE.
28


