background image

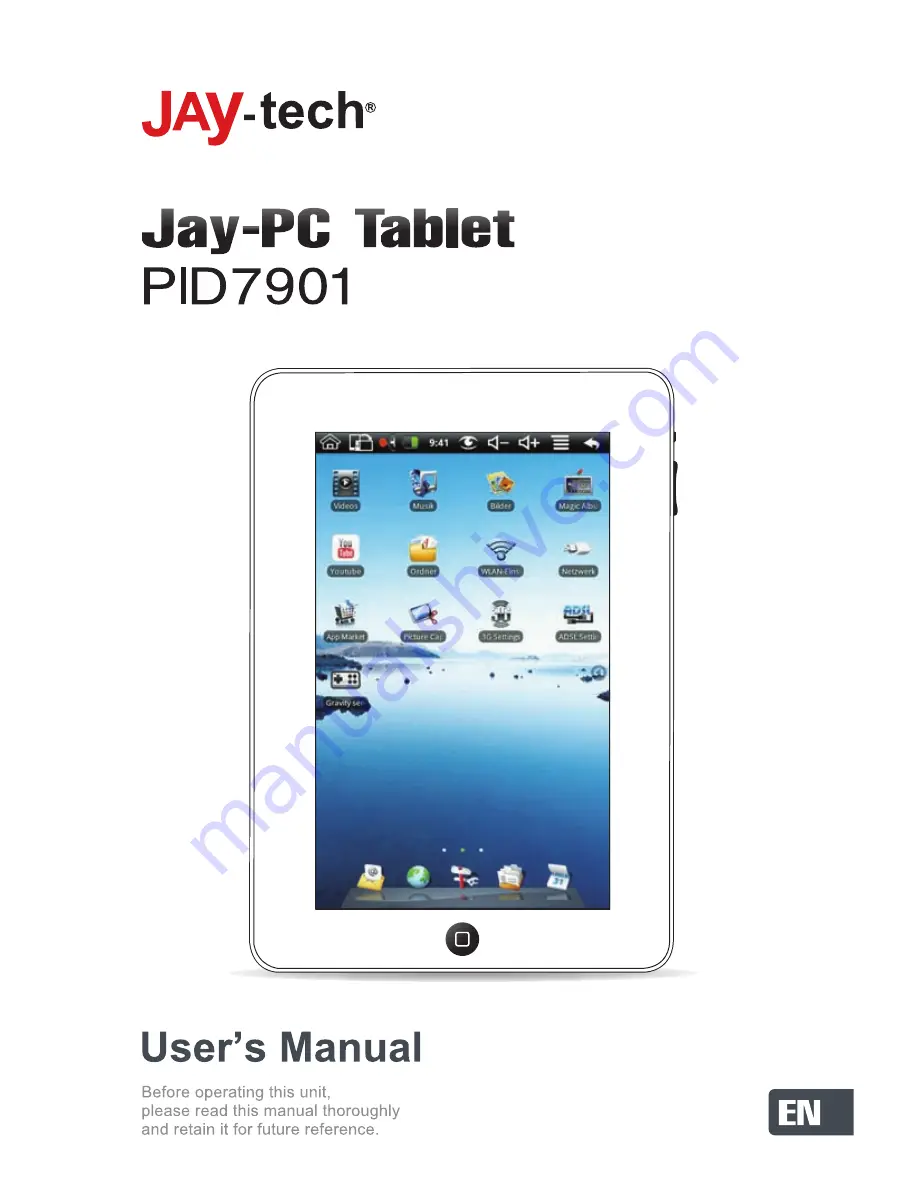
Summary of Contents for PID7901

Page 1: ......

Page 2: ...2 3 Appearance and Buttons 3 2 4 PID79017901 Status and Notification 4 3 Quick Start 4 3 1 Boot and Shutdown 4 3 2 Power Saving Mode 4 3 3 To Use the Touch Screen 5 3 4 Home Screen 6 3 5 Enter text 7 3 6 Access Application 8 3 7 USB connection 8 4 Wi Fi Setting 8 5 Communication 9 5 1 E mail Setting 9 6 Multimedia 11 6 1 My Music 11 6 2 My Video 11 6 3 Gallery Application 11 7 Internet Browsing 12...

Page 3: ... Security and Location 16 9 3 MicroSD card and Storage 17 9 4 Set Date and Time 18 9 5 Set Language 18 10 Application Installation 18 10 1 Installation 18 10 2 Uninstall 19 11 Troubleshooting 19 11 1 PID7901 can not connect to Wi Fi 19 11 2 PID7901 Heat Issue 20 11 3 System doesn t work correctly 20 11 4 Can not set e mail or register application 20 ...

Page 4: ...mall items that may scratch or enter the PID7901 z DO NOT expose to strong magnetic or electrical fields z DO NOT expose to or use near liquids rain or moisture z DO NOT carry or cover a PID7901 that is powered on with any materials that will reduce air circulation such as a carrying bag z SAFE TEMP This PID7901 should only be used in environments with ambient temperatures between 5 C and 40 C z I...

Page 5: ... Features z 17 8 cm 7 inch touch panel z True color image display z Internet surfing z Instant online communication email chatting z Music video and photo downloading and playback z Music player supports audio format MP3 WAV z Media player supports video format MP4 3gp FLV z Photo browser supports image format PNG JPEG BMP GIF z Rotate the screen horizontally or vertically by Gravity Sensor 2 2 Ha...

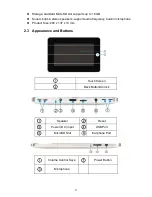
Page 6: ...t in stereo speakers support audio frequency built in microphone z Product Size 203 x 137 x 13 mm 2 3 Appearance and Buttons Touch Screen Back Button Unlock Speaker Reset Power DC input USB Port MicroSD Slot Earphone Port Volume Control Keys Power Button Microphone 3 ...

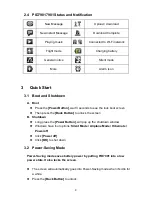
Page 7: ... the lock boot screen z Then press the Back Button to unlock the screen B Shutdown z Long press the Power Button will pop up the shutdown window z Windows have four options Silent Mode Airplane Mode Hibernate Power off z Click Power off z Click OK to shut down 3 2 Power Saving Mode Power Saving mode saves battery power by putting PID7901 into a low power state It also locks the screen z The screen...

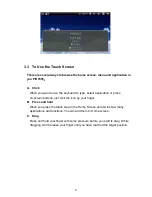
Page 8: ...ation or press on screen buttons just click the icon by your finger B Press and hold When you press the blank area in the Home Screen and it will show many applications and functions You can add them to Home screen C Drag Press and hold your finger with some pressure before you start to drag While dragging don t release your finger until you have reached the target position 5 ...

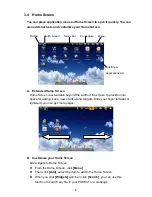
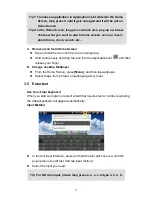
Page 9: ...een is extendable beyond the width of the screen to provide more space for adding icons new shortcut and widgets Slide your finger leftward or rightward you can get more pages B Customize your Home Screen Add widgets to Home Screen z From the Home Screen click Menu z Then click Add select the item to add to the Home Screen z When you click Widgets and then click Search you can use this function to...

Page 10: ...ag the icon into the Applications list and then release your finger D Change desktop Wallpaper z From the Home Screen press Menu and then tap wallpaper z Select image from pictures or wallpaper gallery to set 3 5 Enter text Use the virtual keyboard When you start a program or select a field that requires text or numbers entering the virtual keyboard will appear automatically Input Method z In the ...

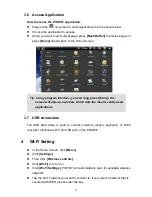
Page 11: ...en will pop up a window which lists the most recently used applications 3 7 USB connection The USB data cable is used to connect external mouse keyboard or RJ45 convertor optional with 5 pin USB port on the PID7901 4 Wi Fi Setting z In the Home Screen click Menu z Click Settings z Then Click Wireless controls z Click Wi Fi to turn it on z Click Wi Fi Settings PID7901 will automatically scan for av...

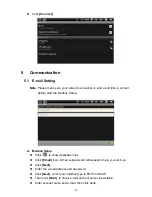
Page 12: ...box Setup A Mailbox Setup z Click to show application list z Click Email Icon E mail setup wizard will appear to help you set it up z Click Next z Enter the e mail address and password z Click Next select your mailbox type is POP3 or IMAP z Then click Next to check e mail account server is available z Enter account name and e mail then click done 9 ...

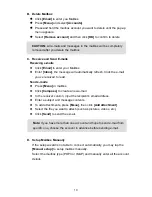
Page 13: ...eceived to read Send e mails z Press Menu in mailbox z Click Compose to create a new e mail z In the receiver column input the recipient s email address z Enter a subject and message contents z To add attachments press Menu then click Add attachment z Select the file you want to attach such as pictures videos etc z Click Send to send the e mail Note If you have more than one account and hope to se...

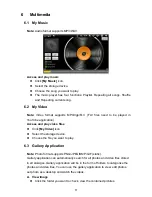
Page 14: ...ication Access and play video files z Click My Video icon z Select the storage device z Choose the file you want to play 6 3 Gallery Application Note Photo format supports PNG JPEG BMP GIF static Gallery application can automatically search for all photos and video files stored in all storages Gallery application will be in the form of folders to categorize the photos and video files You can use t...

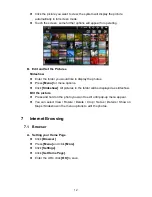
Page 15: ...nu for menu options z Click Slideshow All pictures in the folder will be displayed as slideshow Edit the picture z Press and hold on the photo you want to edit until pop up menu appear z You can select View Rotate Delete Crop Set as Details Show on Maps Slideshow in the menu options to edit the photos 7 Internet Browsing 7 1 Browser A Setting your Home Page z Click Browser z Press Menu and click M...

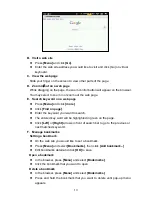
Page 16: ... z Enter the key word your want to search z The entered key word will be highlighted in green on the page z Click Left or Right arrows in front of search bar to go to the previous or next matched key word F Manage bookmarks Setting a bookmark z On the web site you would like to set a bookmark z Press Menu and select Bookmarks then click Add bookmark z Edit bookmarks detail and click OK to save Ope...

Page 17: ...ser options 8 Other Applications 8 1 Alarm Clock z Click to show application list z Click the Alarm Clock z Set the alarm z Press Menu for more setting options 8 2 Calendar z Click to show application list z Click the Calendar z Press and hold on a date to bring out pop up menu z Press Menu for more setting options 8 3 File Browser A Browse Files Click to show application list and select File Brow...

Page 18: ...se the destination you want to create the new folder z Press Menu and select New Folder z Type the new folder name z Click OK to set up the new folder 8 4 Voice Recorder z Click to show application list then click Voice Recorder z Click Record to start recording Note Inserting a MicroSD card is required for recording 9 Basic Settings 9 1 Sound and Display In the Home Screen press Menu and select S...

Page 19: ...n the screen click Brightness z Adjust brightness in pop up menu z Click OK to confirm E Adjust the Screen Timeout z In the Home Screen press Menu and select Settings z Click Sound Display z Scroll down the screen click Screen timeout z Select your desired standby time in pop up menu 9 2 Security and Location Set the unlock Pattern You can set your own unlock pattern equivalent to the password to ...

Page 20: ...nu and select Settings z Choose SD card U disk device storage z Click Unmount SD Card z Remove MicroSD card C Restore factory default settings When the device appears significant error or you forget the unlock pattern you may restore the factory default settings back to factory state Please be aware that this will permanently erase all your data and customized settings also will remove all applica...

Page 21: ...heck Automatic option z Click Select time zone scroll up and down to see more options in the list z Click your time zone to select z Click Set time and Set date to adjust the date and time in your system 9 5 Set Language z In the Home Screen press Menu and select Settings z Click Locale and text z Click Select locale and select the language you need Scroll down the list to see more available langu...

Page 22: ...tall z Click Install in pop up menu z Follow the installation wizard to proceed 10 2 Uninstall Uninstall application z In the Home Screen press Menu and select Settings z Select Applications z Click Manage applications all the applications installed in the system will be listed z Choose the application and click Uninstall z Click OK to complete uninstall the application 11 Troubleshooting 11 1 PID...

Page 23: ... may be hot This is a normal situation 11 3 System doesn t work correctly To install some third party applications may cause the system not to work correctly You can press the reset button next to power input port to reset the system 11 4 Can not set e mail or register application z Ensure that the network is connected properly z Ensure the E mail setting is correct z Make sure your system time co...

Page 24: ......

Reviews: