


page 5
www.jayline.co.nz
NOVEMBER 2016
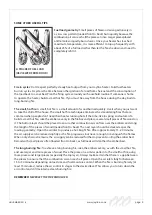
* Re-fi t the top front outer case panel (including the top insulating blanket).
* Prior to fi tting the fascia, remove any combustible packaging that may have entered the cavity or
outer casing while installing the fi rebox into place.
* Do not lift the fascia with your fi ngers under the louvres.
* The fascia is fi tted to the fi rebox outer casing, by pressing the fascia onto the ball studs fi tted to the
outer casing.
* Remove the packaging that holds the baffl e in place.
* Re-fi t the door.
* Fit the control knob and ensure a smooth operation.
Remember:
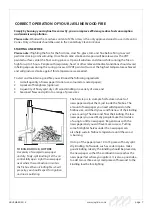
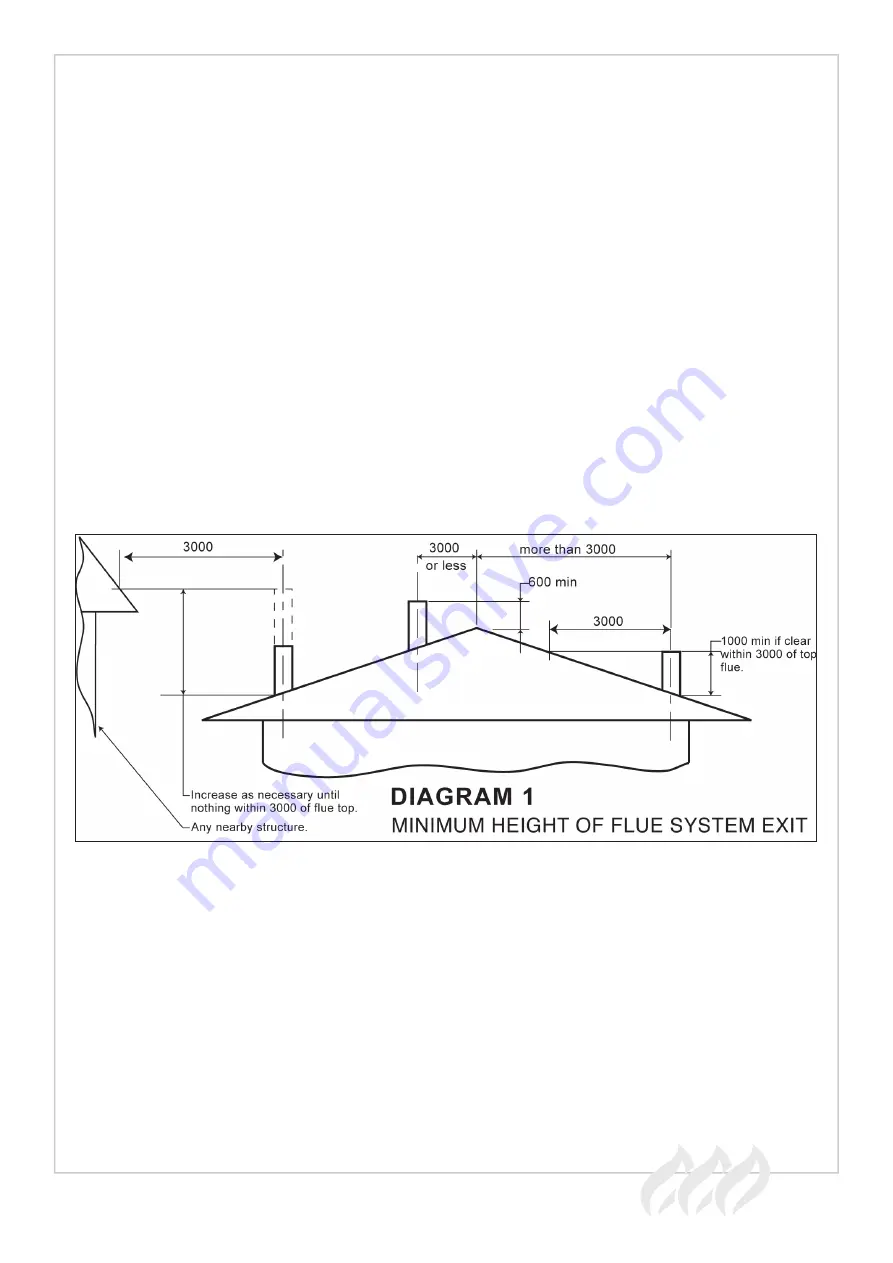
• The fl ue pipe penetrating the chimney must continue to the minimum length of 4.6m from the top
of the fl oor protector to the cowl.
• Flue exiting more than 3 metres from the ridgeline must terminate no less than 1 metre above the
roof penetration (see diagram 1 below).
• Where the top of the fl ue pipe is more than 2 metres above its highest fi xing point, it must be stayed
against high winds.
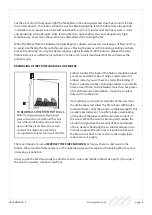
FITTING SEISMIC RESTRAINT
The Floor Protector must be mechanically fi xed to the fl oor by bolting or screwing.
Note:
Floor Protector to be fi xed by gluing when on a concrete fl oor that may have water pipes or electrical
wires present. The appliance can then be bolted to the fl oor protector with two 6mm x 50mm dynabolts
(or equivalent).
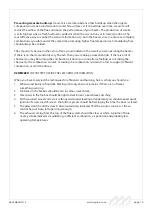
BAFFLE
Before lighting your appliance for the fi rst time, make sure the baffl e is in the correct position being as
far to the rear as possible.


