ENGLISH
OPERATION MANUAL
JB SYSTEMS
®
1/50
PLANO SPOT
OPERATION MANUAL
Thank you for buying this JB Systems
®
product. To take full advantage of all possibilities and for your own
safety, please read these operating instructions very carefully before you start using this unit.
FEATURES
This unit is radio-interference suppressed. This product meets the requirements of the current European and
national guidelines. Conformity has been established and the relevant statements and documents have been
deposited by the manufacturer.
This device was designed to produce decorative effect lighting and is used in light show systems.
Super compact RGB LED-projector containing 212 high-power 5mm LEDs (70 red + 71 green + 71 blue)
High quality “Hewlett Packard
®
/ Agilent
®
” LED technology
Beam angle = 15° (narrow spot)
Many applications possible: Discotheques, DJs, exhibition booths, homes, ...
Can be fixed in ALU-truss like any standard LED PAR, using a standard clamp
Can be used as floor projector, under any possible projection angle
Super compact housing, perfect for hiring companies!
Very smooth RGB color changes thanks to high freq. dimming electronics
Different working modes:
Standalone: custom colors selectable or automatic and beat synchronized color changes
Master/slave mode: up to 16 units can be used together for wonderful preprogrammed, music
synchronized lightshows. (optional CA-8 controller possible)
DMX-controlled: 4modes, 4channels (R, G, B + Dimmer/strobe/sound chase)
Controlled by LEDCON-02 DJ-controller
Different ways to set DMX start address:
Fast remote DMX addressing using any standard DMX-controller
In master/slave mode you can address all units just by pushing 1 button
IEC mains inputs of several units can be daisy chained.
BEFORE USE
Before you start using this unit, please check if there’s no transportation damage. Should there be any, do
not use the device and consult your dealer first.
Important:
This device left our factory in perfect condition and well packaged. It is absolutely necessary
for the user to strictly follow the safety instructions and warnings in this user manual. Any damage caused
by mishandling is not subject to warranty. The dealer will not accept responsibility for any resulting defects
or problems caused by disregarding this user manual.
Keep this booklet in a safe place for future consultation. If you sell the fixture, be sure to add this user
manual.
Check the contents:
Check that the carton contains the following items:
Operating instructions
PLANO SPOT
Hanging bracket
2 Knobs to fasten the hanging bracket
ENGLISH
OPERATION MANUAL
JB SYSTEMS
®
2/50
PLANO SPOT
SAFETY INSTRUCTIONS:
To protect the environment, please try to recycle the packing material as much as possible.
A new light effect sometimes causes some unwanted smoke and/or smell. This is normal and disappears
after some minutes.
To prevent fire or shock hazard, do not expose this appliance to rain or moisture.
To avoid condensation to be formed inside, allow the unit to adapt to the surrounding temperatures when
bringing it into a warm room after transport. Condense sometimes prevents the unit from working at full
performance or may even cause damages.
This unit is for indoor use only.
Don’t place metal objects or spill liquid inside the unit. Electric shock or malfunction may result. If a foreign
object enters the unit, immediately disconnect the mains power.
Locate the fixture in a well ventilated spot, away from any flammable materials and/or liquids. The fixture
must be fixed at least 50cm from surrounding walls.
Don’t cover any ventilation openings as this may result in overheating.
Prevent use in dusty environments and clean the unit regularly.
Keep the unit away from children.
Inexperienced persons should not operate this device.
Maximum save ambient temperature is 40°C. Don’t use this unit at higher ambient temperatures.
Make sure the area below the installation place is free from unwanted persons during rigging, de-rigging
and servicing.
Always unplug the unit when it is not used for a longer time or start servicing.
The electrical installation should be carried out by qualified personal only, according to the regulations for
electrical and mechanical safety in your country.
Check that the available voltage is not higher than the one stated on the rear panel of the unit.
The power cord should always be in perfect condition. Switch the unit immediately off when the power cord
is squashed or damaged. It must be replaced by the manufacturer, its service agent or similarly qualified
persons in order to avoid a hazard.
Never let the power-cord come into contact with other cables!
This fixture must be earthed in order to comply with safety regulations.
Don’t connect the unit to any dimmer pack.
Always use an appropriate and certified safety cable when installing the unit.
In order to prevent electric shock, do not open the cover. Apart from the lamp and mains fuse there are no
user serviceable parts inside.
Never
repair a fuse or bypass the fuse holder.
Always
replace a damaged fuse with a fuse of the same
type and electrical specifications!
In the event of serious operating problems, stop using the fixture and contact your dealer immediately.
CAUTION
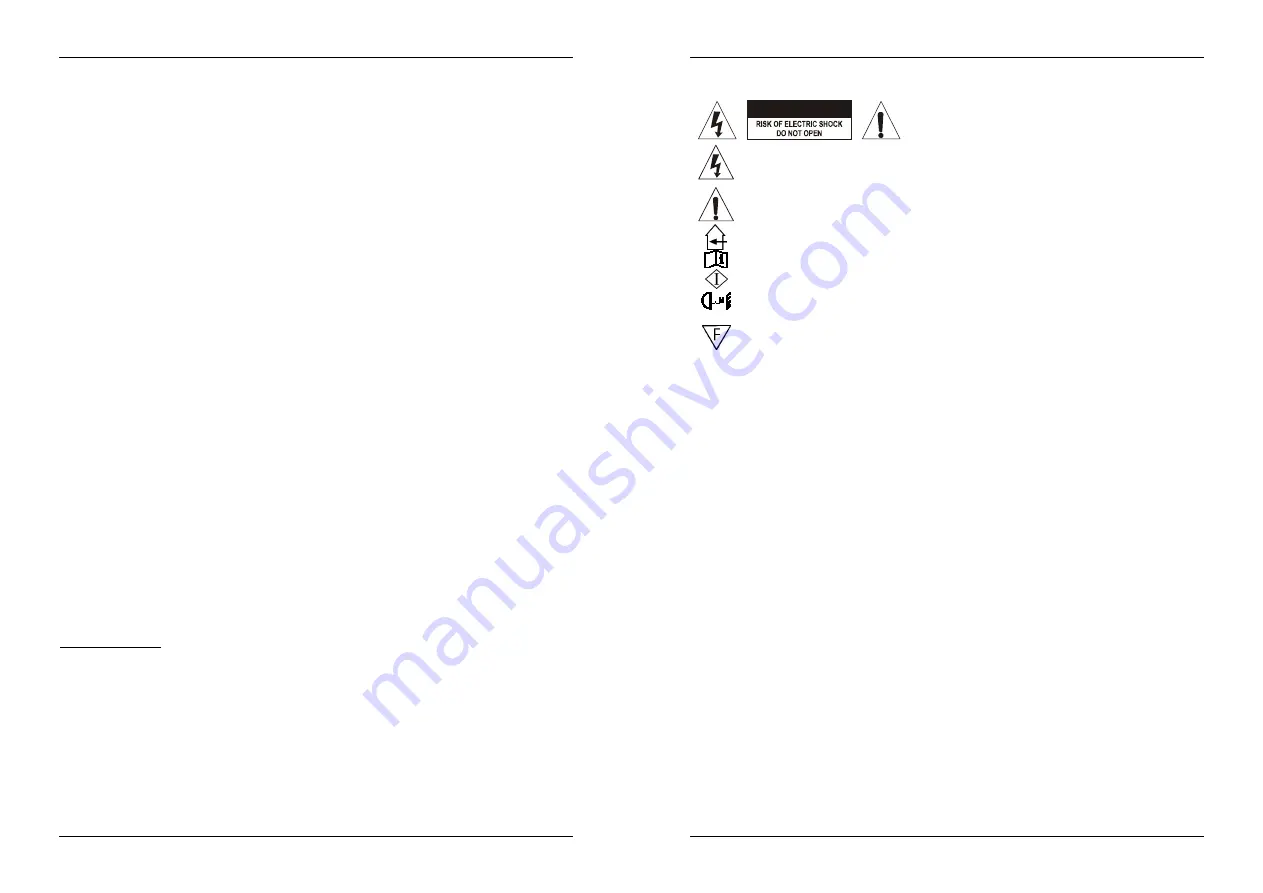
CAUTION:
To reduce the risk of electric shock, do not
remove the top cover. No user-serviceable parts inside.
Refer servicing to qualified service personnel only.
The lightning flash with arrowhead symbol within the equilateral triangle is intended to alert the
use or the presence of un-insulated “dangerous voltage” within the product’s enclosure that may
be of sufficient magnitude to constitute a risk of electric shock.
The exclamation point within the equilateral triangle is intended to alert the user to the presence
of important operation and maintenance (servicing) instructions in the literature accompanying
this appliance.
This symbol means: indoor use only
This symbol means: Read instructions
This symbol means: Safety Class I appliance
This symbol determines: the minimum distance from lighted objects. The minimum distance
between light-output and the illuminated surface must be more than 0,5 meters
The device is suitable for mounting on standard flammable surfaces. Standard flammable
surfaces include building materials such as wood and wood-based materials more than 2mm
thick.


