11
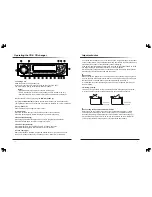
Operating the CD & CD changer
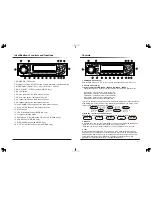
1. Loading a CD
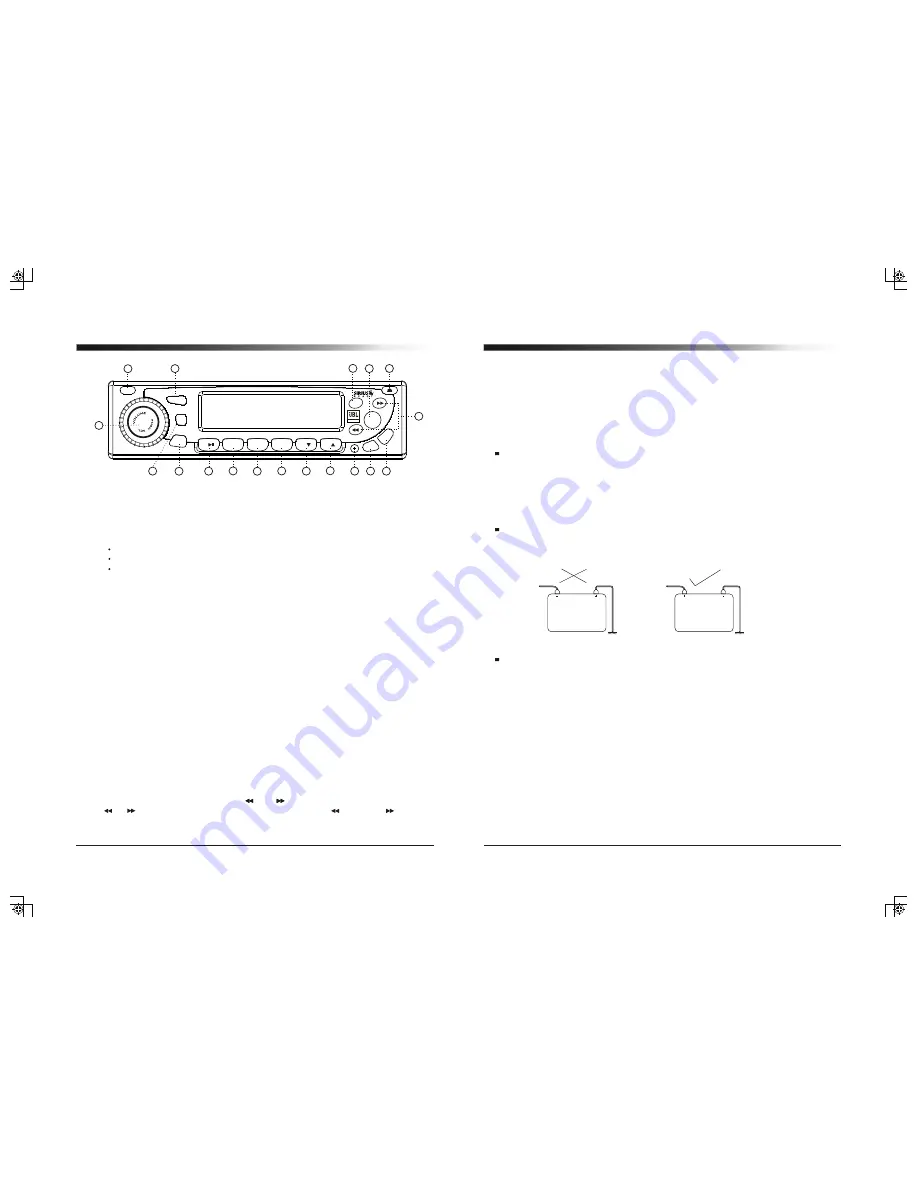
Open the door by pushing button (14).
Insert a CD label side up into the slot opening, then close the door.
The CD will begin playing automatically after it is loaded.
2.
Select the CD->CDC by pressing the
"MODE" button (3) .
3
. Press
preset button (10) or (11)
to choose the DISC that you would like to play.
(This button works when you install the CD changer to the radio unit. CDC is optional.)
4. Play / Pause (6)
Push to pause and push again to resume play.
5. Intro Scan (7)
Press this button to hear the first 10 seconds of each track on the disc.
Press this button again to restore the player to its normal play mode.
6. Repeat play button (8)
While playing a desired track, press RPT button to play the track repeatedly.
Press RPT button again to return to normal play mode.
7. Random play button (9)
Press RDM button to play all tracks on a CD in random sequence.
Press RDM button again to return the player to normal mode.
8. Track Tuning (15)
Search the tracks on the DISC with the and buttons. If you press and hold
the or button continuously, the track goes fast - forward or rewinds .
Notes:
NEVER insert foreign objects into the CD slot opening.
If a CD is difficult to insert, there may already be a CD loaded in the unit.
Some recorded CD-Rs or CD-RWs may not be usable with this CD player.
4
2
5
13
3
6
1
7
8
9
10
11
12
14
15
17
18
16
8.DIS
9.
A
.P
S
PWR
2 INT
3 RPT
4 RDM
1
5
MODE
7.SCN
FLIP DOWN / COMPACT DISC PLAYER HI - POWER 4x45Watts
MR-17.3
0. LD
MUT
6
SH.
SR
BD/FN
MARINE
4
Important notes
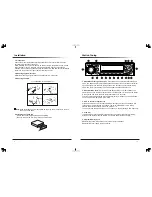
Prior to the final installation, carry out a sound check. If high distortion or intermittent
sound is experienced, it is possible that the wiring from the CD receiver to the boat's
electrical system is poor or that the battery needs recharging.
If the battery and its charging circuit are OK, then rewire the yellow fused wire of the
CD player directly to the positive terminal (+) of the boat battery.
Marine accessory shops stock the connector blocks and the 10 Amp cable that may
be necessary for extending the fuse wire connection.
Grounding
Make sure that the black wire on the wiring harness is connected to a good ground
point on the boat. If the chassis of the boat is used as a grounding point, make sure
that the surface is scraped clean of paint before attaching the wire to it.
It is preferable to connect the black ground wire directly to negative terminal (-) of
the boat battery.
Warning: polarity...
This model is only suitable for use in boats which have a Negative ground system,
e. g. : the
negative terminal of the boat
battery is connected to the chassis.
Connecting the Speakers and Power Cables
Before you wire your system, disconnect your boat battery's positive (+) cable.
This helps prevent damage in case of a short. When you complete the wiring,
reconnect the battery cable and test your marine stereo. When connecting your
marine stereo's black ground wire, be sure to connect the wire to a metal part of
your boat or preferably to the negative (-) terminal of the boat battery.
POSITIVE
CHASSIS
NEGATIVE
CHASSIS


