ENGLISH
OPERATION MANUAL
JB SYSTEMS
®
5/78
USB1.1
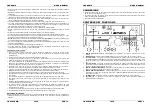
ENTER EDIT LOOP MODE:
When a loop is programmed (LOOP IN and OUT/EXIT buttons are on)
you can enter loop edit mode by pressing the RELOOP/STUTTER button until the display shows the
time of the current loop endpoint: use the JOG-WHEEL to adjust the endpoint.
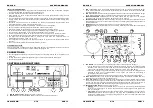
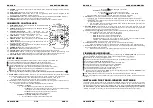
13. CUE button:
Pressing the CUE button during playback provides an immediate return to the position at
which play was started. Playback starts immediately from the programmed cue point for as long as the
CUE button is pressed. The player jumps back to the cue point as soon as the CUE button is released.
Also with the unit in pause mode (Play/Pause button blinks) the jog wheel is used to set a different start
point. By pressing "PLAY/PAUSE" or “LOOP IN” button followed by "CUE", you can confirm this new
cue point.
14. PLAY/PAUSE button:
every time you press the PLAY/PAUSE button the player changes from play to
pause or from pause to play. The button blinks as long as the player is set to pause.
15. FOLDER button:
changes the function of the TRACK knob (16) while the search key is set to “Std”
(standard track/folder search without Track-Indexer database).
While the LED is off:
the TRACK knob is used to browse the tracks of the selected folder.
While the LED is on:
the TRACK knob is used to browse the folders on the USB-drive.
16. TRACK knob:
this knob has different functions (also see the chapter “HOW TO USE”):
CDs or no Track-Indexer database:
depending on the status of the FOLDER button (15) you can
browse tracks or folders on the CD or USB-device. To increase search speed on USB-devices with a
lot of folders/tracks, you can also turn the JOG-WHEEL (9) while you keep the TRACK knob
pressed.
Track-Indexer database search:
(press the DATABASE-button (17) and desired search key)
Turn the knob
to select the first character of the string you’re looking for, after that use the
JOG-WHEEL to search for the desired track.
Press the knob while you turn it
to change the search key in the database, you can search
the keys:
Art:
search for “artist names” in alphabetical order (default search key)
Alb:
search for “album names” in alphabetical order
Gen:
search for “Genres” in alphabetical order
Std:
don’t use the Track-Indexer database system, just folders and tracks manually.
During playback:
press the knob to see the different ID3-tags on the display:
Press 1x:
Artist name of the current track is shown
Press 2x:
Album name of the current track is shown
Press 3x:
Genre of the current track is shown
Press 4x:
Bitrate information of the current track is shown
Setup menu active:
while the setup menu is active (see TIME button (26)) turn the knob to browse
the menu, press the knob to select a menu option to change it. Please refer to chapter “SETUP
MENU” for more information.
17. DATABASE / NEXT TRACK button:
a very important button if you want to find your next track easily
and fast, even while the previous track is still playing! This button works in two different ways:
NEXT TRACK function:
will be used while searching on CDs and mass storage devices that don’t
have the “Track-Indexer database system” files installed. You can only search on track and folder
numbers.
DATABASE function:
will be used while searching mass storage devices that have the “Track-
Indexer database system” files installed. You can alphabetically search on artist, track title, genre or
album. Very fast and no need for you to know where your files are located!
Once you have found the desired song, just press the LOAD-button (24) to load the track.
For both functions, please refer to chapter “HOW TO USE” for more information.
18. SEARCH buttons:
used to search quickly inside a track.
19. KEY LOCK Button:
(Master tempo) activates the Pitch Lock function. This function allows you to make
adjustments to a tracks speed using the SPEED-fader without altering the tonal pitch.
20. PITCH button:
press this button to turn the speed function on. Press several times to select one of the 3
different pitch ranges (+/-4%, 8%, 16%). Press this /- 2seconds to turn the speed function off.
21. PITCH slider:
Press the PITCH button, so the pitch range LED is lit. The speed can be adapted up to +/-
16% by moving the fader. The speed will not change when the pitch range LED is off.
22. PITCH BEND buttons:
The speed rises while the “+ button” is pressed and returns to the original pitch
when the button is released. The speed drops when the “– button” is pressed and returns to the original
pitch when the button is released. These buttons can be used to synchronize the beats of 2 tracks.
ENGLISH
OPERATION MANUAL
JB SYSTEMS
®
6/78
USB1.1
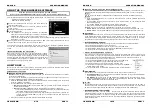
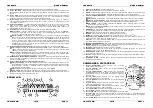
23. RELAY button:
you can select 2 different random play functions.
Total random:
press the RELAY button shortly until the word “RANDOM” in the LCD-display is lit.
The player now plays tracks, randomly selected from the complete USB-mass storage.
Directory random:
you can choose to play only tracks from a certain directory: first you have to
select this directory, then press the RELAY button for 2 seconds until the word “RANDOM” in the
LCD-display starts blinking. The player 1 now plays only tracks from the selected directory. (avoids
mix-up of 2 completely different music styles: perfect for bars, clubs, restaurants, …) See chapter
“HOW TO USE” for examples.
24. OPEN/CLOSE/LOAD TRACK button
: used for two different functions.
Load a track from USB-drive:
when the DATABASE/NEXT TRACK-button (17) is used to lookup
the next track, just press the LOAD TRACK button to load the selected track.
Load/eject CDs:
press this button to open and close the disc tray. This button is disabled during
playback. If the tray is not closed after 60sec. It will close automatically to prevent damage.
25. SOURCE SELECT switch:
use this button to select the desired audio source: CD, USB1 or USB2. You
can only select another source while the player is in stop or pause.
26. TIME Button:
has different functions:
Change time display:
The TIME button switches between elapsed playing time, remaining time in a
selection and total remaining time of the disc. (standard = remaining /track) The “total remaining time
of the disc” is not available on MP3-tracks.
Open setup menu:
press the ENTER button for about 3seconds.
Close setup menu:
press the ENTER button shortly to leave setup.
27. LCD DISPLAY:
Shows all important information needed during playback. Refer to the next chapter for
more information.
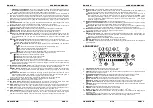
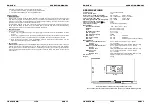
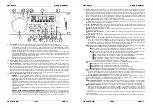
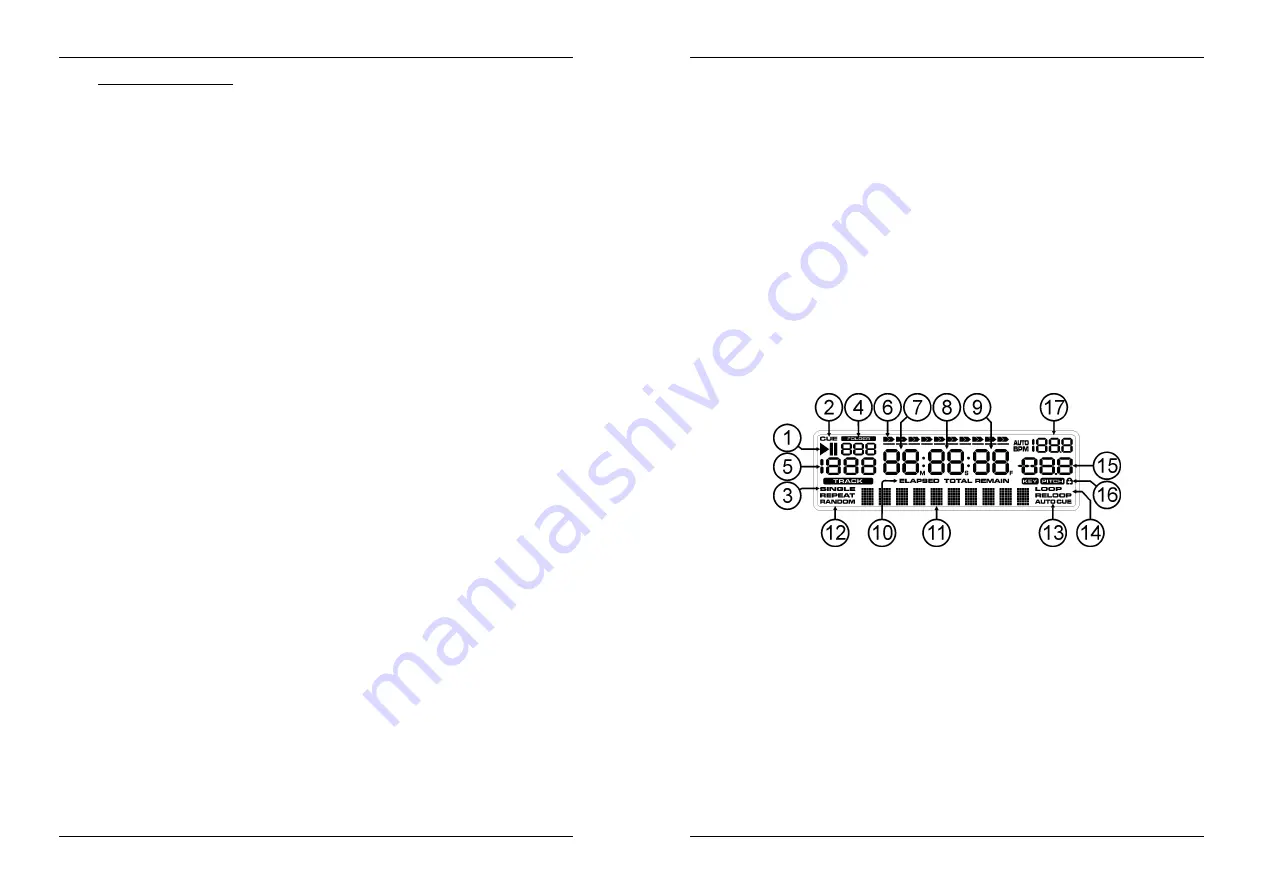
LCD DISPLAY
1.
PLAY/PAUSE indicators:
displays the status of the player.
2.
CUE:
appears when the master cue point is programmed.
3.
SINGLE:
appears when the unit is set to play just one track at a time. When it is not shown, the player
plays continuously through all tracks.
4.
FOLDER/SEARCH KEY indicator:
the information depends on the lookup mode you selected.
Standard lookup:
(no Track-Indexer database) the current folder number is shown.
Database lookup:
the current search key (Art, tit, Alb or Gen) is shown.
5.
TRACK indicator:
shows the number of tracks available in your current selection.
Standard lookup:
(no Track-Indexer database) the track numbers in the current folder are shown.
Track-Indexer lookup:
the track numbers that correspond to your Track-Indexer pre-selection.
6.
TIME BAR:
shows either remaining or elapsed time. Starts flashing at the end of each track to alert the
user to take action.
7.
MINUTE:
Shows “minutes” time information of current track.
8.
SECOND:
Shows “seconds” time information of current track.
9.
FRAME:
Shows “frame” time information of current track. (1 frame = 1/75
th
sec.)
10. ELAPSED, REMAIN:
indicates that the time shown on the display is the elapsed or remaining time for
the playing track.
Note:
for MP3 files it’s not possible to show the total remaining time for all tracks on the CDROM.
11. ALPHANUMERIC DISPLAY:
Shows the names of folders and ID3-tags of MP3 tracks.
Summary of Contents for USB 1.1 - V1.0
Page 1: ......


