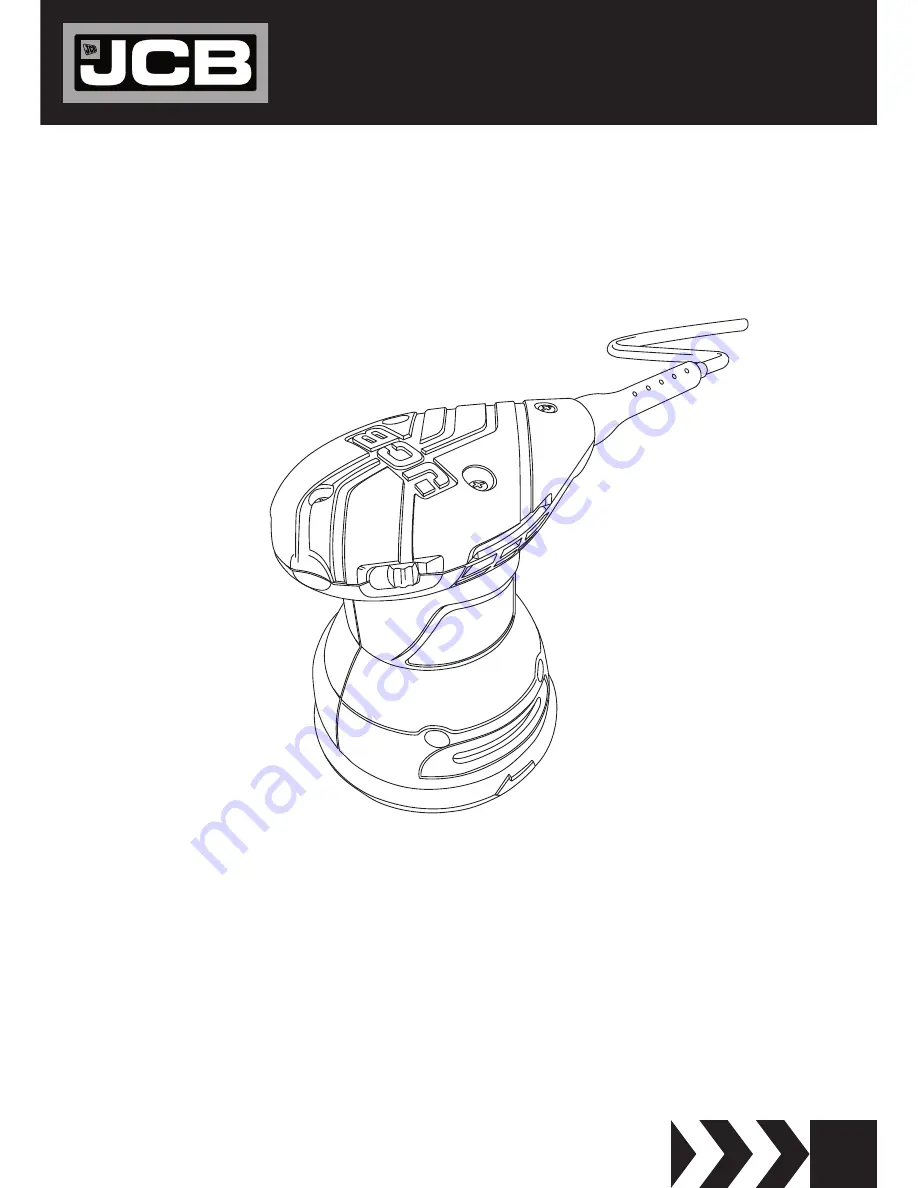
background image

POWER TOOL

INSTRUCTION & USER MANUAL

EN

IM-RO125-EN

JCB-RO125

Original Instructions

Summary of Contents for JCB-RO125

Page 1: ...POWER TOOL INSTRUCTION USER MANUAL EN IM RO125 EN JCB RO125 Original Instructions...

Page 2: ...pean Directive 2012 19 EU It will then be recycled or dismantled in order to reduce the impact on the environment Electric and electronic equipment can be hazardous for the environment and for human h...

Page 3: ...ls 6 COMPONENT LIST 8 TECHNICAL DATA 9 NOISE INFORMATION 9 VIBRATION INFORMATION 10 OPERATING INSTRUCTIONS 11 Intended Use 11 Power Switch 11 Changing a Sanding Sheet 11 Adjusting Speed 11 Dust Suctio...

Page 4: ...et conditions Water entering a power tool will increase the risk of electric shock m m Do not abuse the cord Never use the cord for carrying pulling or unplugging the power tool Keep the cord away fro...

Page 5: ...and or remove the battery pack if detachable from the power tool before making any adjustments changing accessories or storing power tools Such preventive safety measures reduce the risk of starting t...

Page 6: ...Use the tool for dry sanding only m m Use clamps or a vice to secure your work whenever possible m m Use perforated hook and loop sandpaper with the prescribed dimensions m m A sanding sheet that has...

Page 7: ...7 JCB RO125 Instruction User Manual...

Page 8: ...8 JCB RO125 Instruction User Manual COMPONENT LIST 1 2 3 4 5 1 ABRASIVE SHEET SANDPAPER 2 SANDING DISC 3 ON OFF SWITCH HIDDEN FROM VIEW 4 SPEED ADJUSTMENT WHEEL 5 DUST EXTRACTOR...

Page 9: ...tage 230 240V 50Hz Power 320W No Load Speed 7000 14000 rpm Eccentricity 2 5mm Sanding Disc Diameter 125mm Product Weight 1 7kg A Weighted Sound Pressure LpA 79 00 dB A A Weighted Sound Power LwA 90 00...

Page 10: ...IS NOT ADEQUATELY MANAGED To be accurate an estimation of exposure level in the actual conditions of use should also take account of all parts of the operating cycle These include times when the tool...

Page 11: ...he edge of the disc with the edge of the pad and ensure the sheet is centered in the plate m m Apply pressure to the disc ensuring it is securely fixed across the entire sanding pad To remove a disc m...

Page 12: ...ly in lengthwise and crosswise directions over the workpiece Do not tilt the machine during operation This will apply uneven pressure and may cause damage to the work piece e g when sanding veneer NOT...

Page 13: ...loose screws immediately or serious injury could occur m m If the power cord becomes damaged and replacement is necessary this must be carried out by an authorised warranty agent Never open the tool T...

Page 14: ...save as a PDF document The relevant warranty certificate together with the original sales receipt will be required in the event of any claim within the warranty period Should you choose not to registe...

Page 15: ...m Accessories and consumable items m m Cases and tool storage products If your product develops a fault within 30 days of purchase return it to the retailer where it was purchased together with your s...

Page 16: ...mpatibility Directive 2014 30 EU RoHS Directive 2011 65 EU Standards conform to EN 55014 1 2017 EN 55014 2 2015 EN 61000 3 2 2014 EN 61000 3 3 2013 EN 62841 1 2015 AC 2015 EN 62841 2 4 2014 The person...

Page 17: ...17 JCB RO125 Instruction User Manual...

Reviews: