Chapter 11
Maintenance and Troubleshooting
Maintenance procedure
86
User Manual
790000002/00
6
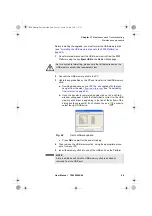
Press the
H
OME
button, then successively the
Settings > Expert
Tools > Upgrades > Software Upgrade > Upgrade from USB
.
The message
Are you sure?
is displayed
7
Click on
Confirm
.
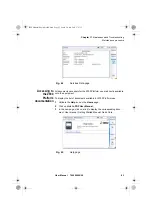
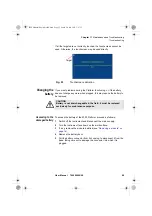
The list of the software versions available on the USB stick is
displayed next to the versions installed on the 2000 Platform.
8
Click on
Show
Prev choice
or
Show
Next Choice
to display the
previous and next versions available.
9
Click on
Confirm this Choice
to start the upgrade of the selected
software(s).
or
Click on
Confirm All Choices
to upgrade all versions.
Upgrading begins. The 2000 Platform is automatically rebooted.
Upgrading takes several minutes. Finally, the 2000 Platform is auto-
matically restarted.
Installation from
Ethernet
Before starting the software upgrade via Ethernet, make sure the IP
adress of the PC server.
The update can be performed directly onto the equipment, using an http
address.
1
Connect the 2000 Platform to a PC via an Ethernet link.
2
On the
Home
page, press
Settings
key to open the
System
Settings
page.
3
In
I/O Interfaces
, on the line
Ethernet
, select
Mode
:
Dynamic
.
4
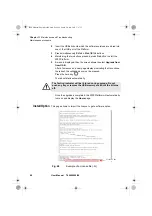
In the
Upgrade Server
box:
–
On the line
Address Type
, select
Server name
–
On the line
Server Name
, enter the address:
2k.updatemyunit.net
NOTE
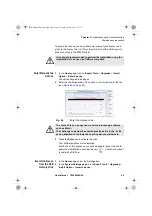
The software versions list does not always appear (cf previous ver-
sions) as well as the
Previous / Next Choice
buttons and the
Con-
firm/Continue
key. In this case, the upgrading starts automatically.
During the upgrade, the Testing indicator is lit in red. Do not
push any button or remove the USB memory stick while the
indicator is lit. The USB stick can be removed if necessary once
the Testing indicator is off.
2000 Platform English rev00.book Page 86 Lundi, 20. juin 2011 1:47 13


