Quick Start
- 5 -
QUICK START
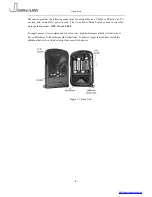
2.1 Load Batteries
Let us begin with loading the batteries. Please follow the instructions below.
•
Open the bottom cover by pulling down the lock hole.
•
Push the cover of the battery compartment and release. It will pop out.
•
Install 4 AA batteries. Make sure the polarity matches the sign on the cover.
•
Replace the cover.
Alternatively the camera can run on an external 6V DC power source (optional, user provided).
When both external power and batteries are connected, the camera will be powered by the
external one.
2.2 Insert SD Card
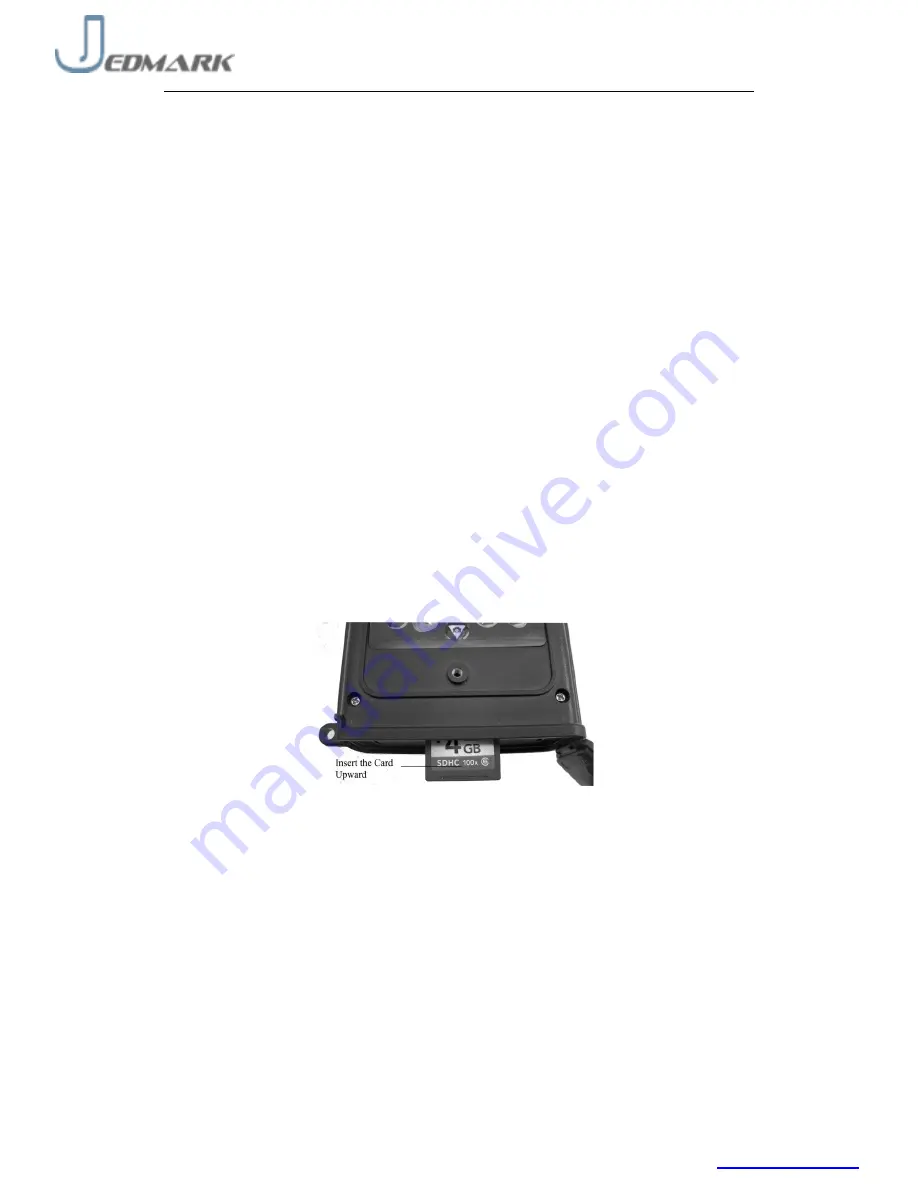
The camera does not come with internal memory. So it will not work without a SD (Secure
Digital) memory card or SDHC (High Capacity) card. Before inserting the SD card into the card
slot, please make sure the write-protect switch on the side of the SD card is “off” (NOT in the
“Lock” position). The supported memory capacity is up to 16GB. If you use a card capable of
above 16GB, make sure you test it before putting the camera in use.
Figure 2.1
CAUTION: ALWAYS SWITCH THE CAMERA TO OFF MODE BEFORE YOU INSTALL
OR REMOVE THE BATTERIES OR THE SD CARD.
2.3 Enter Test Mode
Switch to the
TEST
position to enter the Test mode. In this mode you can take pictures or video
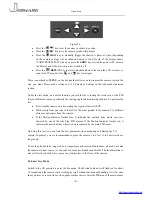
clips like a regular digital camera, or enter the Menu to set up parameters. On the keypad there
are four “shortcut” functional keys (see Figure 2-1) working as below:
http://www.jedmark.co.uk


