•
Scrub in all directions, covering an area of
about two square feet at a time. Avoid heavy
scrubbing.
•
Rinse the entire vehicle with water to remove all
soap and dirt from the top fabric and to prevent
streaking on painted and chrome surfaces.
•
Allow the top to dry before opening. Vacuuming
the top with a wet/dry shop vacuum will de-
crease the tops drying time, ensure removal of
all dirt, and delete streaks in the material.
•
Multiple cleanings may be necessary to re-
move stubborn stains. If stains persist, contact
your local authorized dealership for further sug-
gestions.
CAUTION!
Never use an abrasive type cleaner or bleaches.
Cleaners should not contain silicones, organic
solvents, petroleum distillates, or plasticizers.
Always wait until the top is thoroughly dry before
lowering it into the storage area.
Additional Cleaning Procedure
For additional cleaning assistance in removing
stubborn stains, apply Mopar
!
Convertible Cloth
Top Cleaner to the complete stain, extending 2 in
(50 mm) beyond the stain. With a soft bristle
brush, scrub in all directions over the stain. Avoid
heavy scrubbing. Rinse the area with warm water.
If the stain is still apparent, repeat the cleaning
procedure. When the stain is no longer showing,
rinse the complete top with warm water. Let the
top dry before lowering it.
Protection
For appearance purposes, you may wish to pro-
tect the acrylic (cloth) top periodically. A fabric
protectant such as Scotchguard
!
is suggested.
The top should be clean and dry before applica-
tion of the protectant.
CAUTION!
Avoid getting Scotchguard
!
on the surrounding
weather strips, moldings, paint, or glass. Dam-
age to these items might occur.
Weather Strip Care
Lubricate the weather strips periodically with Mo-
par
!
Weather Strip Lubricant, to keep them soft
and pliable.
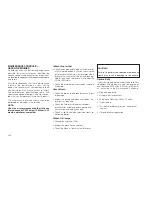
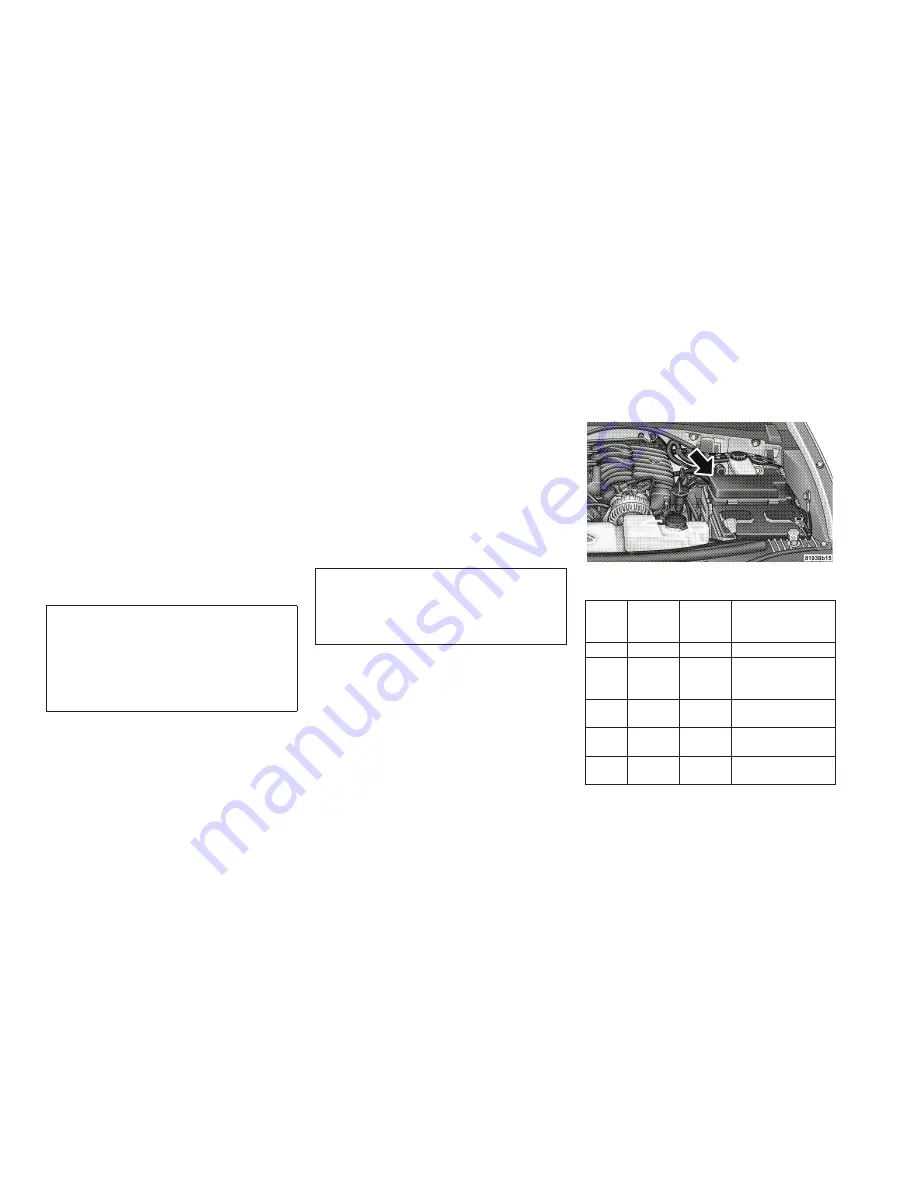
FUSES (INTEGRATED POWER
MODULE)
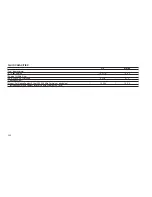
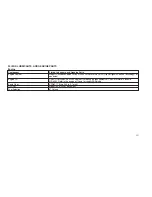
The Totally Integrated Power Module (TIPM) is
located in the engine compartment near the bat-
tery. This center contains cartridge fuses, mini-
fuses and relays. A label that identifies each
component is printed on the inside of the cover.
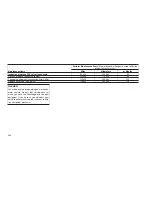
Cavity
Car-
tridge
Fuse
Mini-
Fuse
Description
J1
—
—
—
J2
30 Amp
Pink
—
Transfer Case
Module - if
equipped
J3
40 Amp
Green
—
Rear Door Mod-
ules
J4
25 Amp
White
—
Driver Door Node
J5
25 Amp
White
—
Passenger Door
Node
Totally Integrated Power Module (TIPM)
193
Summary of Contents for Cherokee 2009
Page 1: ......
Page 2: ......
Page 3: ......
Page 5: ...2...
Page 9: ...6...
Page 11: ...8...
Page 15: ......
Page 45: ...42...
Page 50: ...Rear Window Defroster If Equipped 89 ROOF LUGGAGE RACK IF EQUIPPED 90 47...
Page 51: ......
Page 63: ...60...
Page 64: ...61...
Page 65: ...62...
Page 97: ...INSTRUMENT CLUSTER 94...
Page 106: ...Compass Variance Map 103...
Page 111: ...Compass Variance Map 108...
Page 116: ......
Page 120: ...117...
Page 123: ...Control Setting Suggestions for Various Weather Conditions 120...
Page 147: ......
Page 159: ......
Page 162: ......
Page 175: ...172...
Page 179: ......
Page 210: ...9 IF YOU NEED CONSUMER ASSISTANCE IF YOU NEED ASSISTANCE 208 207...
Page 212: ...209...
Page 213: ...210...
Page 214: ...10 INDEX 211...


