To provide additional storage area, each rear
seat can be folded flat. This allows for extended
cargo space and still maintains some rear seat-
ing room. Refer to “Seats” in “Getting To Know
Your Vehicle” for further information.
Cargo Tie-Down Hooks And Loops
The tie-downs located on the cargo area floor
should be used to secure loads safely when the
vehicle is moving.
Cargo tie-down loops are located on the trim
panels.
WARNING!
•
Cargo tie-downs are not safe anchors for a
child seat tether strap. In a sudden stop or
accident, a tie-down could pull loose and
allow the child seat to come loose. A child
could be badly injured. Use only the an-
chors provided for child seat tethers.
•
To help protect against personal injury,
passengers should not be seated in the
rear cargo area. The rear cargo space is
intended for load carrying purposes only,
not for passengers, who should sit in seats
and use seat belts.
(Continued)
WARNING! (Continued)
The weight and position of cargo and pas-
sengers can change the vehicle center of
gravity and vehicle handling. To avoid loss of
control resulting in personal injury, follow
these guidelines for loading your vehicle:
•
Do not carry loads that exceed the load
limits described on the label attached to the
left door or left door center pillar.
•
Always place cargo evenly on the cargo
floor. Put heavier objects as low and as far
forward as possible.
•
Place as much cargo as possible in front of
the rear axle. Too much weight or improp-
erly placed weight over or behind the rear
axle can cause the vehicle to sway.
•
Do not pile luggage or cargo higher than
the top of the seatback. This could impair
visibility or become a dangerous projectile
in a sudden stop or accident.
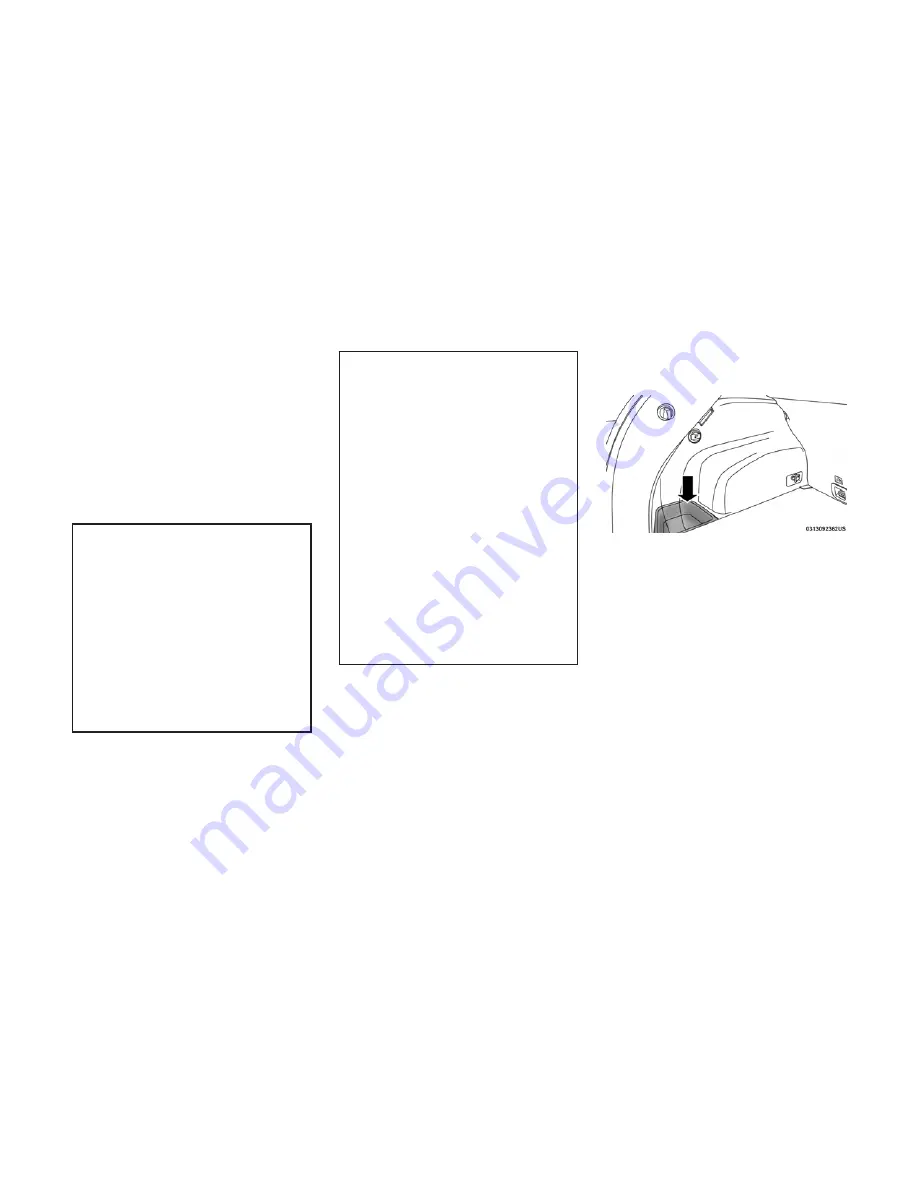
Rear Storage Bins
The rear storage bins are located in the rear of
the vehicle on the sides of the load floor.
Rear Storage Bin
63
Summary of Contents for COMPASS 2018
Page 2: ......
Page 3: ......
Page 5: ...2 ...
Page 10: ...2 GRAPHICAL TABLE OF CONTENTS FRONT VIEW 8 REAR VIEW 9 INSTRUMENT PANEL 10 INTERIOR 11 7 ...
Page 12: ...REAR VIEW Rear View 1 Rear Lights 2 Rear Windshield Wiper 3 Liftgate 9 ...
Page 15: ...12 ...
Page 50: ...Uconnect 4 4C NAV With 8 4 inch Display Automatic Climate Controls 47 ...
Page 57: ...Operating Tips Chart 54 ...
Page 71: ...68 ...
Page 73: ...INSTRUMENT CLUSTER Base Instrument Cluster 70 ...
Page 74: ...Premium Instrument Cluster 71 ...
Page 139: ...136 ...
Page 253: ...250 ...
Page 277: ...274 ...
Page 326: ...11 CUSTOMER ASSISTANCE IF YOU NEED ASSISTANCE 324 323 ...
Page 328: ...325 ...
Page 329: ...326 ...
Page 330: ...12 INDEX 327 ...
Page 338: ...٣٧٢ ...
Page 347: ...١٢ س ا ٣٦٣ ...
Page 348: ...٣٦٢ ...
Page 349: ...٣٦١ ...
Page 351: ...١١ ء ا ة ٣٦٠ ة ا إ a ا إذا ٣٥٩ ...
Page 352: ...٣٥٨ ...
Page 400: ...٣٥٧ 6 j إ ت ٣٥٧ 0 ا اص Zm ا ٣١٠ ...
Page 402: ...٣٠٨ ...
Page 410: ...٣٠٠ ...
Page 433: ... ور ا 9 ا 3 ا ف ن B وا ا u آ I را ور ا ٢٧٧ ...
Page 436: ...٢٧٤ ...
Page 474: ...٢٣٦ ...
Page 560: ...١٥٠ ...
Page 614: ...٩٦ ...
Page 636: ... س ا أ ة A Am ا س ا أ ة ٧٤ ...
Page 638: ...٧٢ ...
Page 652: ... 01 ا دات V إر ول ٥٨ ...
Page 659: ... ت Q 8 4 Q ض V V R f E E أو رة 8Q ارة ا در 6 f ا E Q ود ّ ا Uconnect 4 4C NAV م G ٥١ ...
Page 696: ...١٤ ...
Page 699: ... S G S G 3 ا اء 1TY ا 1 3 ا ج I2 ا E 2 ة w ا ب 5 3 ١١ ...
Page 701: ...٢ ت ا ول ا ١٠ أ G ١١ S G ١٢ س Z أ ة ١٣ S ا ا ٩ ...
Page 702: ...٨ ...
Page 704: ... ز ا م 3 4 ا ز 1 ا ا ول ا I را ا 9 ه ا د ت E 7 أو ر ٦ ...
Page 708: ...٢ ...
Page 710: ......
Page 711: ......


