1. Apply the parking brake, shift the automatic
transmission into PARK (manual transmis-
sion in NEUTRAL) and turn the ignition to
OFF/LOCK.
2. Turn off the heater, radio, and all unneces-
sary electrical accessories.
3. If using another vehicle to jump start the
battery, park the vehicle within the jumper
cables reach, set the parking brake and
make sure the ignition is OFF/LOCK.
WARNING!
Do not allow vehicles to touch each other as
this could establish a ground connection and
personal injury could result.
Jump Starting Procedure
WARNING!
Failure to follow this jump starting procedure
could result in personal injury or property
damage due to battery explosion.
CAUTION!
Failure to follow these procedures could re-
sult in damage to the charging system of the
booster vehicle or the discharged vehicle.
Connecting The Jumper Cables
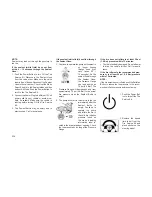
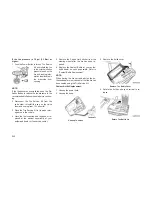
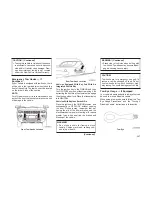
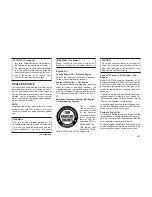
1. Connect the positive (+) end of the jumper
cable to the positive (+) post of the dis-
charged vehicle.
2. Connect the opposite end of the positive (+)
jumper cable to the positive (+) post of the
booster battery.
3. Connect the negative (-) end of the jumper
cable to the negative (-) post of the booster
battery.
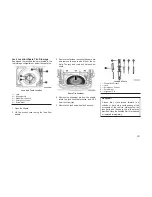
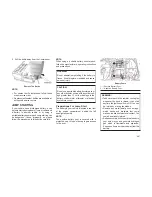
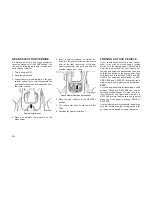
4. Connect the opposite end of the negative (-)
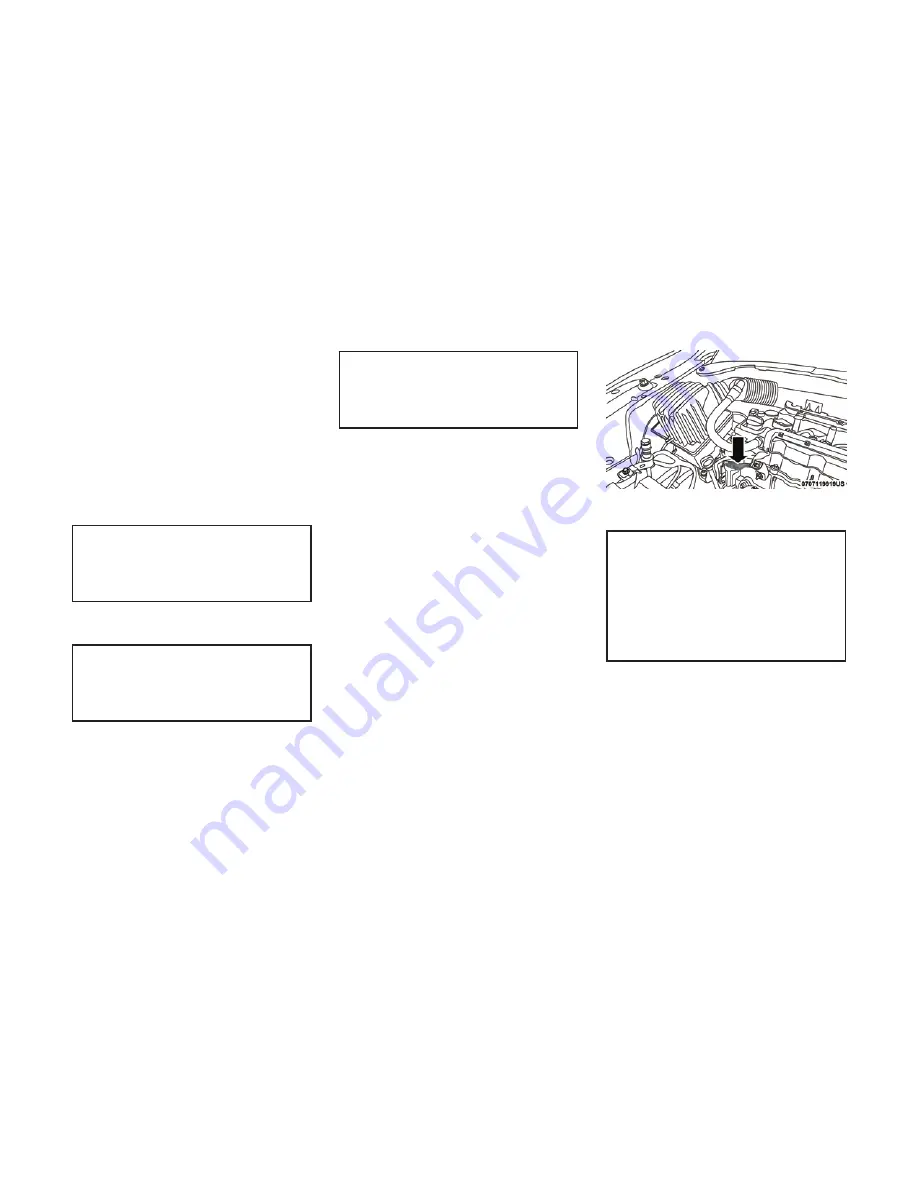
jumper cable to a good engine ground (ex-
posed metal part of the discharged vehicle’s
engine) away from the battery and the fuel
injection system.
WARNING!
Do not connect the jumper cable to the
negative (-) post of the discharged battery.
The resulting electrical spark could cause the
battery to explode and could result in per-
sonal injury. Only use the specific ground
point, do not use any other exposed metal
parts.
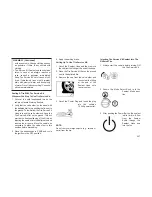
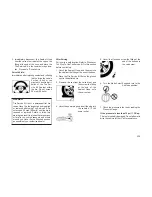
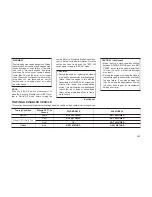
5. Start the engine in the vehicle that has the
booster battery, let the engine idle for a few
minutes, and then start the engine in the
vehicle with the discharged battery.
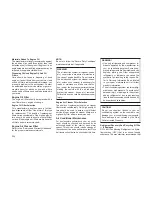
Suitable Engine Ground
(Example Engine Shown)
242
Summary of Contents for COMPASS 2018
Page 2: ......
Page 3: ......
Page 5: ...2 ...
Page 10: ...2 GRAPHICAL TABLE OF CONTENTS FRONT VIEW 8 REAR VIEW 9 INSTRUMENT PANEL 10 INTERIOR 11 7 ...
Page 12: ...REAR VIEW Rear View 1 Rear Lights 2 Rear Windshield Wiper 3 Liftgate 9 ...
Page 15: ...12 ...
Page 50: ...Uconnect 4 4C NAV With 8 4 inch Display Automatic Climate Controls 47 ...
Page 57: ...Operating Tips Chart 54 ...
Page 71: ...68 ...
Page 73: ...INSTRUMENT CLUSTER Base Instrument Cluster 70 ...
Page 74: ...Premium Instrument Cluster 71 ...
Page 139: ...136 ...
Page 253: ...250 ...
Page 277: ...274 ...
Page 326: ...11 CUSTOMER ASSISTANCE IF YOU NEED ASSISTANCE 324 323 ...
Page 328: ...325 ...
Page 329: ...326 ...
Page 330: ...12 INDEX 327 ...
Page 338: ...٣٧٢ ...
Page 347: ...١٢ س ا ٣٦٣ ...
Page 348: ...٣٦٢ ...
Page 349: ...٣٦١ ...
Page 351: ...١١ ء ا ة ٣٦٠ ة ا إ a ا إذا ٣٥٩ ...
Page 352: ...٣٥٨ ...
Page 400: ...٣٥٧ 6 j إ ت ٣٥٧ 0 ا اص Zm ا ٣١٠ ...
Page 402: ...٣٠٨ ...
Page 410: ...٣٠٠ ...
Page 433: ... ور ا 9 ا 3 ا ف ن B وا ا u آ I را ور ا ٢٧٧ ...
Page 436: ...٢٧٤ ...
Page 474: ...٢٣٦ ...
Page 560: ...١٥٠ ...
Page 614: ...٩٦ ...
Page 636: ... س ا أ ة A Am ا س ا أ ة ٧٤ ...
Page 638: ...٧٢ ...
Page 652: ... 01 ا دات V إر ول ٥٨ ...
Page 659: ... ت Q 8 4 Q ض V V R f E E أو رة 8Q ارة ا در 6 f ا E Q ود ّ ا Uconnect 4 4C NAV م G ٥١ ...
Page 696: ...١٤ ...
Page 699: ... S G S G 3 ا اء 1TY ا 1 3 ا ج I2 ا E 2 ة w ا ب 5 3 ١١ ...
Page 701: ...٢ ت ا ول ا ١٠ أ G ١١ S G ١٢ س Z أ ة ١٣ S ا ا ٩ ...
Page 702: ...٨ ...
Page 704: ... ز ا م 3 4 ا ز 1 ا ا ول ا I را ا 9 ه ا د ت E 7 أو ر ٦ ...
Page 708: ...٢ ...
Page 710: ......
Page 711: ......

