P O B OX 7 2 3 1 , C O LO R A D O S P R I N G S , C O LO R A D O 8 0 9 3 3 U S A E - m A I L : j R D G @ j E f f R Ow L A N D . C O m w w w. j E f f R Ow L A N D . C O m T E L E P H O N E ( 7 1 9) 47 3 -1 1 8 1
20
O P T I O N A L A d j u s T m e N T s
OW N E R ’ S M A N UA L
C A P R I /C A P R I S S T E R EO P R E A M P L I F I E R
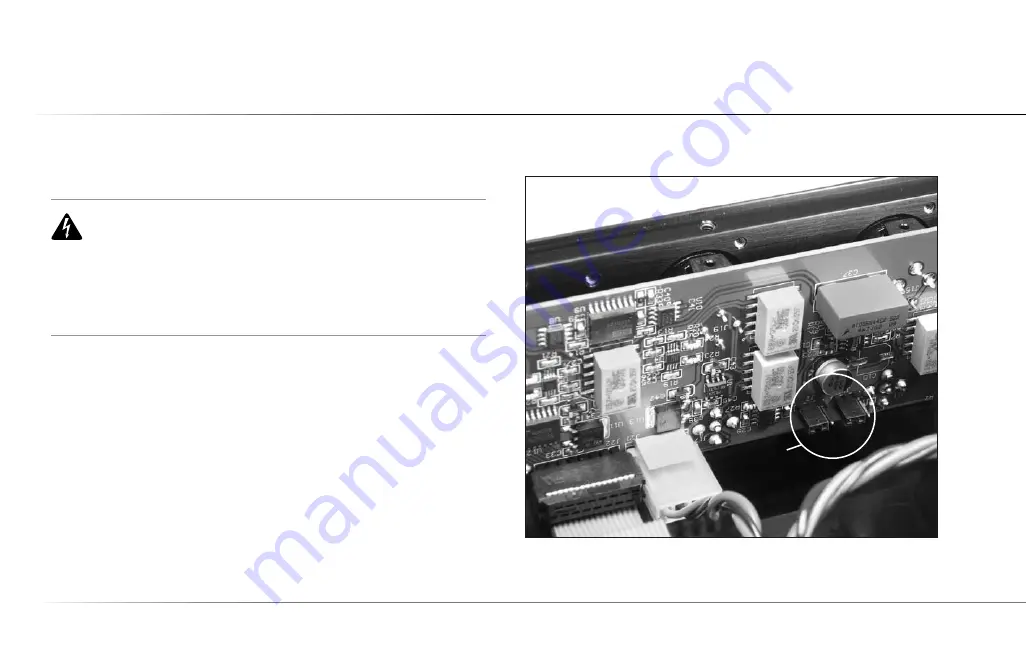
FIGURE 1:
Location of jumpers within the chassis
RISK OF ELECTRICAL SHOCK!
WARNING:
The instructions in this section are meant for qualified JRDG service
per sonnel only; however, if you as an end user choose to attempt these adjust-
ments yourself, JRDG cannot be held liable for any damage that may occur to your
CAPRI Stereo Preamplifier because of your actions. Further, accessing the interior of
your CAPRI by removing the bottom Cover can expose you to dangerous, potentially
lethal electrical voltages. Thus, JRDG cannot be held liable for any injury you may
sustain should you undertake any of these adjustments yourself.
DISPLAY BLANKING ADjUSTMENTS
The display of the CAPRI can be configured to turn off (“go blank”)
five seconds after each user command, whether from the front panel
controls or from the remote control.
STEP 1:
Unplug the CAPRI power cable from the wall AC outlet.
STEP 2:
Place the unit upside-down on a soft, clean surface. Using a
5/64" hex wrench, remove the nine screws that secure the bottom
cover of the unit.
jUMPERS


