www.jeffersontools.com
User Manual
v.1.1
JEFPDB0350
8. ASSEMBLY
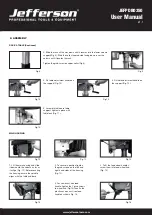
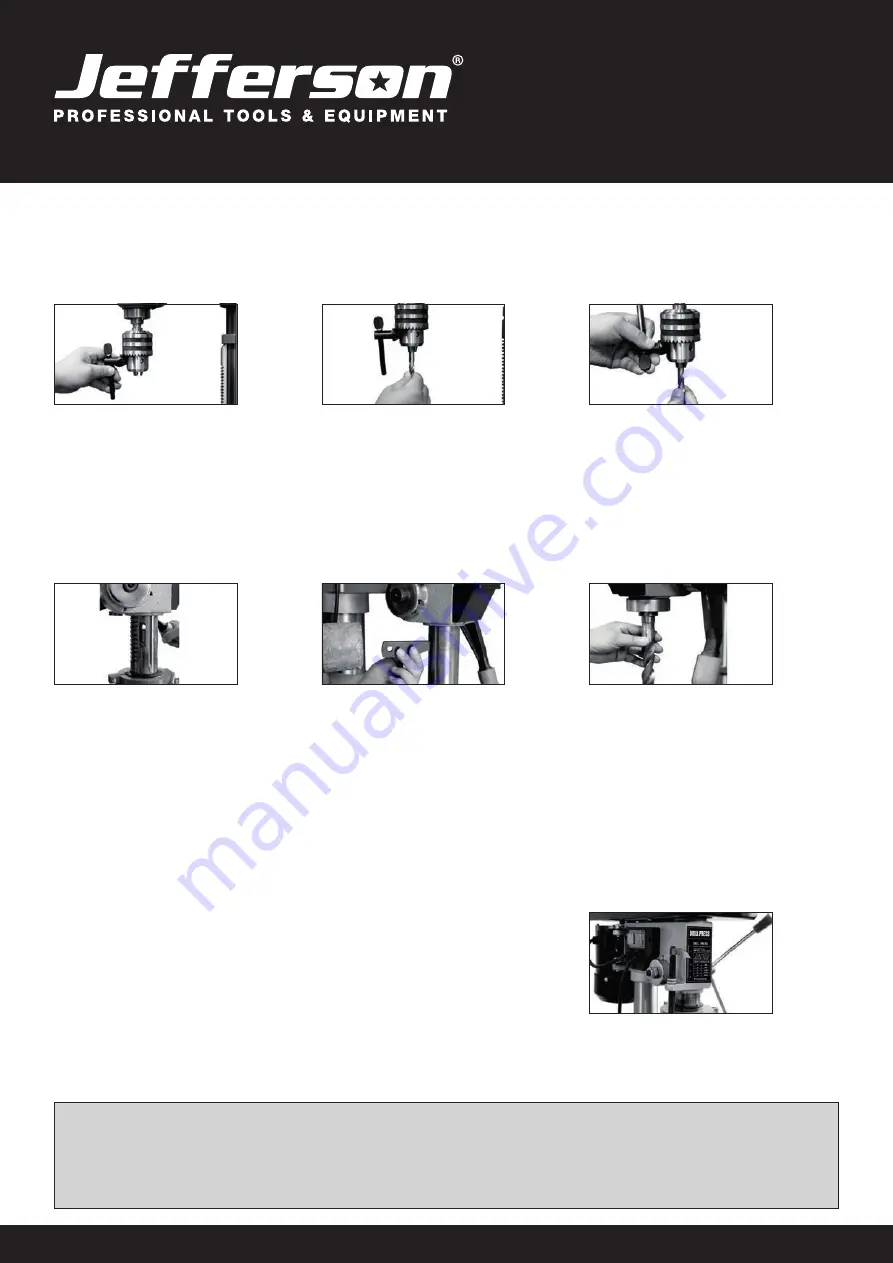
INSTALLING STRAIGHT SHANK DRILL BITS
Fig.26
Fig.27
1. Using the chuck key, loosen the
jaws of the chuck by rotating in an
anti-clockwise direction (Fig. 26).
Fig.28
3. Whilst holding the drill bit in one hand rotate
the top collar of the chuck in a clockwise
direction. Insert the chuck key into 1 of the
3 rotating holes and tighten until drill bit is
secure (Fig. 28).
2. Insert the drill bit into the chuck
(Fig.27)
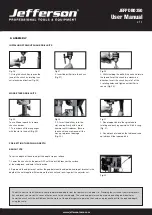
MORSE TAPER DRILL BITS
Fig.29
Fig.30
To use Morse taper bits, remove
chuck and arbor.
1. Turn arbor until the tang aligns
with the slot in the quill (Fig. 29) .
Fig.31
3. Place tapper bit into the spindle hole,
twisting and pushing upward until bit is sung
(Fig. 31).
4. Place block of wood on the table and raise
up table until the tapered bit is.
2. 2. Insert the drill key into the
slot and tap firmly with a metal
hammer until it releases. (Ensure
the chuck jaws are wound all the
way up to prevent damage
(Fig. 30).
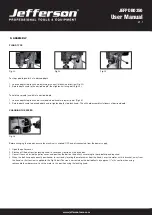
PRE-SETTING THE DRILLING DEPTH
BENCH TYPE
To set the depth of the hole, adjust the depth stop as follows:
1. Lower the chuck with the power OFF, until the drill bit touches the surface
of the workpiece, and hold in that position.
2. Spin down the adjuster nut so that the gap between its underside and top of bracket is the
depth of the hole required. Screw down the lock nut and lock it against the adjuster nut.
Fig.32
The drill is now set to drill holes to your pre-determined depth from that particular start point. i.e. Providing the surface of your workpiece is
flat and level, you may drill a series of holes, each to the same depth. The scale and pointer can be used when drilling individual holes.
Lower the chuck until the drill bit touches the work, set the pointer against a point on the scale, and proceed to drill to the required depth,
using the scale.

