14
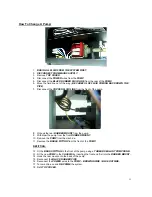
How To Change A PCB:
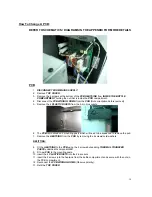
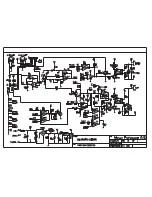
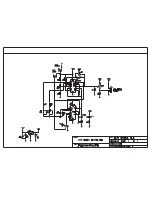
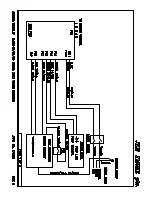
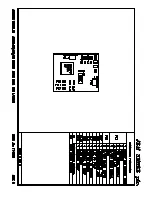
REFER TO SCHEMATICS / DIAGRAMS IN THE APPENDIX FOR MORE DETAILS
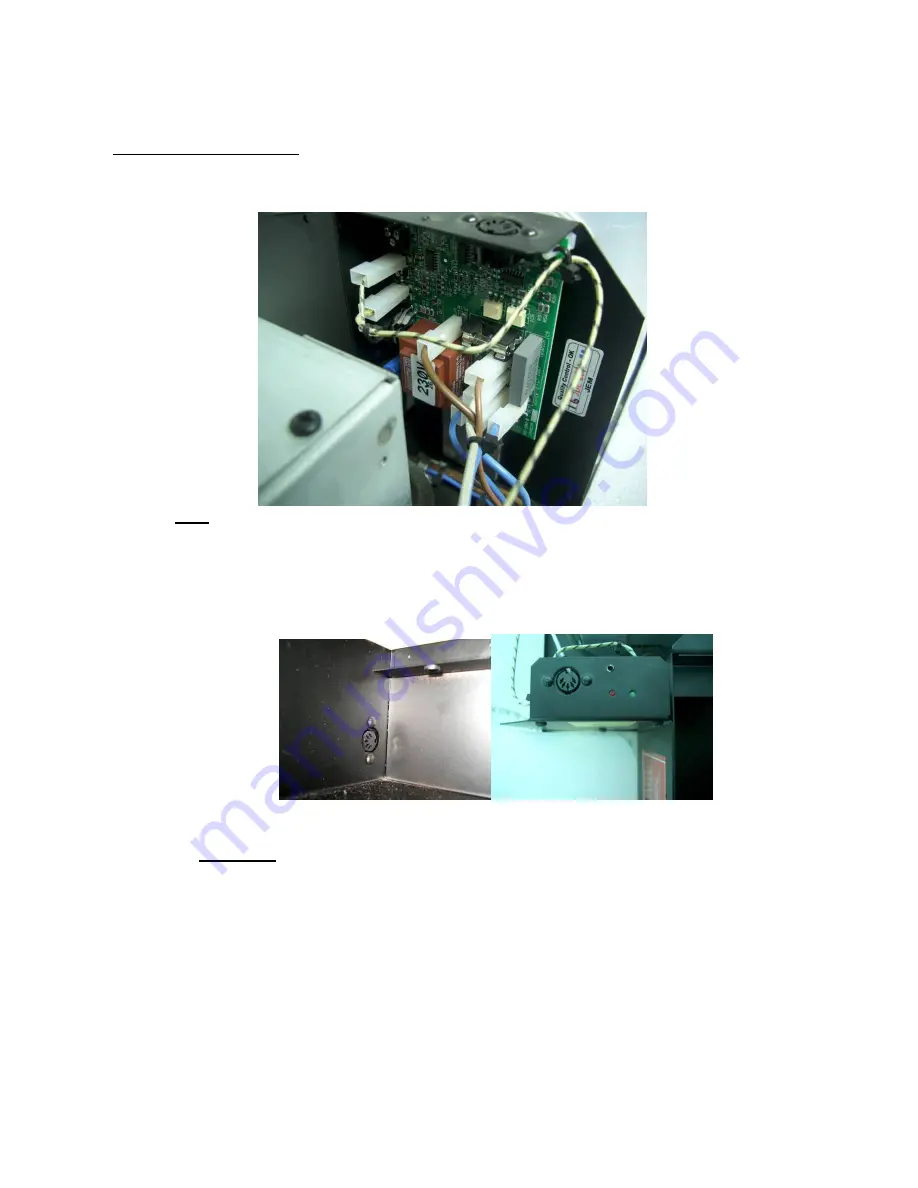
PCB
1.
DISCONNECT FROM MAINS SUPPLY.
2. Remove
TOP
COVER
.
3. Remove the 2 screws at the bottom of the
PCB HEATSINK
from
INSIDE THE BOTTLE
COMPARTMENT
holding the nut that is inside the
PCB
compartment.
4. Disconnect the
PCB
WIRING
LOOMS
from the
PCB
(Note orientation before removal).
5. Remove the 4
PLASTIC RIVETS
from the 5-pin din sockets.
6. The
PCB
is mounted on 2 mounting posts which will need to be squeezed to remove the pcb.
7. Remove the
HEATSINK
from the
PCB
by removing the 2 screws/nuts/washers.
REFITTING:
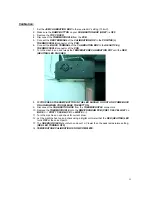
8. Fit the
HEATSINK
to the
PCB
using the 2 screws/nuts adding
THERMAL TRANSFER
PASTE
underneath component
Q6.
9. Fit new
PCB
to the mounting posts.
10. Insert the 4
PLASTIC RIVETS
into the din sockets.
11. Insert the 2 screws into the heatsink from the bottle compartment and secure with the nuts in
the PCB compartment.
12. Reconnect the
PCB
WIRING
LOOMS
(Observe polarity).
13. Refit the
TOP
COVER
.
Summary of Contents for ZR12-AL
Page 1: ......
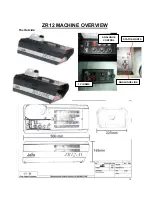
Page 10: ...10 ZR12 MACHINE OVERVIEW The Outside ANALOGUE CONTROL 3 PIN DMX ANALOGUE LINK STATUS LIGHTS ...
Page 18: ......
Page 19: ......
Page 20: ......
Page 21: ......
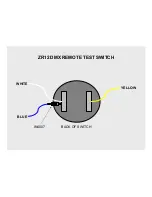
Page 23: ...YELLOW BLUE WHITE ZR12 DMX REMOTE TEST SWITCH BACK OF SWITCH IN4007 ...


