8
2.3 Optional parts
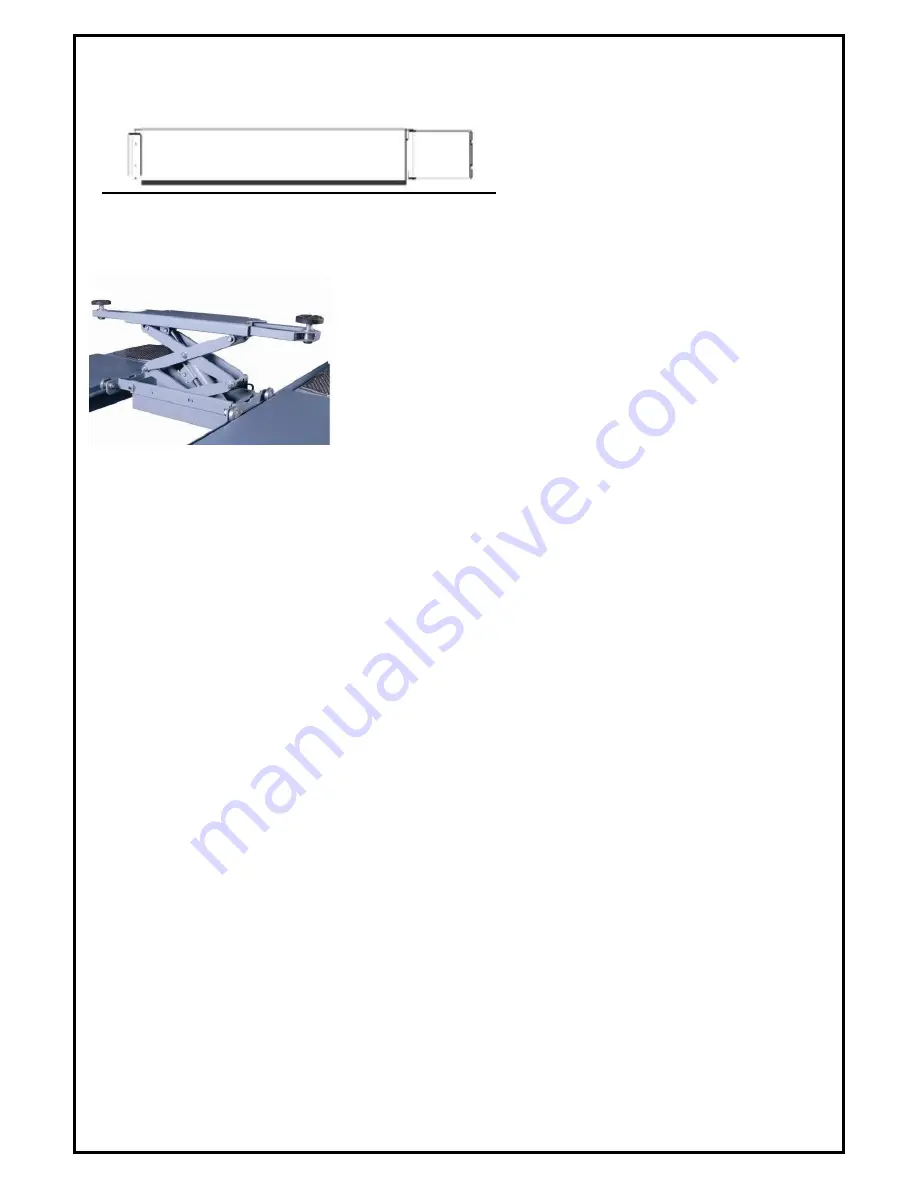
1. Jacking beam light
3. Installation instructions
3.1 Preparations before installation
3.1.1 Tools and equipments needed
Appropriate lifting equipment
Anti-abrasion hydraulic oil.
Rotary Hammer Drill with 3/4’’ drill bit.
Chalk and tape measure, magnetic plump, 8 meters ø15 level pipe.
Sockets and open wrenches, a set of inside hex wrenches, cross and straight screw drivers.
Hammer, 4pounds,
sharp nose pliers,
ø17,ø19,ø22 socket spanners
。
3.1.2 List for parts checking ---Annex 1
(
Packing list
)
Unfold the package and check if any parts missed as per Annex 1. Do not hesitate to contact us in case any parts missed, but if
you do not contact us and insist installing upon the lack of some parts, Jema Autolifte A/S as well as our dealers will not bear any
responsibility for this and will charge for any parts subsequently demanded by the buyer.
3.1.3 Ground conditions
The lift should be fixed on a smooth and solid concrete ground with its strength more than 3000psi, tolerance of flatness less than
5mm and minimum thickness of 200mm. In addition, newly built concrete ground must undergo more than 28days
’ cure and
reinforcement.
3.2 Precautions for installation
3.2.1 Make sure the four posts stand paralleled and are vertical to the ground. No slanting.
3.2.2 Joints of oil hose and steel cable must be firmly connected in order to avoid the looseness of steel cable and leakage of oil
hose.
3.2.3 All bolts should be firmly screwed up.
3.2.4 Do not place any vehicle on the lift in the case of trial running.
Summary of Contents for JA4000F
Page 19: ...19 Annex2 Overall diagram ...
Page 20: ...20 Annex3 Floor plan Annex 4 Steel cable connection ...
Page 22: ...22 Annex 6 Wiring diagram Single phase ...
Page 23: ...23 Three phase ...
Page 24: ...24 ...
Page 25: ...25 ...
Page 26: ...26 ...
Page 27: ...27 ...
Page 28: ...28 ...
Page 29: ...29 Annex7 Separate diagrams for the lift JA4000F ...
Page 37: ...37 Annex9 Size and weight requirements on vehicles ...
Page 38: ...38 Single fase 220V Electric diagram ...
Page 39: ...39 Three fase 380V Electric diagram ...
Page 40: ...40 ...
Page 41: ...41 ...


