COMPONENT ACCESS
JennAir® and KitchenAid® 36", 42", and 48" Built-In Side by Side Refrigerators
n
4-1
Section 4:
Component Access
This section provides service parts access, removal, and
replacement instructions for the “JennAir® and KitchenAid®
36", 42", and 48" Built-In Side by Side Refrigerators.”
■
Top of the Refrigerator
•
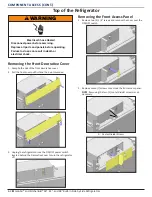
Removing the Front Decorative Cover
• Removing the Front Access Panel
• Removing the Unit Top Cover
• Removing the Control Board
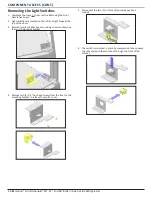
• Removing the Light Switches
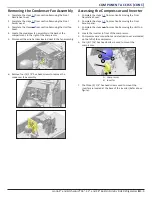
• Removing the Condenser Fan Assembly
• Accessing the Compressor and Inverter
■
Inside the Refrigerator Compartment (RC)
•
Removing the Front Decorative Cover
• Removing the User Interface Board (Non-dispensing
Units Only)
•
Removing the RC Upper Air Diffuser Assembly
•
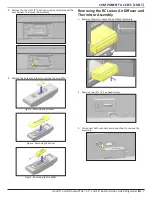
Removing the RC Lower Air Diffuser and Thermistor
Assembly
• Removing the RC Thermistor
• Removing the LED Modules
• Removing the Water Reservoir (Dispensing Units
Only)
■
Inside the Freezer Compartment (FC)
•
Removing the Front Decorative Cover
• Removing the FC Thermistor
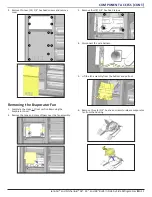
• Removing the Evaporator Cover
• Removing the Evaporator Fan
• Removing the Evaporator Thermistor
• Access to Evaporator
• Removing the Ice Maker Assembly (Non-dispensing
Units Only)
• Removing the Ice Maker Assembly Dispensing Units
Only
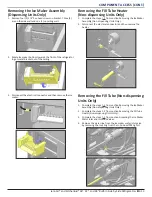
• Removing the Fill Tube Heater (Non-dispensing
Units Only)
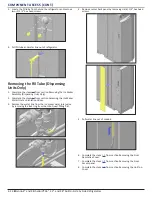
• Removing the Fill Tube (Non-dispensing Units Only)
• Removing the Fill Tube (Dispensing Units Only)
•
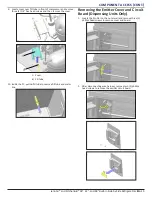
Removing the Emitter Cover and Circuit Board
(Dispensing Units Only)
• Removing the Receiver Cover and Circuit Board
(Dispensing Units Only)
■
FC Door (Dispensing Units Only)
•
Removing the Front Decorative Cover
• Removing the User Interface
• Removing the Dispenser Pad Assembly
• Removing the Ice Door Motor Assembly
• Removing the Ice Auger Motor
• Removing the Auger Motor Switch
■
Under the Refrigerator
•
Accessing the Ice Maker Water Inlet and Isolation
Valves
■
Back of the Refrigerator
• Access to Drain Pan Assembly


