COMPONENT ACCESS (CONT.)
JennAir® and KitchenAid® 36", 42", and 48" Built-In Side by Side Refrigerators
n
4-13
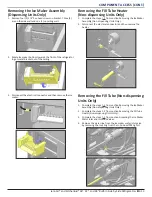
Removing the Ice Maker Assembly
(Dispensing Units Only)
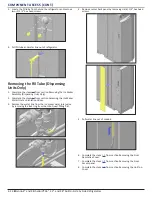
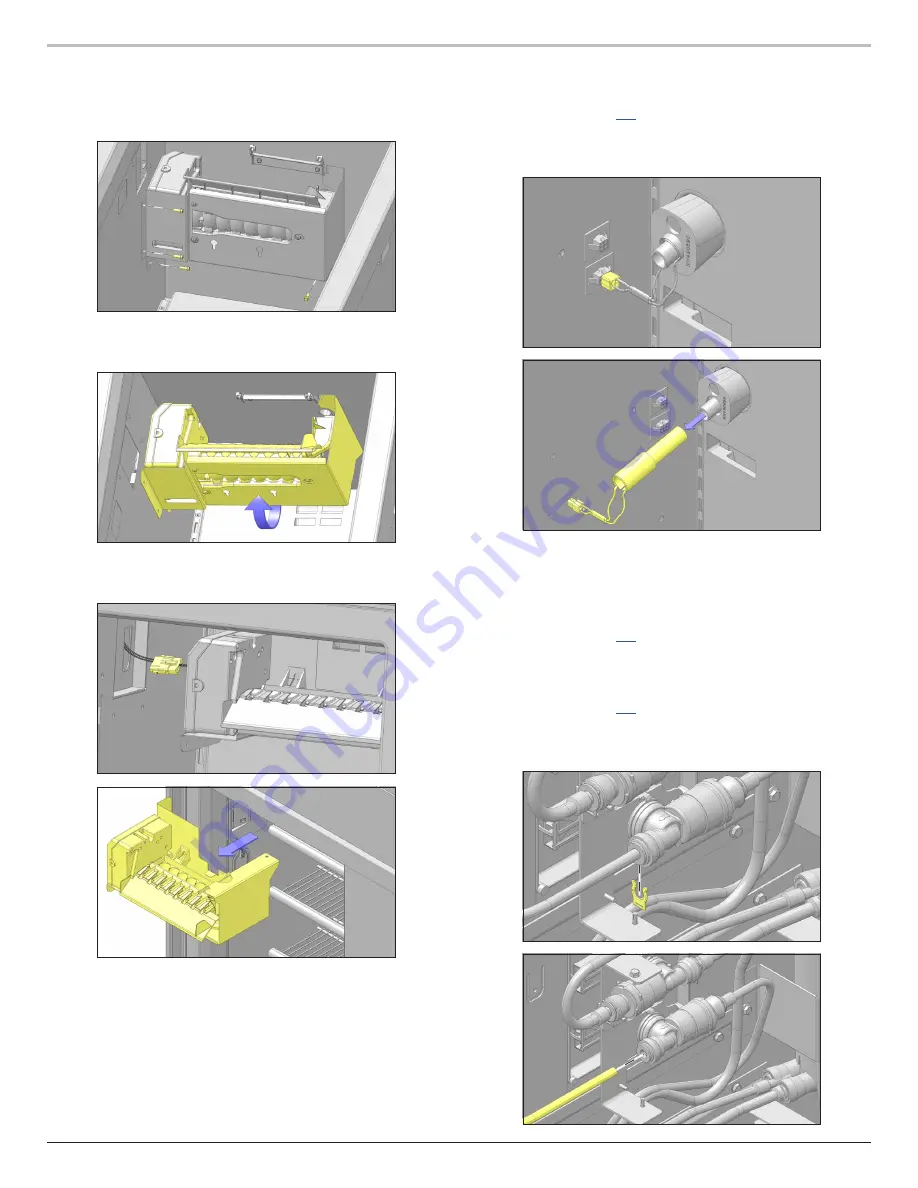
1. Remove four (4) 1/4" hex head screws on bracket. Three (3)
are on the side wall and one (1) on ceiling wall.
2.
Rotate Ice maker bottom towards the front of the refrigerator
to get metal bracket out of the ceiling.
3. Disconnect the electrical connector and then remove the ice
maker.
Removing the Fill Tube Heater
(Non-dispensing Units Only)
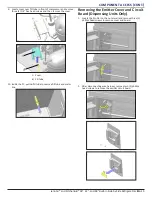
1. Complete the steps
from section Removing the Ice Maker
Assembly (Non-dispensing Units Only).
2. Disconnect the electrical connector and then remvoe the
heater.
Removing the Fill Tube (Non-dispensing
Units Only)
1. Complete the steps
from section Removing the Ice Maker
Assembly (Non-dispensing Units Only).
2.
Complete the steps 1-3 from section Removing the Fill Tube
Heater (Non-dispensing Units Only).
3. Complete the steps
1-3
from section Accessing the Ice Maker
Water Inlet and Isolation Valves.
4. Remove the water line from the ice maker water inlet valve
by removing the lock ring from the John Guest fitting first.


