COMPONENT ACCESS (CONT.)
JennAir® and KitchenAid® 36", 42", and 48" Built-In Side by Side Refrigerators
n
4-
19
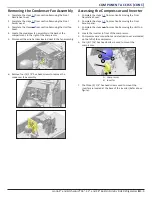
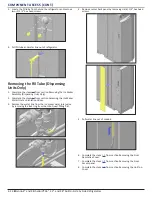
2. Remove four (4) 1/4" hex head screws and remove wiring
harness to remove the dispenser motor.
Removing the Auger Motor Switch
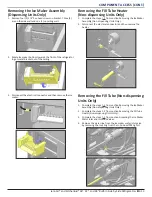
1. To remove switch from door wall, protect the door surface
while using a putty knife to push up the retaining tab from
the bottom.
2.
When removing the switch, rotate from the bottom up.
3. The harness connectors will catch on the back side of the
liner if pulled straight out.
Under the Refrigerator
Accessing the Ice Maker Water Inlet
and Isolation Valves
Beneath the refrigerator behind the front grill are the water inlet
valves. There are two (2) possibly three (3) valves located
together in a mounting bracket.
An isolation water valve receives incoming water and pushes the
water to the water filter. Water from the water filter returns to
the ice maker water inlet valve and if available a 3rd water valve
that provides water to the water dispenser.
1. Complete the steps
from section Removing the Front
Decorative Cover.
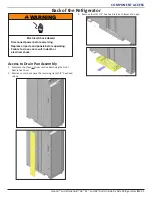
WARNING
Electrical Shock Hazard
Disconnect power before servicing.
Failure to do so can result in death or
electrical shock.
Replace all parts and panels before operating.

