3
For complete directions on proper instal-
lation of this refrigerator, please refer to
the separate installation instructions pro-
vided.
IMPORTANT:
• Make sure the floor under the refrig-
erator is level with the surrounding
finished floor.
• Protect a finished floor with ply-
wood, cardboard or other suitable
material before moving the refriger-
ator across it.
• Once installed, this built-in refriger-
ator is not designed to be moved.
For information on moving, refer to
installation instructions or call toll
free 1-866-459-6298.
L
IGHT
S
HIELD
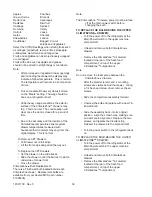
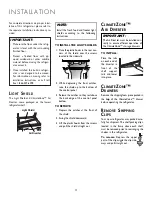
The Light Shield and ClimateZone™ Air
Diverter come packaged on the lowest
refrigerator shelf.
NOTE:
Install the fresh food and freezer light
shields according to the following
instructions.
I N S T A L L A T I O N
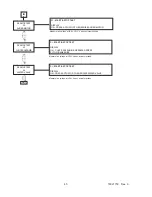
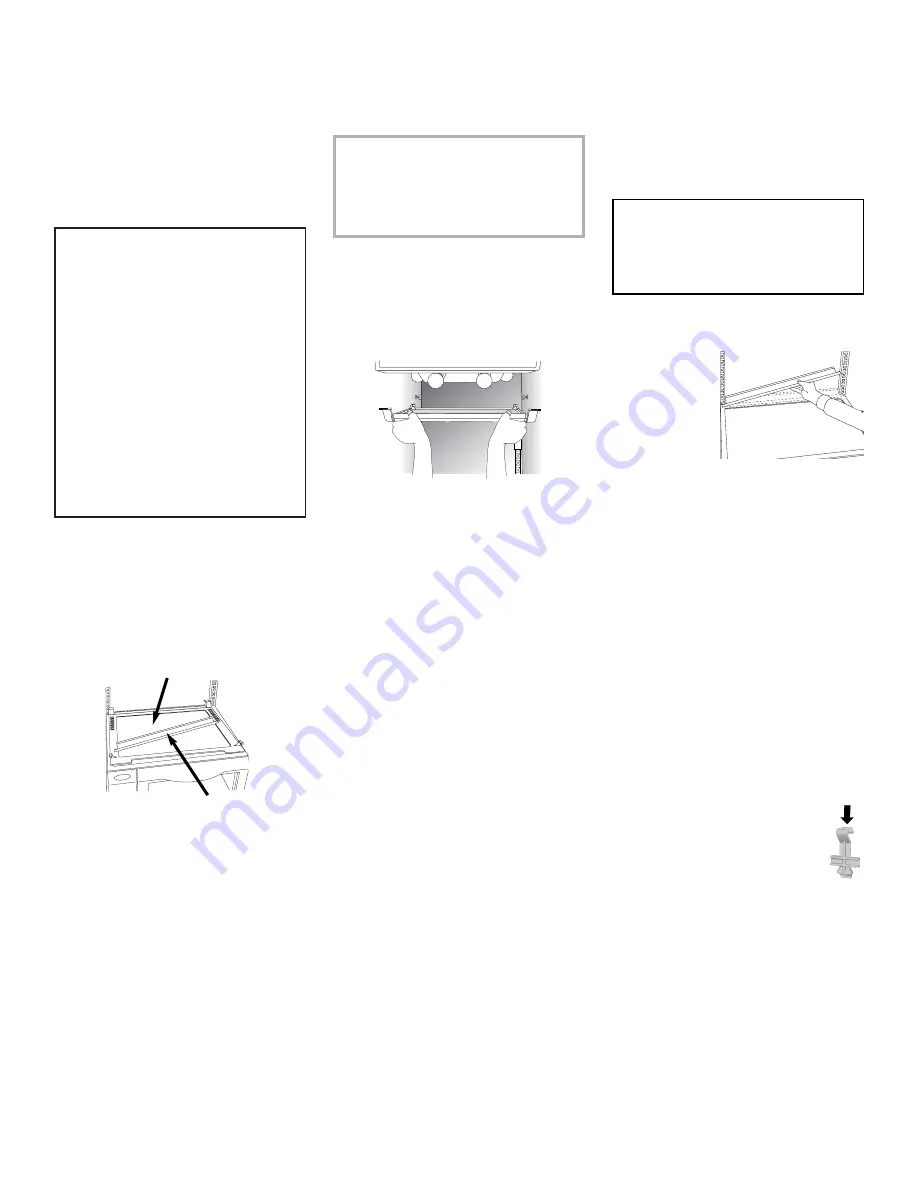
TO INSTALL THE LIGHT SHIELDS:
1. Place the plastic hooks in the rear cor-
ners of the shield over the screws
located in the sidewalls.
2. While depressing the front catches,
raise the shield up to the bottom of
the control panel.
3. Release the catches so they rest above
the back edge of the control panel
bottom.
TO REMOVE:
1. Depress the catches at the front of
the shield.
2. Swing the shield downward.
3. Lift the plastic hooks from the screws
and pull the shield straight out.
IMPORTANT:
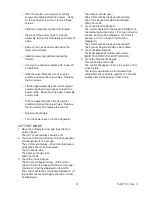
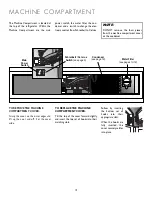
The Air Diverter must be installed cor-
rectly to ensure efficient operation of
the ClimateZone™ storage drawers.
TO INSTALL:
Place the tabs
on each end of
the diverter in
front of the
shelf support
rails and lower
into place.
C
LIMATE
Z
ONE
™
D
RAWERS
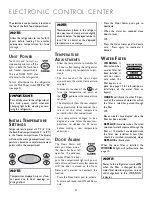
Remove the shipping foam piece packed in
the
top
of the ClimateZone™ drawer
before operating the refrigerator.
R
EMOVE
S
HIPPING
C
LIPS
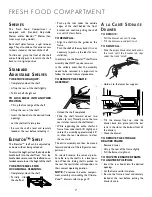
Your new refrigerator was packed care-
fully for shipment. The shelf packing clips,
located in the frame above each shelf,
must be removed prior to rearranging the
shelves in the refrigerator.
To remove:
Depress the upper
part of the clip, wiggle the clip side-
ways and pull straight out.
Light Shield
Air Diverter
C
LIMATE
Z
ONE
™
A
IR
D
IVERTER

