5
Jenn-Air’s ventilation system is designed to capture both
cooking fumes and smoke from the cooktop surface. If
the system does not, here are some ducting installation
situations to check:
• 6” diameter round or 3
1
/
4
” x 10” rectangular ducting
should be used for duct lengths 10’-60’.
• There should be a minimum clearance of 6” for
cooktop installed near a side wall.
If there is not an obvious improper installation, there
may be a concealed problem such as a pinched joint,
obstruction in the pipe, etc. Installation is
the responsibility of the installer and
questions should be addressed first by the
installer. The installer should very carefully
check the ducting installation instructions.
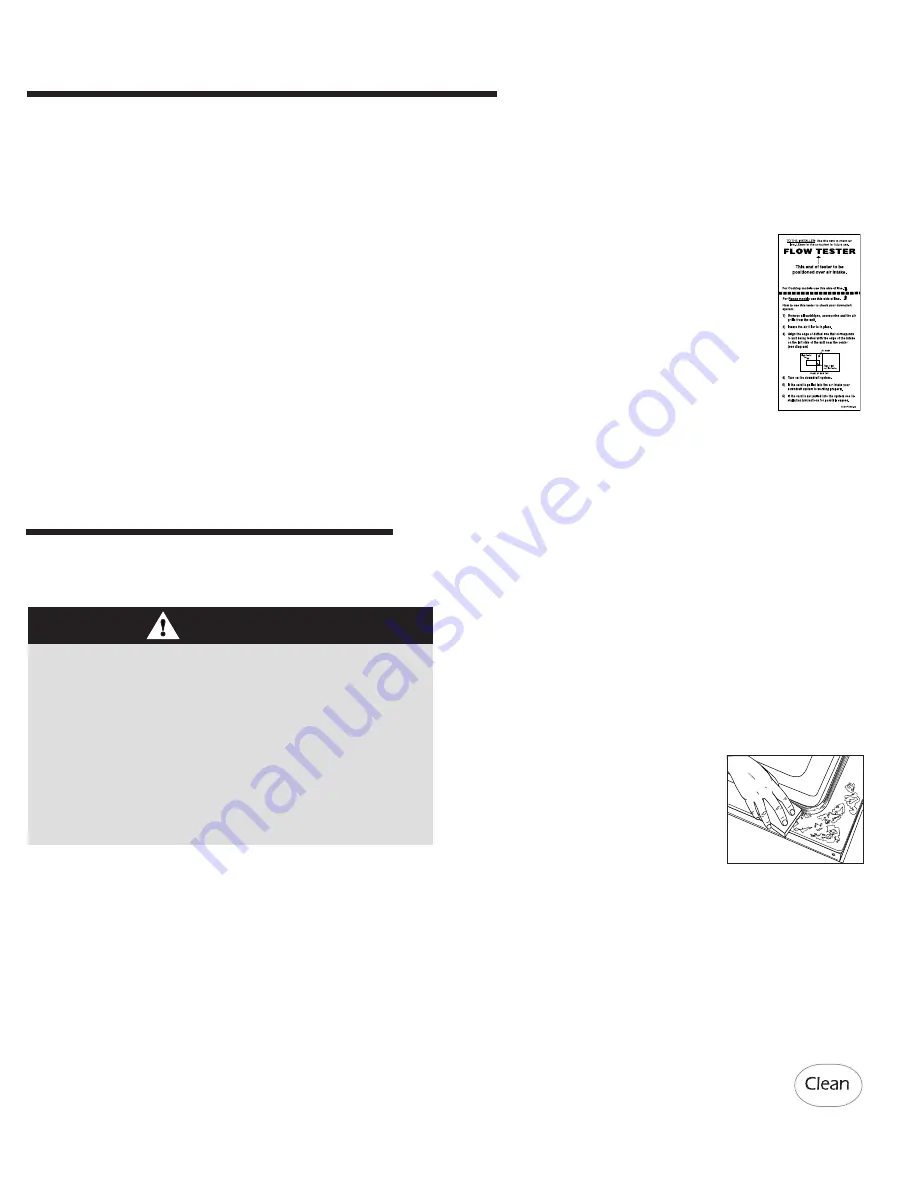
• Use the Flow Tester Card provided with
your appliance to check the air flow.
D
UCTING
I
NFORMATION
• No more than three 90
°
elbows should be used.
Distance between elbows should be at least 18”.
• Recommended Jenn-Air wall cap
MUST
be used.
Make sure damper moves freely when ventilation
system is operating.
Important:
5” diameter round ducting may be used if
the duct length is 10’ or less.
C
ARE
& C
LEANING
* Brand names for cleaning products are registered trademarks of the respective manufacturers.
Self-Clean Oven
CAUTION
• It is normal for parts of the oven to become hot during a
self-clean cycle.
• To prevent damage to oven door,
do not
attempt to open
the door when LOCK is displayed.
• Avoid touching door, window or oven vent area during a
clean cycle.
•
Do not
use commercial oven cleaners on the oven finish
or around any part of the oven. They will damage the
finish or parts.
The self-clean cycle uses above-normal cooking temperatures
to automatically clean the oven interior.
The oven should be cleaned regularly by wiping up spillovers
to prevent excessive smoke and flare-ups. Do not allow a
heavy build-up of soil to accumulate in the oven.
During the cleaning process, the kitchen should be well
ventilated to get rid of normal odors associated with cleaning.
Before Self-Cleaning
2. Remove broiler pan, all pans, and oven racks from the
oven. The oven racks will discolor and may not slide easily
after a self-clean cycle if they are not removed.
Important:
Remove the air grille from the cooking surface
before
self-
cleaning.
3. Clean oven frame, door frame, area outside of gasket, and
around the opening in the door gasket with a nonabrasive
cleaner such as Bon Ami* or detergent and water. The
self-cleaning process does not clean these areas. They
should be cleaned to prevent soil
from baking on during the clean
cycle. (The gasket is the seal
around the oven door and window.)
4. To prevent damage,
do not
clean
or rub the gasket around the oven
door. The gasket is designed to
seal in heat during the clean cycle.
5. Wipe up excess grease or spill-overs from the oven
bottom. This prevents excessive smoking, flare-ups or
flaming during the clean cycle.
6. Wipe up sugary and acidic spillovers such as sweet
potatoes, tomato, or milk-based sauces. Porcelain enamel
is acid-resistant, not acid-proof. The porcelain finish may
discolor if acidic or sugary spills are not wiped up
before
a
self-clean cycle.
To set Self-Clean:
1. Press
Clean
pad.
2. REMOVE RACKS will be displayed. Remove the racks.
1. Turn off the oven light
before
cleaning. The oven light may
burn out during the clean cycle.
8113P634-60
5/3/06, 8:10 AM
6
Summary of Contents for PRO-STYLE 8113P754-60
Page 35: ...34 NOTES ...
Page 71: ...70 REMARQUES ...


