background image

10

Surface Controls

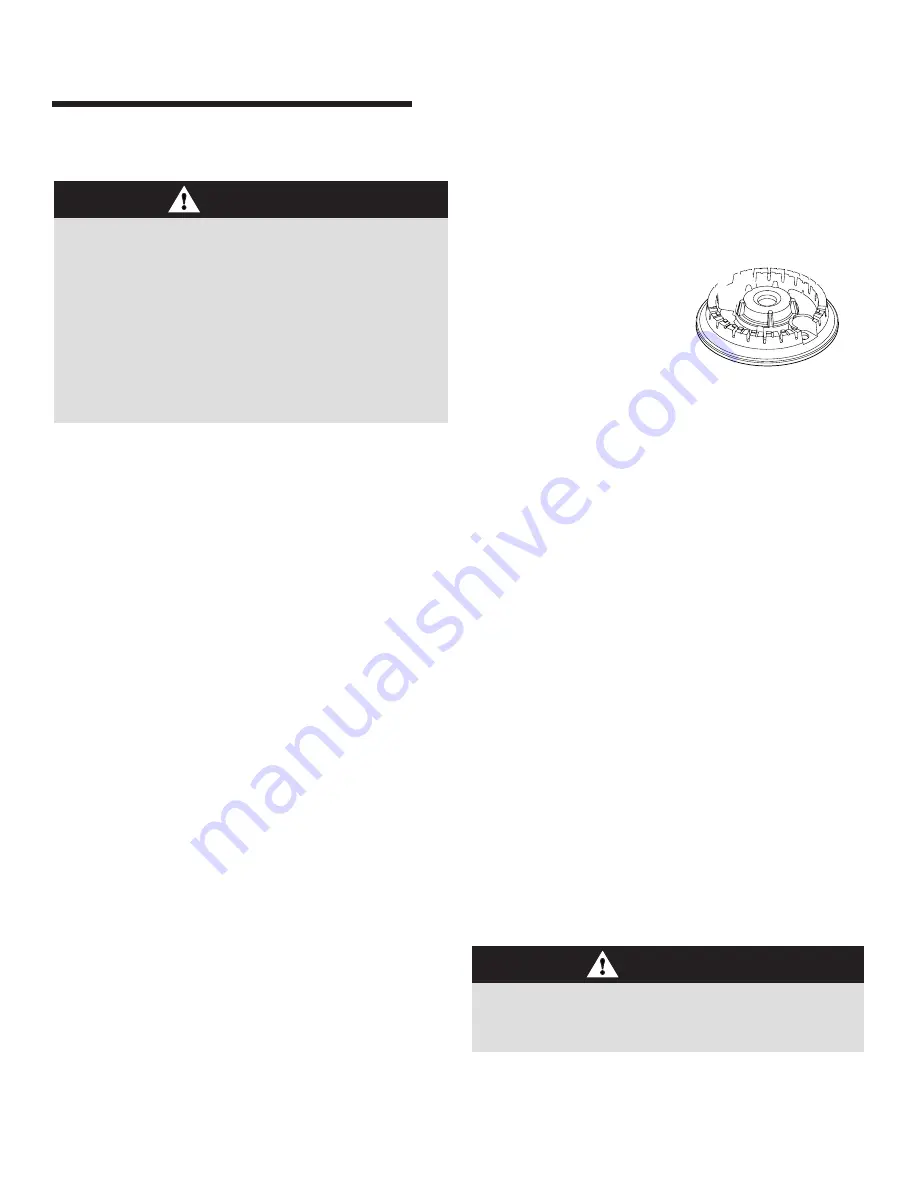
Pilotless Ignition

Pilotless ignition eliminates the
need for a constant standing pilot
light. Each surface burner has a
spark ignitor. Use care when
cleaning around the surface
burner.

If the surface burner does not
light, check if ignitor is
broken, soiled or wet.

Setting the controls:

The size and type of cookware will affect the heat setting.

1. Place a pan on the burner grate.

The burner flame may lift off or appear separated from
the port if a pan is not placed on the grate.

2. Push in and turn the knob 

counterclockwise

 to the 

LITE

setting.

A clicking (spark) sound will be heard and the burner
will light.  (All four ignitors will spark when any surface
burner knob is turned to the LITE position.)

3. After the burner lights, turn knob to desired flame size.

The ignitor will continue to spark until the knob is
turned past the 

LITE 

position.

4. After cooking, turn knob to 

OFF

. Remove pan.

Operating During a
Power Failure

Surface Control
Knobs

Use to turn on the surface burners.  An infinite choice of heat
settings is available from 

LOW 

to 

HIGH

.  The knobs can be

set on or between any of the settings.

Graphics next to the knob identify which burner the
knob controls. For example, the graphic at left shows
the right front burner location.

S

URFACE

 C

OOKING

CAUTION

• If flame should go out during a cooking operation, turn

the burner off. If a strong gas odor is detected, open a
window and wait 

five

 minutes before relighting the

burner.

• Be sure all surface controls are set in the 

OFF

 position

prior to supplying gas to the range.

NEVER

 touch cooktop until it has cooled. Expect some

parts of the cooktop, especially around the burners, to
become warm or hot during cooking. Use potholders to
protect hands.

CAUTION

When lighting the surface burners, be sure all of the
controls are in the 

OFF 

position.  Strike the match first and

hold it in position 

before

 turning the knob to 

LITE

.

Summary of Contents for PRO-STYLE DOUBLE OVEN RANGE

Page 1: ...aytag Appliances Sales Co Litho USA Important Safety Instructions 1 4 Care Cleaning 5 7 Maintenance 7 8 Troubleshooting 9 Surface Cooking 10 11 Oven Cooking 12 21 Warranty Service 23 Guide de l utilis...

Page 2: ...or operating the appliance Always contact your dealer distributor service agent or manufacturer about problems or conditions you do not understand Recognize Safety Symbols Words Labels WARNING Hazard...

Page 3: ...e secured by a properly installed anti tip device WARNING ALL RANGES CAN TIP AND CAUSE INJURIES TO PERSONS INSTALL ANTI TIP DEVICE PACKED WITH RANGE FOLLOW ALL INSTALLATION INSTRUCTIONS WARNING NEVER...

Page 4: ...s and reduce the life of the components of the appliance Always place a pan on a surface burner before turning it on Be sure you know which knob controls which surface burner Make sure the correct bur...

Page 5: ...forcement Act of 1986 Proposition 65 requires the Governor of California to publish a list of substances known to the State of California to cause cancer or reproductive harm and requires businesses t...

Page 6: ...empt to open the door when LOCK is displayed Avoid touching door window or oven vent area during a clean cycle Do not use commercial oven cleaners on the oven finish or around any part of the oven The...

Page 7: ...o the doors do not force the doors open when LOCK is displayed Smoke and Smells You may see some smoke and smell an odor the first few times the oven is cleaned This is normal and will lessen in time...

Page 8: ...ry Racks will permanently discolor and may not slide out smoothly if left in the oven during a self clean operation If this occurs wipe the rack and embossed rack supports with a small amount of veget...

Page 9: ...ect this appliance to the gas supply are not designed for continuous movement Once installed DO NOT repeatedly move this gas appliance for cleaning or to relocate If this appliance has to be moved and...

Page 10: ...oiler insert with foil Trim excess fat from meat before broiling A soiled broiler pan was used Preheat oven for 3 4 minutes before placing food in the oven TROUBLESHOOTING Oven will not self clean Che...

Page 11: ...e LITE position 4 After cooking turn knob to OFF Remove pan Operating During a Power Failure Surface Control Knobs Use to turn on the surface burners An infinite choice of heat settings is available f...

Page 12: ...ation or removal of the grates may result in chipping or scratching of the cooktop It may also cause pans to be unsteady on the grates Sealed Burners The sealed burner bases of your range are secured...

Page 13: ...Panel Thecontrolpanelisdesignedforeaseinprogramming Thedisplaywindowonthecontrolshowstimeofday timerandovenfunctions Control panel shown includes Convect and other model specific features Styling may...

Page 14: ...rs cannot be locked if the oven temperature is 400 F or above Fault Codes BAKE or LOCK may flash rapidly in the display to alert you if there is an error or a problem If BAKE or LOCK flash in the disp...

Page 15: ...will increase the temperature by 25 The oven temperature can be set from 170 to 550 3 Press Bake pad again or wait four seconds BAKE will stop flashing and light in the display PREHEAT will light in t...

Page 16: ...the preset temperature is reached The FAN icon will start to rotate 4 Allow the oven to preheat for 7 12 minutes When the set oven temperature is reached one long beep will sound and PREHEAT will turn...

Page 17: ...the display Time can be set from 00 10 to 11 59 3 Press Bake upper or lower oven Convect Bake or Convect Roast lower oven only and select the oven temperature Press the Autoset pad for 350 F or the ap...

Page 18: ...ayed Select HI broil for normal broiling Select LO broil for low temperature broiling of longer cooking foods such as poultry 3 After four seconds the oven will start BROIL and HI or LO will remain li...

Page 19: ...nufacturer do not set warm dishes on a cold surface as rapid temperature changes could cause crazing or breakage Keep Warm For safely keeping hot foods warm or for warming breads and plates To set Kee...

Page 20: ...be displayed continuously until turned off or until the 72 hour time limit is reached BAKE will also be displayed if a bake cycle is in use while the oven is in Sabbath Mode All pads are inactive exce...

Page 21: ...ookware All racks are designed with a lock stop edge Upper oven Is equipped with one rack When pulling the upper oven rack out to remove or check food grasp the top edge of the rack Lower oven Is equi...

Page 22: ...21 Rack Positions lower oven...

Page 23: ...NOTES 22...

Page 24: ...f service or service call to a Correct installation errors b Instruct the user on the proper use of the product c Transport the appliance to the servicer and back 6 Consequential or incidental damages...

Page 25: ...ge 29 31 Entretien 32 33 Recherche des pannes 33 34 Cuisson sur la surface 35 36 Cuisson au four 37 46 Garantie et service 47 Gu a de uso y cuidado 48 CUISINI RE DEUX FOURS JENN AIR PRO STYLE MC GUIDE...

Page 26: ...taillant le distributeur l agent de service apr s vente ou le fabricant dans le cas de probl mes ou de conditions qui ne seraient pas comprises Reconnaissez les tiquettes paragraphes et symboles sur...

Page 27: ...a bride antibasculement soit convenablement install e AVERTISSEMENT TOUTE CUISINI RE PEUT BASCULER ET PROVOQUER DES BLESSURES INSTALLEZ LA BRIDE ANTIBASCULEMENT FOURNIE AVEC CETTE CUISINI RE RESPECTEZ...

Page 28: ...ou retirer un plat S il est n cessaire de d placer une grille lorsqu elle est chaude utilisez une manique s che Veillez toujours arr ter les fours la fin d une p riode de cuisson Ouvrez toujours les...

Page 29: ...dans ce guide Ne nettoyez pas les joints de porte Les joints jouent un r le essentiel quant l tanch it Veillez ne pas frotter endommager ou d placer les joints N utilisez pas de produits de nettoyage...

Page 30: ...est affich vitez de toucher la porte le hublot et la zone de l vent du four lors d un cycle d autonettoyage N utilisez pas de nettoyant commercial pour four sur le fini ou tout autre composant du fou...

Page 31: ...z le avec un linge humide S il reste de la salet cela indique que le cycle de nettoyage n a pas t assez long Cette salet restante sera enlev e au prochain cycle d autonettoyage Si les grilles du four...

Page 32: ...on Ami N utilisez pas de nettoyants abrasifs comme les tampons en laine d acier ou les nettoyants pour four Ces produits rayeraient ou endommageraient la surface de fa on permanente Important Utilisez...

Page 33: ...a cuisini re avant de remplacer l ampoule Laissez le four refroidir avant de remplacer l ampoule Assurez vous que le cabochon et l ampoule sont froids avant de les toucher Ne grimpez pas sur la porte...

Page 34: ...e Pour la plupart des probl mes observ s essayez d abord ce qui suit V rifiez que les commandes du four sont correctement r gl es V rifiez si le four est bien raccord au circuit lectrique Inspectez r...

Page 35: ...le cycle d autonettoyage L int rieur du four est encore chaud Allouez environ une heure pour que le four se refroidisse apr s un cycle d autonettoyage Il est possible d ouvrir la porte apr s la dispar...

Page 36: ...bulles se forment un rythme mod r Ce r glage peut aussi servir pour faire frire la majorit des aliments et pour maintenir l bullition de grandes quantit s de liquide Ajustez le bouton entre High et L...

Page 37: ...as sous la surface de cuisson On devrait cependant nettoyer les br leurs apr s chaque utilisation La partie principale du br leur a un chapeau d montable qui est facilement retir pour le nettoyage Voy...

Page 38: ...four Le tableau de commande illustr comporte la convection et des caract ristiques particuli res d autres mod les Le style peut varier selon le mod le Utilisation des touches Appuyez sur la touche d...

Page 39: ...oter d branchez l appareil et prenez contact avec un r parateur autoris 3 Programmez l heure en suivant les instructions donn es dans la section R glage de l horloge Programmation de l horloge 1 Appuy...

Page 40: ...ne PREHEAT s teint Pour rappeler la temp rature programm e pendant le pr chauffage appuyez sur la touche Bake R glage du niveau de bruit Le r glage par d faut de l usine pour le niveau de bruit est ME...

Page 41: ...pour le maintien au chaud ni un niveau inf rieur 93 C 200 F pour cuire car ces temp ratures ne sont pas suffisamment br lantes pour cuire la nourriture La partie arri re de l l ment du four inf rieur...

Page 42: ...temp rature du four Appuyez sur la touche Autoset pour 350 F 175 C ou sur les touches num riques appropri es R tissage par convection four inf rieur seulement Pour le r tissage avec convection entrez...

Page 43: ...ieur Convect Bake ou Convect Roast Four inf rieur seulement 6 Programmez la temp rature du four d sir e en appuyant sur la touche Autoset ou sur les touches num riques appropri es 350 175 s allume lor...

Page 44: ...il plus longues et un rissolage l g rement moins dor si l appareil fonctionne sur un circuit de 208 volts Si plus de 30 secondes s coulent entre la pression sur la touche Broil et la touche Autoset le...

Page 45: ...ne posez pas des assiettes ti des sur une surface froide les changements rapides de temp rature pourraient les fissurer ou les ab mer Favorite La touche Favorite permet de m moriser la dur e et la te...

Page 46: ...arche en mode Sabbat avec 72 heures restantes sans cycle en cours R glage de la temp rature des fours La pr cision des r glages de temp rature a t soigneusement v rifi e l usine Il est normal de remar...

Page 47: ...a vapeur s chapper de l vent de four Ceci est normal Grilles de four Ne tentez pas de changer la position des grilles lorsque le four est chaud N utilisez pas le four pour ranger des aliments ou des u...

Page 48: ...pannage ou de visite pour a Correction d erreurs d installation b Initiation de l utilisateur l utilisation appropri e de l appareil c Transport de l appareil aux locaux du technicien de service 6 Le...

Page 49: ...ciones importantes sobre seguridad 49 52 Cuidado y limpieza 53 55 Mantenimiento 56 57 Localizaci n y soluci n de aver as 57 58 Cocci n en la cubierta 59 60 Cocci n en el horno 61 70 Garant a y servici...

Page 50: ...nte si surgen problemas o situaciones que usted no comprenda Reconozca los s mbolos de seguridad advertencias y etiquetas ADVERTENCIA Peligros o pr cticas no seguras que PODR AN causar lesiones person...

Page 51: ...ctrodom stico libre y exenta de materiales combustibles gasolina u otros vapores y materiales inflamables Si el electrodom stico est instalado cerca de una ventana se debe evitar que las cortinas pase...

Page 52: ...maollas h medos pueden causar quemaduras por vapor Nunca use pa os para secar platos u otros art culos como tomaollas ya que pueden arrastrarse sobre la superficie caliente de los quemadores y se pued...

Page 53: ...s de la cocina Los p jaros tienen un sistema respiratorio muy sensible Los vapores producidos durante el ciclo de autolimpieza del horno pueden ser perjudiciales o mortales para los p jaros Los vapore...

Page 54: ...as piezas del horno se calienten durante un ciclo de autolimpieza Para evitar da os a la puerta del horno no intente abrirla cuando LOCK Bloqueado se muestre en la pantalla Evite tocar la puerta la ve...

Page 55: ...a que se cierre la puerta y se presione la tecla Clean Limpieza nuevamente Si pasan m s de 30 segundos entre la activaci n de la tecla Clean y la activaci n de la tecla Autoset el programa regresar au...

Page 56: ...o o Bon Ami No use limpiadores abrasivos tales como esponjas de lana de acero o limpiadores para hornos Estos productos rayar n o da ar n la superficie permanentemente Importante Use una toalla o pa o...

Page 57: ...ministro el ctrico a la estufa antes de reemplazar el foco Permita que el horno se enfr e antes de reemplazar el foco Aseg rese de que la cubierta y el foco est n fr os antes de tocarlos No coloque pe...

Page 58: ...oporte evita que la estufa se vuelque accidentalmente Aseg rese de que la estufa debe nivelarse cuando se instala Si la estufa no est nivelada gire los tornillos niveladores que se encuentran en cada...

Page 59: ...rse una vez que la luz indicadora LOCK Bloqueado no est desplegada en el indicador visual El control y las puertas pueden estar bloqueados Vea la p gina 62 La humedad se acumula en la ventanilla del h...

Page 60: ...del quemador puede elevarse o parecer que se encuentra separada del orificio si el utensilio no se coloca sobre la rejilla 2 Oprima y gire la perilla hacia la izquierda hasta la posici n LITE Encender...

Page 61: ...e retirar f cilmente para la limpieza Vea la p gina 54 para las instrucciones de limpieza Las tapas de los quemadores deben estar colocadas de manera apropiada en la base del quemador para que el mism...

Page 62: ...a deseada Oprima las teclas num ricas para programar el tiempo o la temperatura Reloj El reloj puede ajustarse para desplegar la hora del d a en un formato de 12 o 24 horas El reloj se programa en la...

Page 63: ...05 C 400 F Para ajustar el reloj 1 Oprima la tecla Clock Reloj La hora del d a destellar en el indicador visual Los dos puntos destellar n en el indicador visual 2 Oprima las teclas num ricas correspo...

Page 64: ...ra de secado de 60 C 140 F Fermentado est ndar Ajuste del nivel de sonido El ajuste de f brica del sonido es el nivel intermedio MEd pero puede ser cambiado a bajo Lo o alto HI Para cambiar el ajuste...

Page 65: ...empo m nimo de cocci n Cocine durante un mayor tiempo si es necesario 7 Cuando termine la cocci n oprima la tecla CANCEL Anular apropiada 8 Retire el alimento del horno Diferencias en el horneado entr...

Page 66: ...tiempo de cocci n entre 00 10 y 11 59 Asado con convecci n horno inferior nicamente Cuando ase por convecci n programe el tiempo y temperaturas normales de asado El control le avisar cuando un 75 del...

Page 67: ...rar alimentos f cilmente perecederos tales como los productos l cteos la carne de cerdo de ave o mariscos PRECAUCI N Cuando use la funci n Delay Diferir el horno comenzar a funcionar a otra hora del d...

Page 68: ...om stico en un circuito de 208 voltios Si pasan m s de 30 segundos entre la activaci n de la tecla Broil y la activaci n de la tecla Autoset el horno no quedar programado y el indicador visual mostrar...

Page 69: ...ntes sobre una superficie fr a ya que los cambios repentinos de temperatura pueden agrietar o romper los platos Favorite Favorito La tecla Favorite Favorito le permite guardar la duraci n y la tempera...

Page 70: ...el Modo sab tico habr terminado SAb destellar durante cinco segundos La hora del d a reaparecer en el indicador visual Ajuste de la temperatura del horno Las temperaturas de los hornos se prueban cui...

Page 71: ...l horno Tire de la parrilla derecho hacia afuera hasta que se detenga en el tope de bloqueo levante la parte delantera de la parrilla y tire de ella para sacarla Para retirar la parrilla RollerGlide M...

Page 72: ...para uso comercial o industrial 5 El costo del servicio o llamada de servicio para a Corregir errores de instalaci n b Instruir al usuario sobre el uso correcto del producto c Transporte del electrod...

Reviews: