background image

6

RANGE MAINTENANCE AND
CARE

Clean Cycle

AquaLift

®

Technology is an innovative cleaning solution that

utilizes heat and water to release baked-on spills from the oven in
less than 1 hour. This new cleaning technology is a low-heat,
odor-free alternative to traditional self-cleaning options.

Allow the oven to cool to room temperature before using the Clean
cycle. If your oven cavity is above 200°F (93°C), it will appear in
the display, and the Clean cycle will not be activated until the oven
cavity cools down.

To Clean:

1.

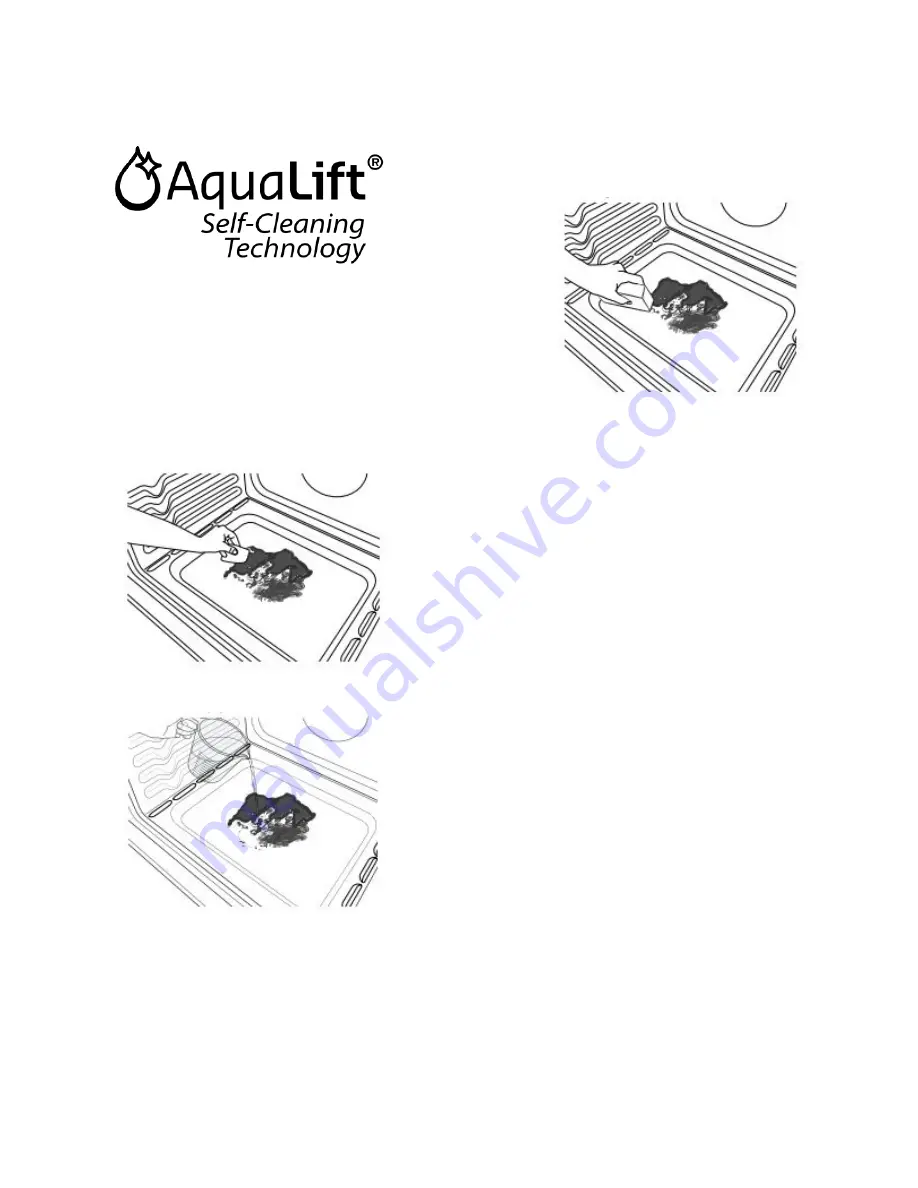
Remove all racks and accessories from the oven cavity, and
wipe excess soil. Use a plastic scraper to remove easily
removed soils.

2.

Pour 1

3

/

4

cups (14 oz [414 mL]) of distilled or filtered water

onto the bottom of the empty oven, and close the oven door.

IMPORTANT:

Do not use chemicals or other additives with the

water. Do not open the oven door during the Clean cycle. The
water on the oven bottom is hot.

3.

Press CLEAN/AQUALIFT SELF CLEAN and then START on
the oven control panel.

4.

Allow 40 minutes for cleaning and cooldown. A beep will
sound when the Clean cycle is complete.

5.

Press OFF/CANCEL/CANCEL UPPER at the end of the cycle.
OFF/CANCEL/CANCEL UPPER may be pressed at any time
to stop the Clean cycle.

6.

Remove the residual water and loosened soils with a sponge
or cloth immediately after the Clean cycle is complete. Much
of the initial 1

3

/

4

cups (14 oz [414 mL]) of water will remain in

the oven after the cycle is completed. If additional soils
remain, leave a small amount of water in the oven bottom to
assist with the cleaning.

7.

If


any


soils


remain,


remove


them


with


a


nonscratch


scrubbing


sponge


or


plastic


scraper.


Additional


Clean


cycles


may


be


run


to


help


remove


the


stubborn


soils.

IMPORTANT:


Do


not


use


oven


cleaners.


The


use


of


chemicals,


including


commercial


oven


cleaners


or


metal


scouring


pads,


may


cause


permanent


damage


to


the


porcelain


surface


of


the


oven


interior.

NOTE:

The


range


should


be


level


to


ensure


that


the


entire


surface


of


the


bottom


of


the


oven


cavity


is


covered


by


water


at


the


beginning


of


the


Clean


cycle.

For


best


results,


use


distilled


or


filtered


water.


Tap


water


may


leave


mineral


deposits


on


the


oven


bottom.

Before


removing


the


residual


water


and


loosened


soils


at


the


end


of


the


Clean


cycle,


insert


a


cloth


or


paper


towel


between


the


lower


edge


of


the


oven


door


and


the


front


frame


to


keep


water


from


spilling


onto


the


front


of


the


range


and


the


floor.

Soil


baked


on


through


several


cooking


cycles


will


be


more


difficult


to


remove


with


the


Clean


cycle.

Nonabrasive


scrub


sponges


or


eraser-style


cleaning


pads


(without


cleaners)


can


be


effective


for


cleaning


the


oven


cavity


walls,


oven


door,


and


oven


bottom


for


difficult


soils.


For


best


results,


moisten


the


pads


and


sponges


before


use.

Run


an


additional


Clean


cycle


for


stubborn


soils.

Affresh

®


Kitchen


Appliance


Cleaner


and


affresh

®


Cooktop


Cleaner


may


be


used


to


clean


the


oven


bottom,


walls,


and


door


when


the


oven


has


finished


the


cycle


and


returned


to


room


temperature.


If


affresh

®


Cooktop


Cleaner


is


used,


it


is


recommended


to


wipe


out


the


cavity


with


distilled


water


as


well.


Refer


to


the


Quick


Start


Guide


for


ordering


information.

Additional


AquaLift

®


Technology


Cleaning


Kits


may


be


obtained


by


ordering


Part


Number


W10423113RP.


Refer


to


the


Quick


Start


Guide


for


ordering


information.

Summary of Contents for RISE JGS1450ML

Page 1: ...CIFICATIONS 32 Outils et pi ces 32 Exigences d emplacement 33 Sp cifications lectriques 35 Sp cifications de l alimentation en gaz 35 INSTALLATION 36 D ballage de la cuisini re 36 Installation de la...

Page 2: ...operty damage personal injury or death If a fire should occur keep away from the appliance and immediately call your fire department DO NOT ATTEMPT TO EXTINGUISH AN OIL GREASE FIRE WITH WATER The rang...

Page 3: ...ely follow instructions WARNING You can be killed or seriously injured if you don t follow instructions All safety messages will tell you what the potential hazard is tell you how to reduce the chance...

Page 4: ...ure Utensil Handles Should Be Turned Inward and Not Extend Over Adjacent Surface Units To reduce the risk of burns ignition of flammable materials and spillage due to unintentional contact with the ut...

Page 5: ...f any kind should be used in or around any part of the oven Clean Only Parts Listed in Manual Before Self Cleaning the Oven Remove broiler pan and other utensils Wipe off all excessive spillage before...

Page 6: ...cleaning 7 If any soils remain remove them with a nonscratch scrubbing sponge or plastic scraper Additional Clean cycles may be run to help remove the stubborn soils IMPORTANT Do not use oven cleaners...

Page 7: ...AIN COATED GRATES AND CAPS Food spills containing acids such as vinegar and tomato should be cleaned as soon as the cooktop grates and caps are cool These spills may affect the finish To avoid chippin...

Page 8: ...to anchor bracket to subfloor Longer screws are available from your local hardware store Parts needed Check local codes and consult gas supplier Check existing gas supply and electrical supply See Ele...

Page 9: ...binet to countertop B 13 33 cm maximum upper cabinet depth C 30 76 2 cm minimum opening width D For minimum clearance to top of cooktop see NOTE E 30 76 2 cm minimum opening width F 5 12 7 cm minimum...

Page 10: ...nded no keypads will operate Check with a qualified electrician if you are in doubt as to whether the metal chassis of the range is grounded Gas Supply Requirements WARNING Explosion Hazard Use a new...

Page 11: ...ply Pressure Testing Gas supply pressure for testing regulator must be at least 1 2 5 cm water column pressure above the manifold pressure shown on the model serial rating plate Line pressure testing...

Page 12: ...m from centerline as shown A 121 2 31 8 cm B Bracket V notch 4 Drill two 1 8 3 mm holes that correspond to the bracket holes of the determined mounting method See the following illustrations Floor Mou...

Page 13: ...lude licensed heating personnel authorized gas company personnel and authorized service personnel Failure to do so can result in death explosion or fire This range is factory set for use with Natural...

Page 14: ...roperly aligned A Incorrect B Correct WARNING Electrical Shock Hazard Plug into a grounded 3 prong outlet Do not remove ground prong Do not use an adapter Do not use an extension cord Failure to follo...

Page 15: ...hat the gas shut off valves are set to the open position Check that burner caps are properly positioned on burner bases A Incorrect B Correct Repeat start up If a burner does not light at this point t...

Page 16: ...or premium storage drawer in all the way 3 Gently open and close the warming drawer or premium storage drawer to ensure it is seated properly on the glides on both sides Oven Door For normal range use...

Page 17: ...alve is closed open it and then repeat the 5 minute test as outlined above If the gas supply line shut off valve is open close it and contact a qualified technician If You Need Assistance or Service P...

Page 18: ...2 Locate gas pressure regulator at rear of the drawer compartment NOTE On models with a warming drawer or baking drawer an access cover must be removed to access the gas pressure regulator A Gas pres...

Page 19: ...nd Serial Number Plate located on the oven frame behind the top right side of the oven door for proper sizing of spuds for each burner location 5 Place Natural gas orifice spuds in the orifice spud ba...

Page 20: ...ice hood turning it clockwise until snug IMPORTANT Do not overtighten A Orifice hood 6 Place the broil burner on the broil burner orifice hood Insert the broil burner ceramic igniter in the hole in th...

Page 21: ...Drawer section 2 Locate gas pressure regulator at rear of the drawer compartment NOTE On models with a warming drawer or baking drawer an access cover must be removed to access the gas pressure regul...

Page 22: ...r location 6 Place Propane gas orifice spuds in the orifice spud bag IMPORTANT Keep the Propane gas orifice spuds in case of reinstallation with Propane gas 7 Replace the burner base 8 Replace burner...

Page 23: ...il burner orifice hood Insert the broil burner ceramic igniter in the hole in the rear of the oven 7 Replace the flame spreader with all 4 tabs facing up and the notches toward the rear of the oven 8...

Page 24: ...he control knob 5 Test the flame by turning the control from the low position to the high position checking the flame at each setting Check Operation of Oven Bake Burner Refer to the Quick Start Guide...

Page 25: ...k broil burner for proper flame If flame needs to be adjusted repeat steps 1 to 5 Moving the Range WARNING Tip Over Hazard A child or adult can tip the range and be killed Install anti tip bracket to...

Page 26: ...ster distance de l appareil et appeler imm diatement les pompiers NE PAS TENTER D TEINDRE UN FEU D HUILE OU DE GRAISSE AVEC DE L EAU La cuisini re ne basculera pas pendant une utilisation normale Cepe...

Page 27: ...tement les instructions Risque possible de d c s ou de blessure grave si vous ne suivez pas les instructions Tous les messages de s curit vous diront quel est le danger potentiel comment r duire le ri...

Page 28: ...s utiliser un chiffon ou tout autre tissu encombrant Ne jamais laisser les surfaces de cuisson sans surveillance des r glages de chaleur lev e Les bullitions provoquent de la fum e et des claboussures...

Page 29: ...les pi ces indiqu es dans le manuel Avant de mettre en marche l autonettoyage Enlever la l chefrite et les autres ustensiles Essuyer tout exc s de renversement avant de commencer un programme de nett...

Page 30: ...t les salet s d sincrust es avec une ponge ou un linge une fois le programme de nettoyage termin La plus grande partie de l eau initiale contenue dans 1 3 4 tasse 14 oz 414 mL d eau restera dans le fo...

Page 31: ...chiffon doux pour essuyer ce qu il reste du m lange de vinaigre 4 R p ter les tapes 1 3 jusqu ce qu il n y ait plus de taches jaunes 5 Utiliser de l eau propre et un chiffon doux pour nettoyer les r...

Page 32: ...ques des piq res ou de l g res taches blanches M thode de nettoyage D tergent doux TIROIR DE REMISAGE TIROIR R CHAUD sur certains mod les S assurer que le tiroir est froid et vide avant le nettoyage M...

Page 33: ...llation de la bride antibasculement fournie avec la cuisini re voir la section Installation de la bride antibasculement Une source d lectricit avec liaison la terre est n cessaire Voir la section Sp c...

Page 34: ...I 7 11 16 po 19 5 cm J 4 13 16 po 12 2 cm K 3 11 16 po 9 4 cm plus la mesure N L 12 po 30 5 cm M La porte ou les charni res de l armoire ne doivent pas d passer l int rieur de l ouverture N La profon...

Page 35: ...joncteur diff rentiel en utilisation normale peut se produire du fait de la nature des cuisini res gaz allumage lectronique REMARQUE Le ch ssis m tallique de la cuisini re doit tre reli la terre pour...

Page 36: ...avec cette cuisini re doit tre utilis La pression d alimentation du d tendeur doit tre comme suit pour un fonctionnement correct Gaz naturel Pression minimale 5 po 12 7 cm de colonne d eau Pression m...

Page 37: ...a bride antibasculement n est pas install e et engag e Le non respect de ces instructions peut causer un d c s ou des br lures graves aux enfants et aux adultes 1 Sortir la bride antibasculement de l...

Page 38: ...rsal et dans le sens avant arri re 2 Si la cuisini re n est pas horizontale utiliser une cl ou une pince pour r gler les pieds de nivellement vers le haut ou vers le bas jusqu ce que la cuisini re soi...

Page 39: ...ge avec l encoche de la base du br leur A Chapeau de br leur B Ouverture du tube d arriv e de gaz C Base du br leur D Porte gicleur E lectrode d allumage 6 Placer les chapeaux de br leur sur les bases...

Page 40: ...ni re est bien engag dans la bride antibasculement Si l arri re de la cuisini re se soul ve de plus de 1 2 po 1 3 cm du plancher sans opposer de r sistance cela peut signifier que la bride antibascule...

Page 41: ...de cuisson au four doit s allumer en moins de 8 secondes Un br leur peut prendre plus de 8 secondes s allumer la premi re fois en raison de l air se trouvant dans la canalisation de gaz 4 Apr s 2 minu...

Page 42: ...peuvent se trouver dans les mat riaux d emballage de la cuisini re 4 liminer recycler tous les mat riaux d emballage 5 V rifier que la cuisini re est d aplomb Voir la section Ajustement de l aplomb d...

Page 43: ...omme ad quate et compl te qu apr s contr le satisfaisant du fonctionnement de l appareil converti conform ment aux instructions du fabricant fournies avec l ensemble Conversion pour l alimentation au...

Page 44: ...tation situ dans le four Chaque injecteur est marqu d un code d identification grav et comporte une rainure dans la zone hexagonale Remplacer l injecteur orifice pour gaz naturel par le bon injecteur...

Page 45: ...njecteur 47 par un injecteur 56 Installer l injecteur pour gaz propane du br leur de cuisson au four en le tournant dans le sens horaire jusqu ce qu il soit serr IMPORTANT Ne pas serrer excessivement...

Page 46: ...tincte de 1 4 po 6 4 1 2 po 13 mm de long Le c ne ext rieur n est pas aussi net que le c ne int rieur Les flammes d un br leur aliment au propane comportent une pointe l g rement jaune 4 Voir la secti...

Page 47: ...ur tourner dans le sens antihoraire et soulever pour enlever l injecteur Conserver part l injecteur du br leur A lectrode d allumage B Injecteur C Porte injecteur D Vis 4 Chaque injecteur est marqu d...

Page 48: ...par un injecteur 47 Installer l injecteur pour gaz naturel du br leur de cuisson au four en le tournant dans le sens horaire jusqu ce qu il soit serr IMPORTANT Ne pas serrer excessivement A Injecteur...

Page 49: ...le des flammes sur les br leurs de la table de cuisson Pour le r glage au d bit thermique Low minimum on doit observer des flammes stables bleues de 1 4 po 6 3 mm Les flammes produites par le gaz prop...

Page 50: ...doit pas observer de pointes jaunes ni d effet de soufflage ou de s paration entre les flammes et le br leur 4 S il est n cessaire de r gler la taille des flammes rechercher la virole de r glage de l...

Page 51: ...ager le rev tement du sol Si le d placement de la cuisini re est n cessaire pour le nettoyage ou l entretien Cuisini res aliment es par cordon d alimentation 1 Faire glisser la cuisini re vers l avant...

Page 52: ...52 NOTES...

Page 53: ...53 NOTES...

Page 54: ...54 NOTES...

Page 55: ...55 NOTES...

Page 56: ...W11602522A 2022 All rights reserved Used under license in Canada Tous droits r serv s Utilis sous licence au Canada 06 22...

Reviews: